---
title: "Editing a signature"
slug: "editing-a-signature"
description: "Open a signature in Designer Studio to edit its HTML and CSS, manage its fields, preview it for any sender and recipient, and save your changes."
updated: 2025-03-07T05:09:35.000Z
canonical: "https://help.opensense.com/docs/editing-a-signature"
---
> ## Documentation Index
> Fetch the complete documentation index at: https://help.opensense.com/llms.txt
> Use this file to discover all available pages before exploring further.
# Editing a signature
## Overview
Edit a signature to change how it looks and works. On the edit page, you can change the HTML and CSS, manage signature fields, turn on a reply signature, and preview the result for different senders and recipients.
## Getting started
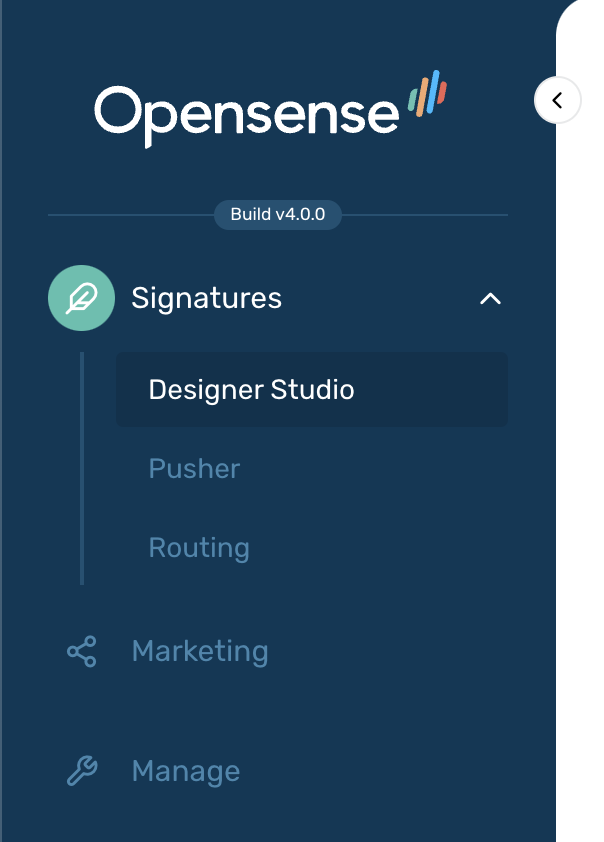
1. In the navigation pane, select **Signatures** > [**Designer Studio**](https://app.opensense.com/beta/signatures/studio).
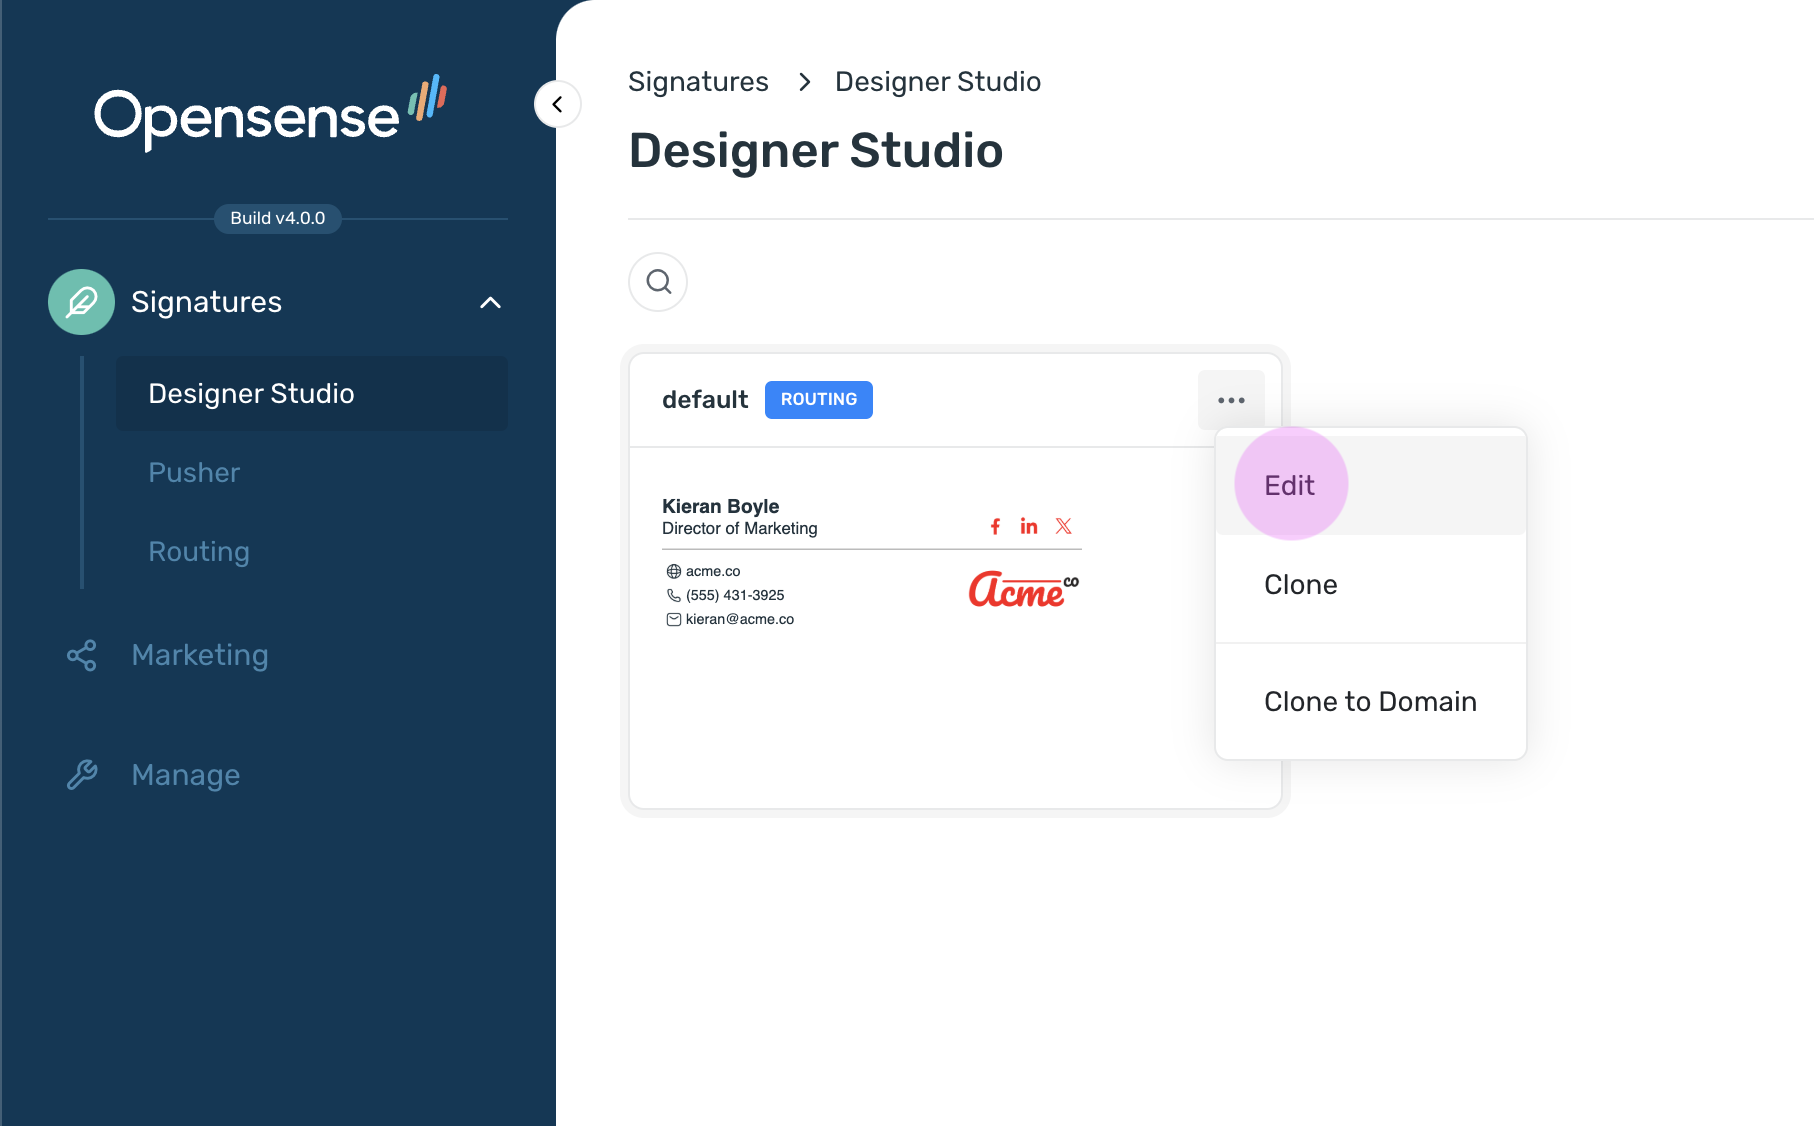
2. On the signature card, click the actions menu (**···**) at the upper right and select **Edit**. You can also click the signature card.
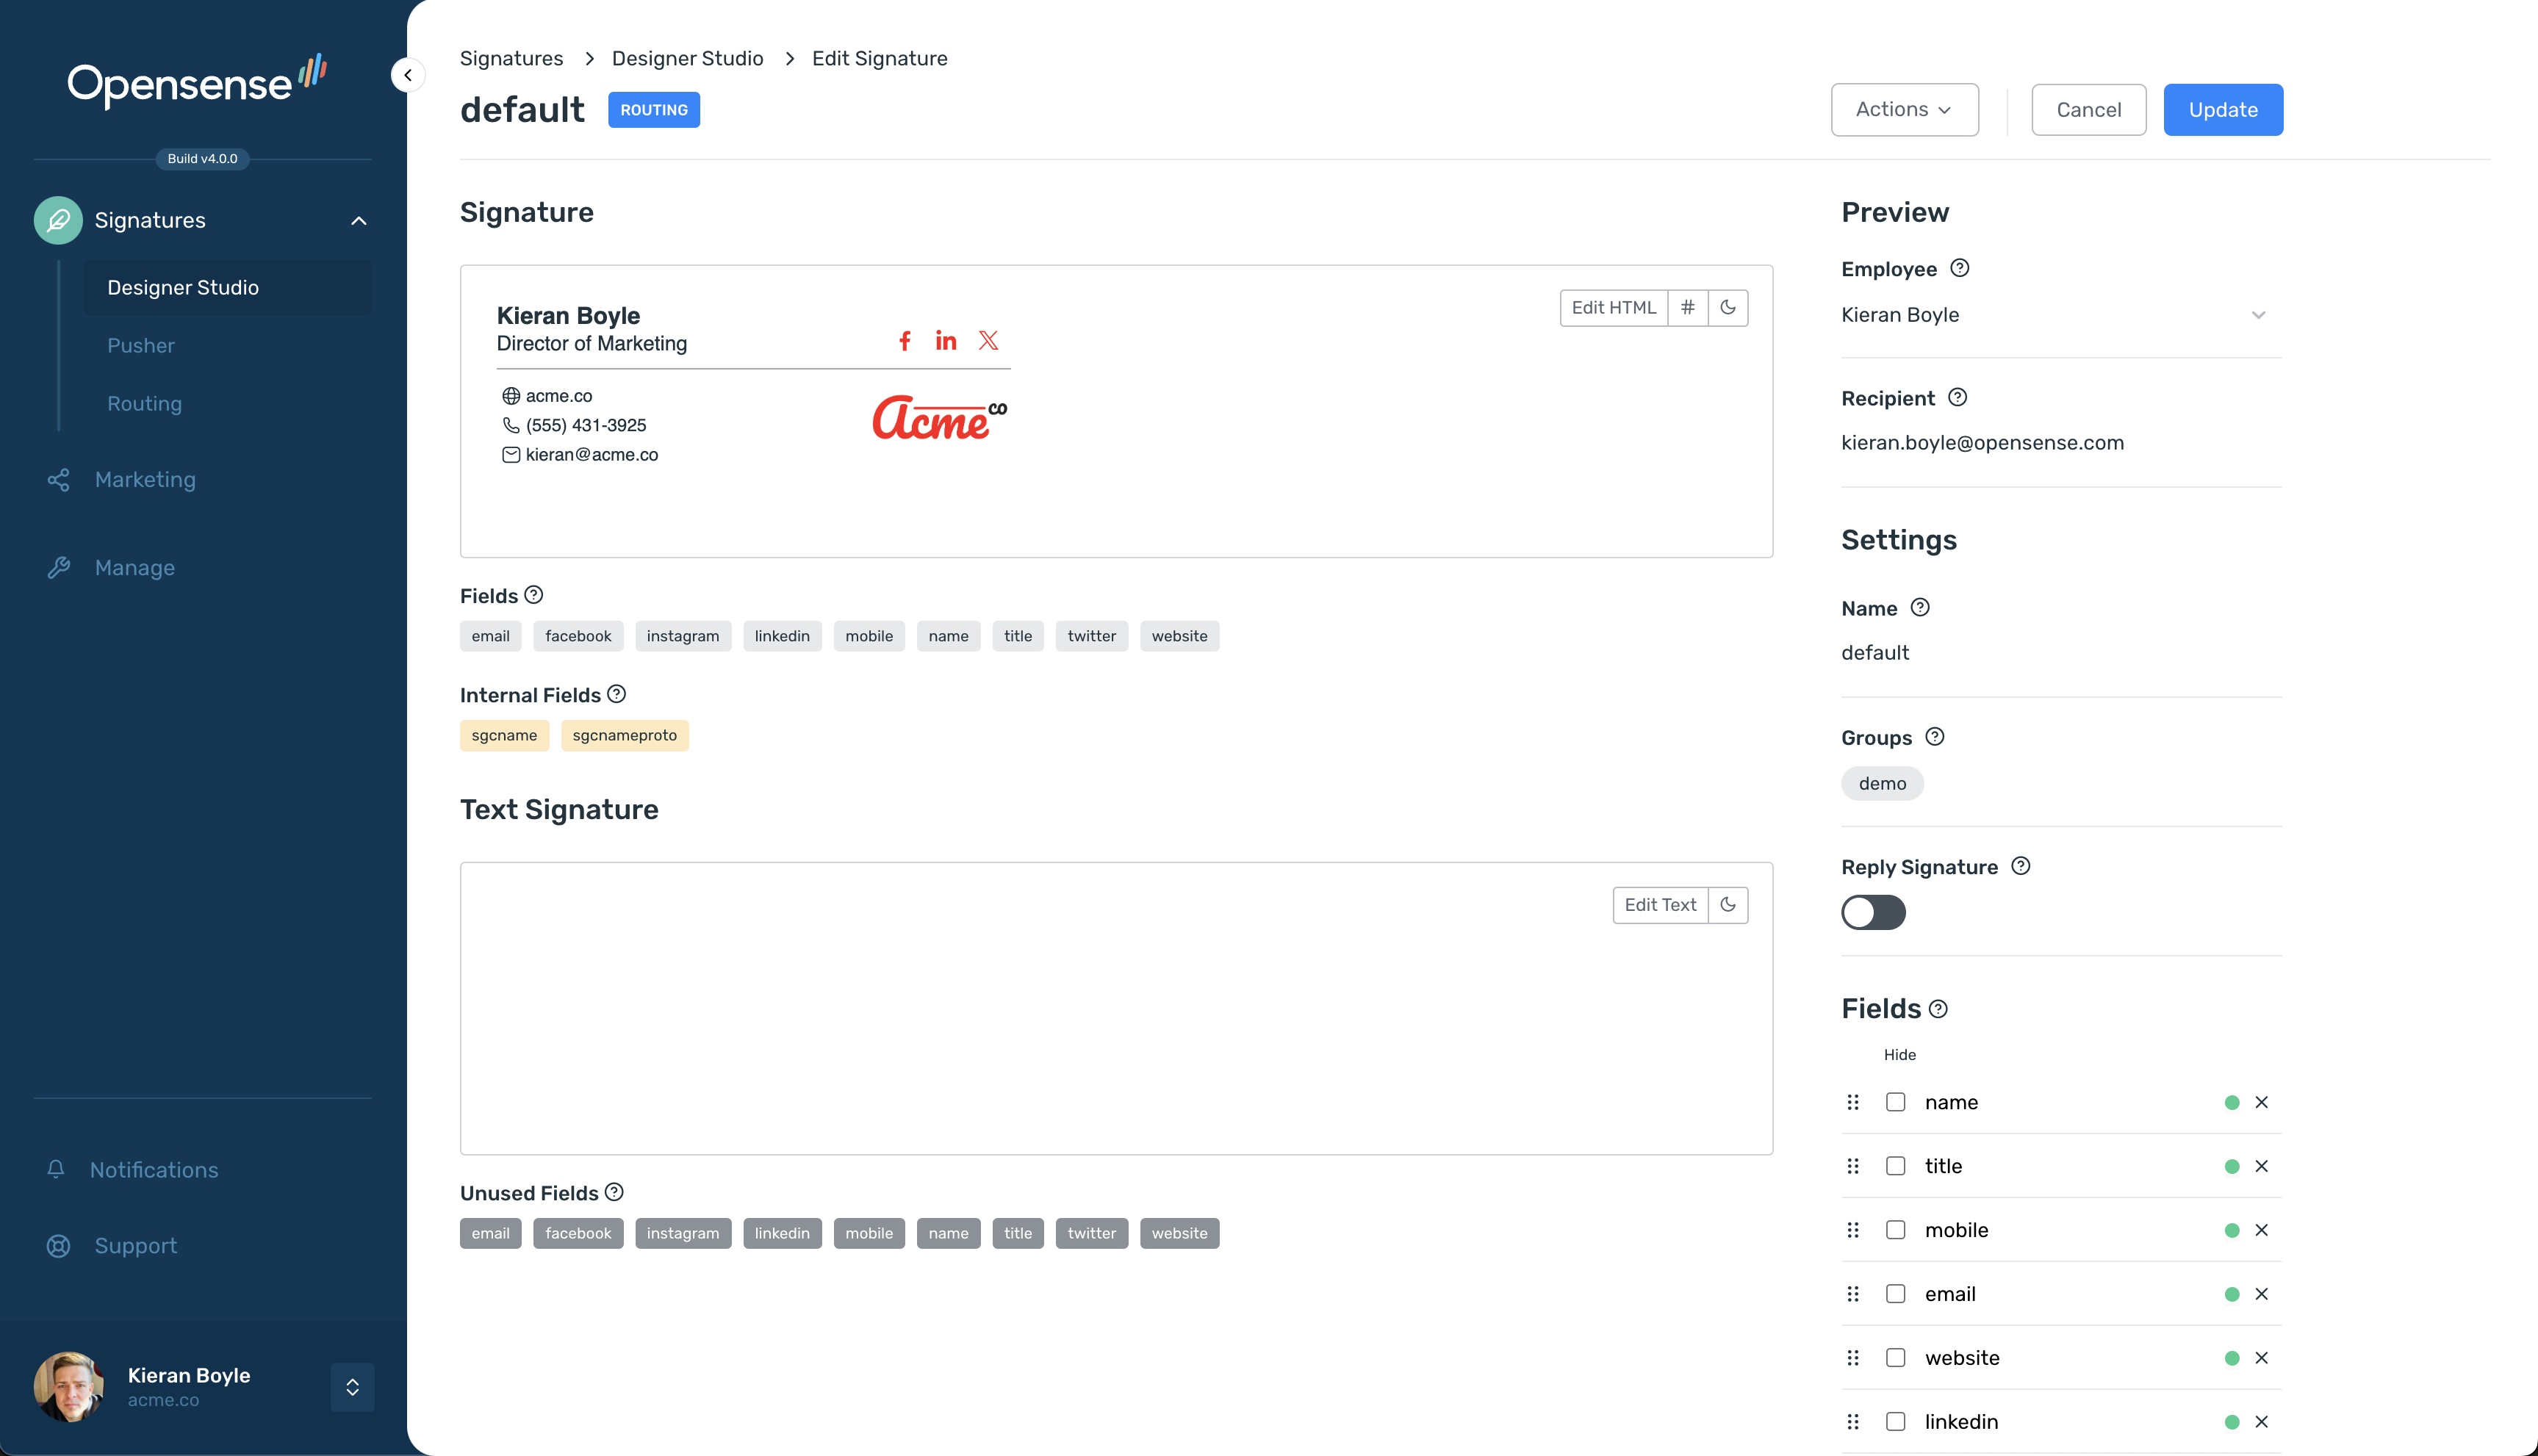
The edit page shows the signature on the left. The **Preview**, **Settings**, and **Fields** panes are on the right.
## Changing the HTML & CSS
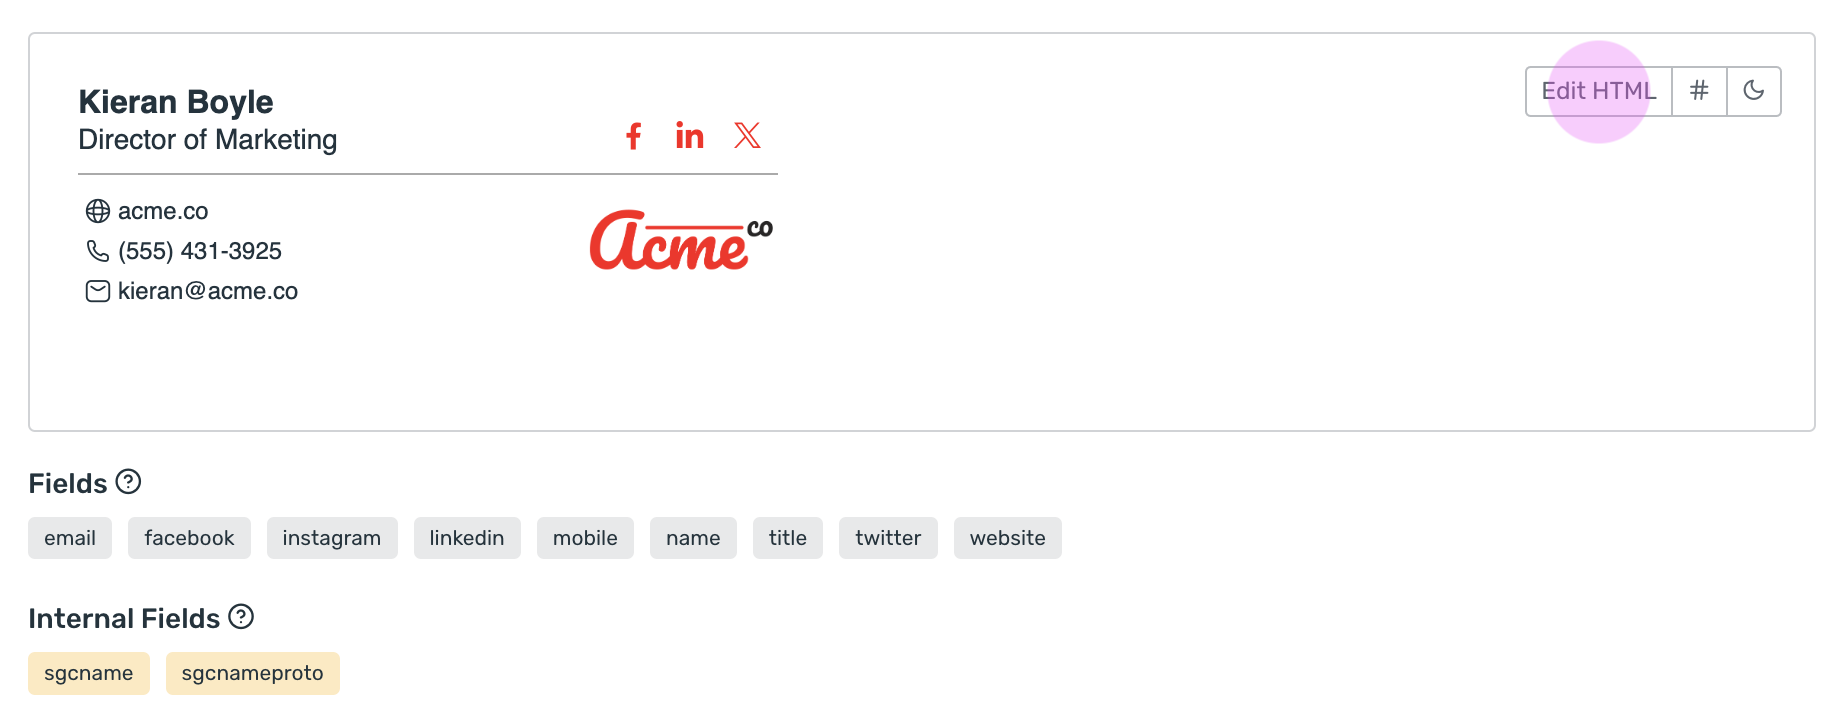
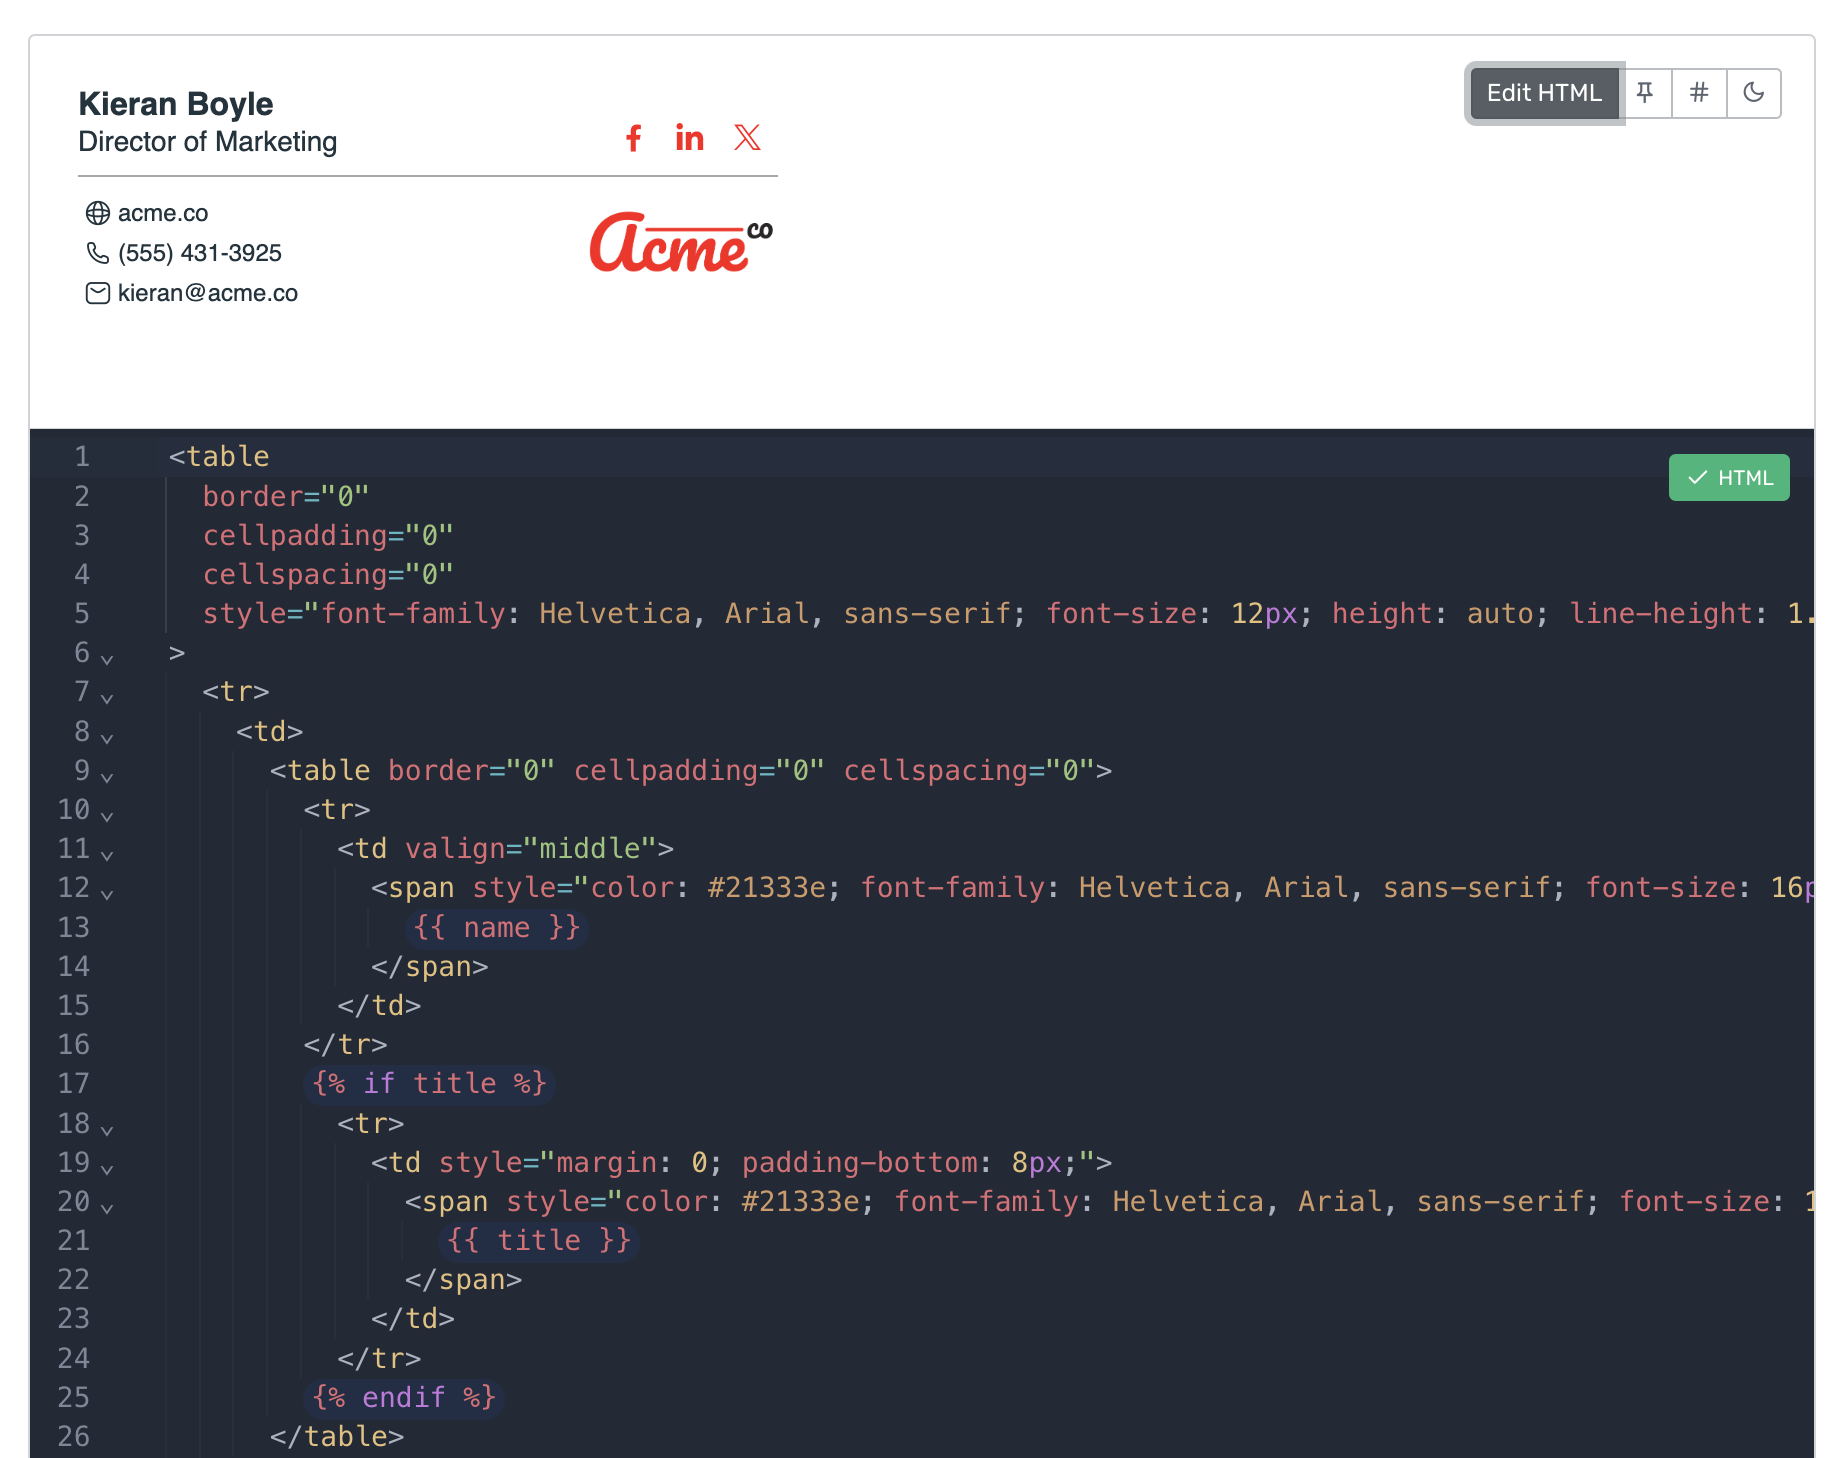
1. Click **Edit HTML** at the upper right of the signature preview.
2. Change the HTML and CSS in the editor that opens below the preview. The preview refreshes after each change, so you can check your edits as you go.
The editor has these features:
- Autocomplete
- Suggests HTML tags, variables, and elements to speed up coding and reduce typos.
- Syntax highlighting
- Color-codes HTML for easier reading and navigation.
- Autolint
- Flags errors instantly, so you catch mistakes early.
- Autoformat
- Keeps code clean and organized.
- Autopreview
- Updates the preview in real time as you edit.
:::tip[Pro-tip]
Click the pin icon next to **Edit HTML** to keep the signature preview in view as you scroll.
:::
## Managing signature fields
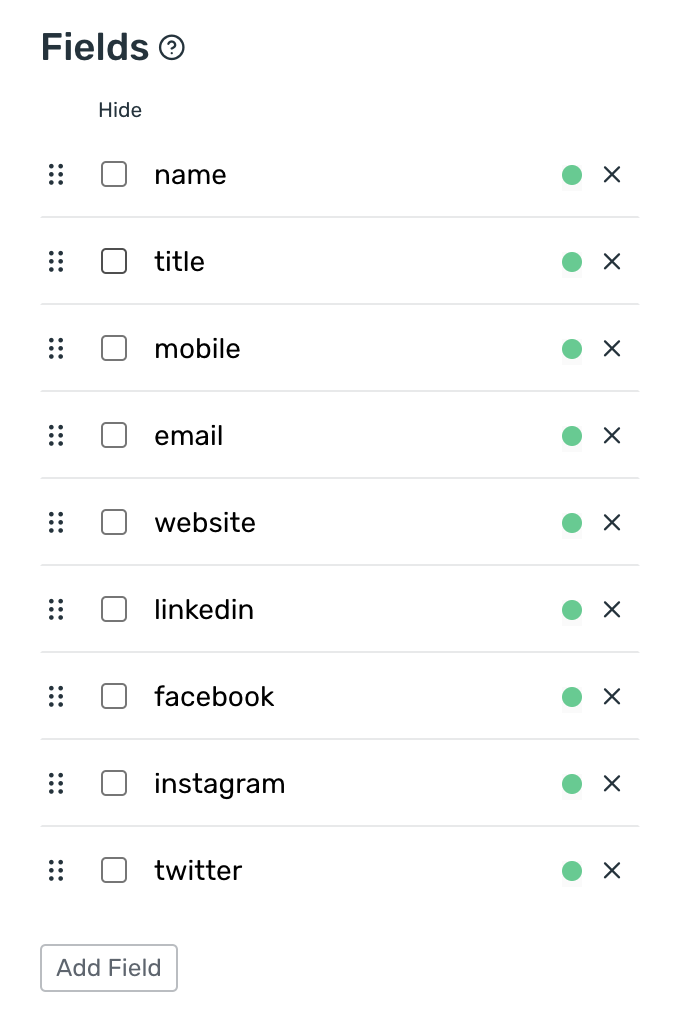
Signature fields hold the information in a signature, such as name, title, and contact details. The fields list is in the lower-right corner of the edit page.
- Add a field
- Click Add Field at the bottom of the fields list and name the field. You can use it in the signature right away.
- Remove a field
- Click the x at the far right of the field entry.
- Hide a field
- Select the check box at the start of the field entry. Hidden fields are left out of the signature fields list when you work with the APIs.
- Reorder fields
- Drag the handle at the far left of the field entry. The order controls how fields are presented, which matters most for Plain Text Block (PTP).
:::caution[Removing a field does not change the HTML]
Removing a field deletes it from the fields list only. Remove the field from the signature HTML yourself.
:::
## Previewing your changes
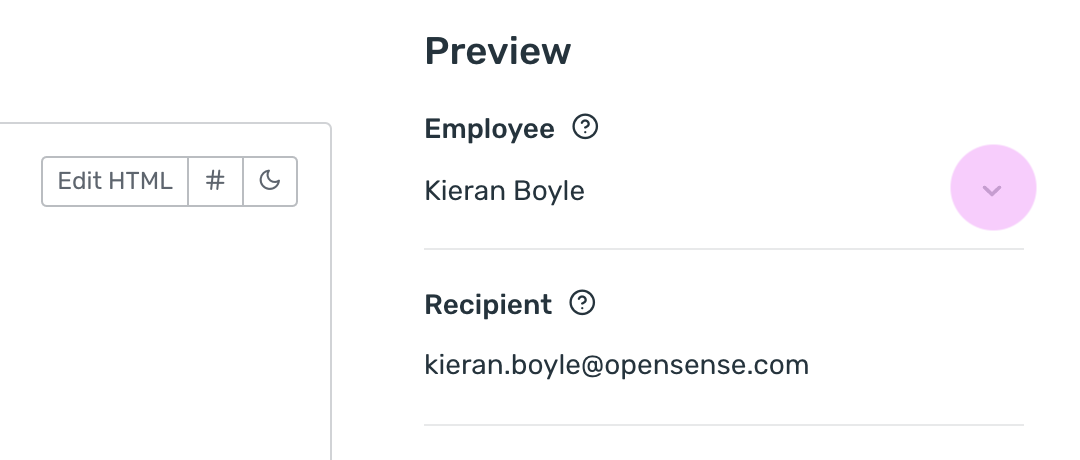
The preview refreshes automatically when you change the HTML or the fields. To test how the signature renders for a specific sender and recipient, use the **Preview** pane on the right.
- Employee
- Lists all users in your domain. Select a user to confirm that the signature shows or hides the right content for them.
- Recipient (optional)
- Enter an email address to check the rendering, mainly when the signature uses dynamic fields or logic that targets specific domains or users.
## Saving your changes
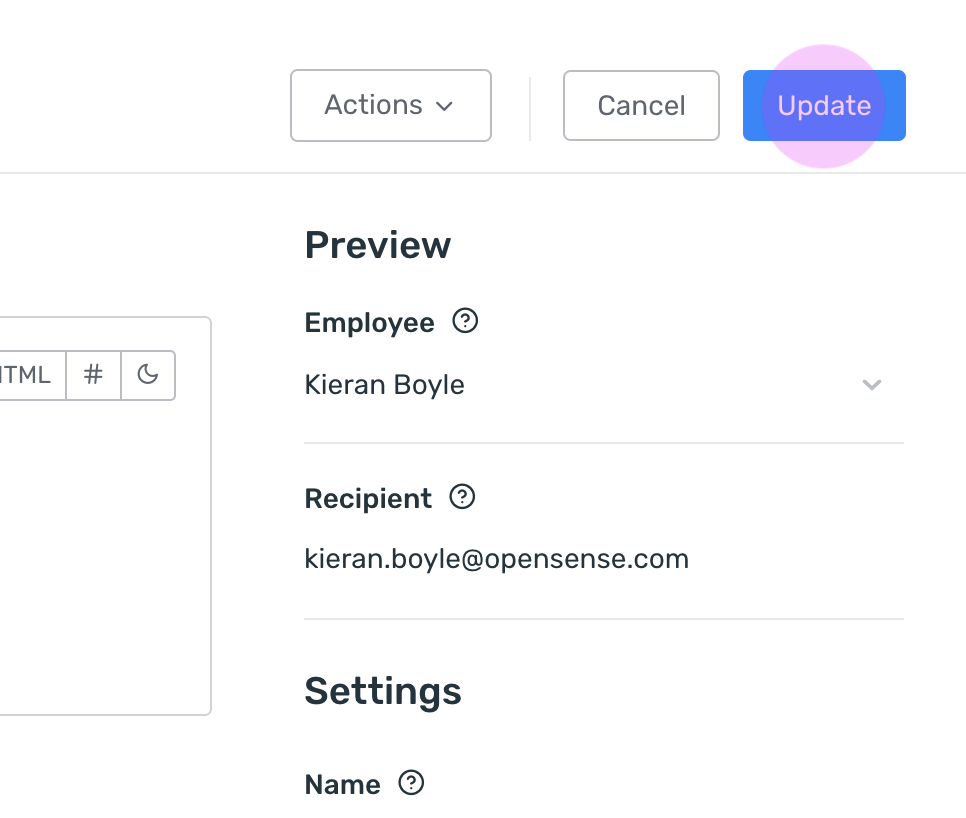
Click **Update** at the upper right of the page to save your changes.
## What's next
- [How to use the signature editor](https://help.opensense.com/docs/how-to-use-the-signature-editor): a full reference for signature blocks, field types, and reply templates.
- [HTML and field types (Liquid templates)](https://help.opensense.com/docs/html-field-types): conditional fields, hidden fields, and other template logic.
- [Cloning a signature](https://help.opensense.com/docs/cloning-a-signature): copy this signature as a starting point for another team.