---
title: "How to use the Opensense Pusher (classic UI)"
slug: "how-to-use-the-opensense-pusher"
description: "Classic UI: push plain text signature blocks to users by email or into Gmail, Outlook Web, Salesforce, or Outreach. Prepare the CSV, preview, and push."
updated: 2024-01-16T18:42:43.000Z
canonical: "https://help.opensense.com/docs/how-to-use-the-opensense-pusher"
---
> ## Documentation Index
> Fetch the complete documentation index at: https://help.opensense.com/llms.txt
> Use this file to discover all available pages before exploring further.
# How to use the Opensense Pusher (classic UI)
:::note[Classic UI]
This article covers the classic Opensense UI. For the New UI, see [How to use the Pusher tool](https://help.opensense.com/docs/how-to-use-pusher).
:::
## Overview
Opensense Pusher is a deployment tool that pushes each user's custom plain text signature block to them, either in a notification email, or directly into an integrated email app such as Outreach, Gmail, Outlook Web, or Salesforce. You choose the plain text signature block, upload a CSV file of employee contact information, and push.
For help, contact [help@opensense.com](mailto:help@opensense.com).
## Preparing your spreadsheet
### From directory information
1. Sign in to the Opensense portal, and select **Users & Compliance** in the **Signatures** menu.
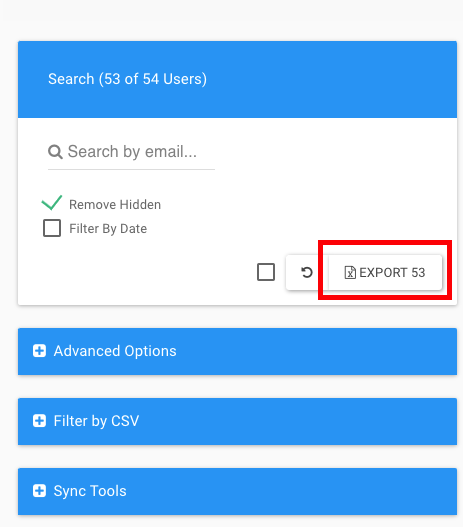
2. In the **Search** section on the left, click **Export** (the button shows the number of users, for example **Export 53**).
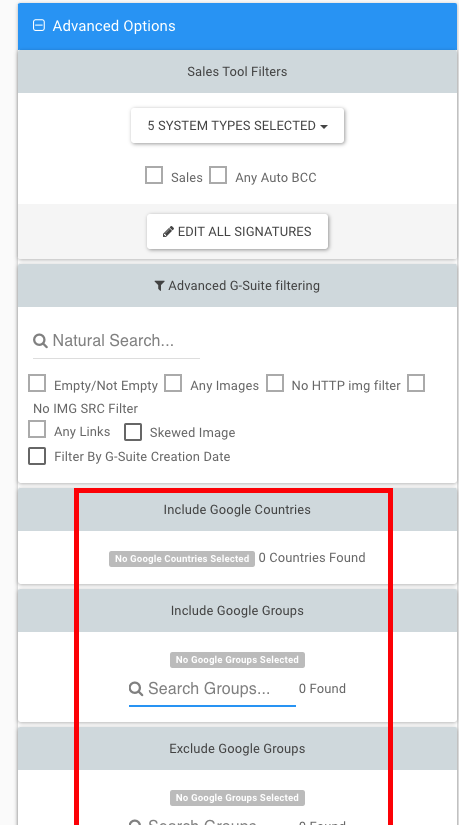
3. Optional: to narrow the export, use the filters under **Advanced Options**.
When you upload this file in step 2 of the Pusher, the Pusher identifies the directory fields in it.
### From a new CSV file
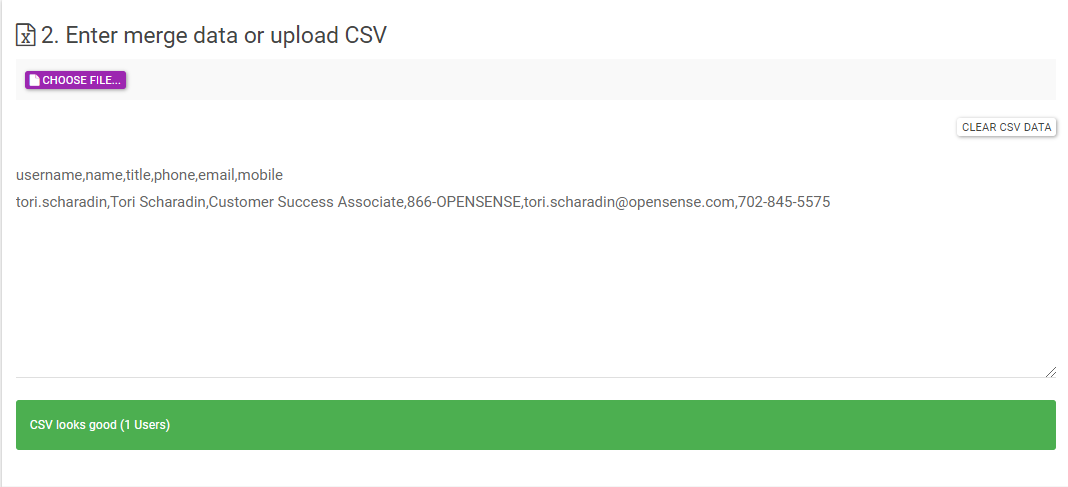
Format the CSV file like this:
- Column A, row 1 is always `username`. The username is everything before the @ in the person's email address. Make all of column A lowercase.
- The other column headers must match the field names in your plain text block exactly, character for character. For example, the `title` field in your plain text block is the `title` column header in your CSV.
- The data merges with the signature template exactly as it is formatted in the CSV, so formatting matters. For example, `tori scharadin` and `Tori Scharadin` show differently.

## Pushing signatures
:::caution[Pushing deploys signatures]
Pushing sends signatures to your users. Check the preview before you push.
:::
### Step 1: Choose the signature template
1. Sign in to the Opensense portal, and select **Pusher** in the **Signatures** menu.
2. In **1. Signature Template**, select the signature to roll out.
3. For a standard push, leave **Banner Only** and **Push Visual** cleared.
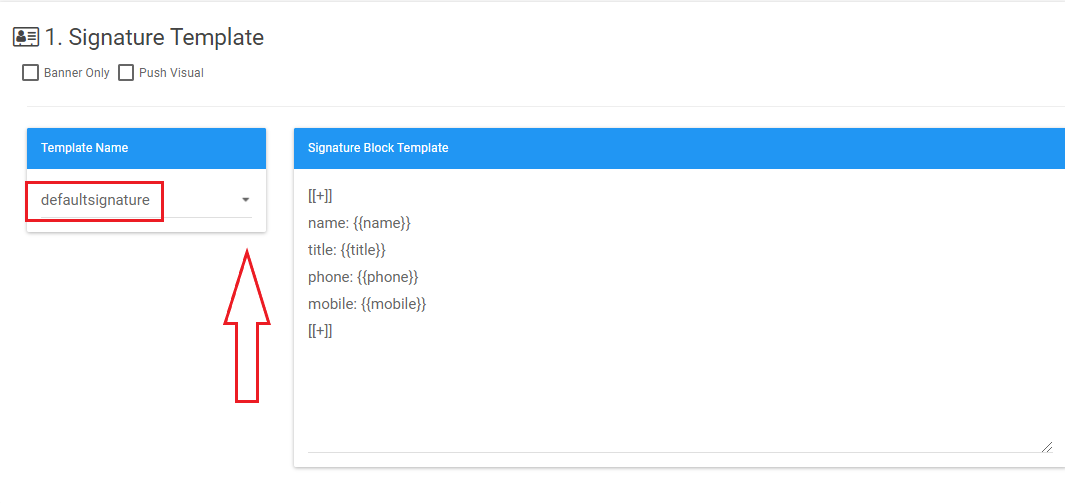
- Banner Only (uncommon)
- Adds only a banner to existing signatures. This can cause inconsistent formatting, and very few customers with specific needs use it.
- Push Visual (uncommon)
- Shows a graphic signature in the compose window for individual users. Users can no longer edit their information, and new signature designs don't update automatically.
### Step 2: Upload the CSV file
1. Click **Choose File**, and upload the CSV file with employee information.
### Step 3: Preview and push
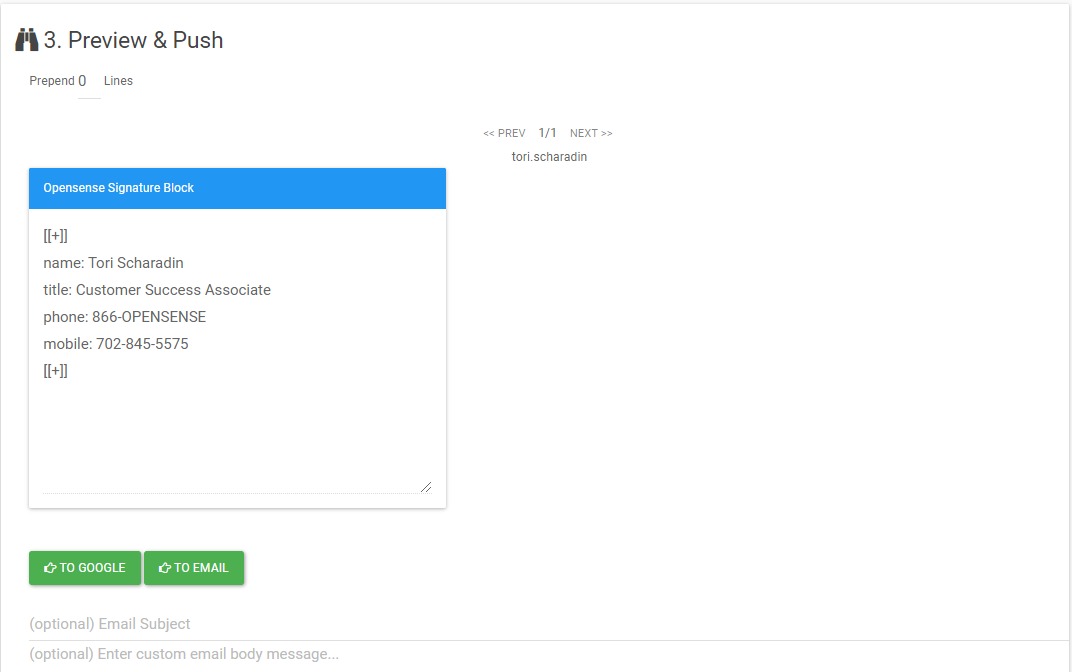
1. Check the preview of each person's signature.
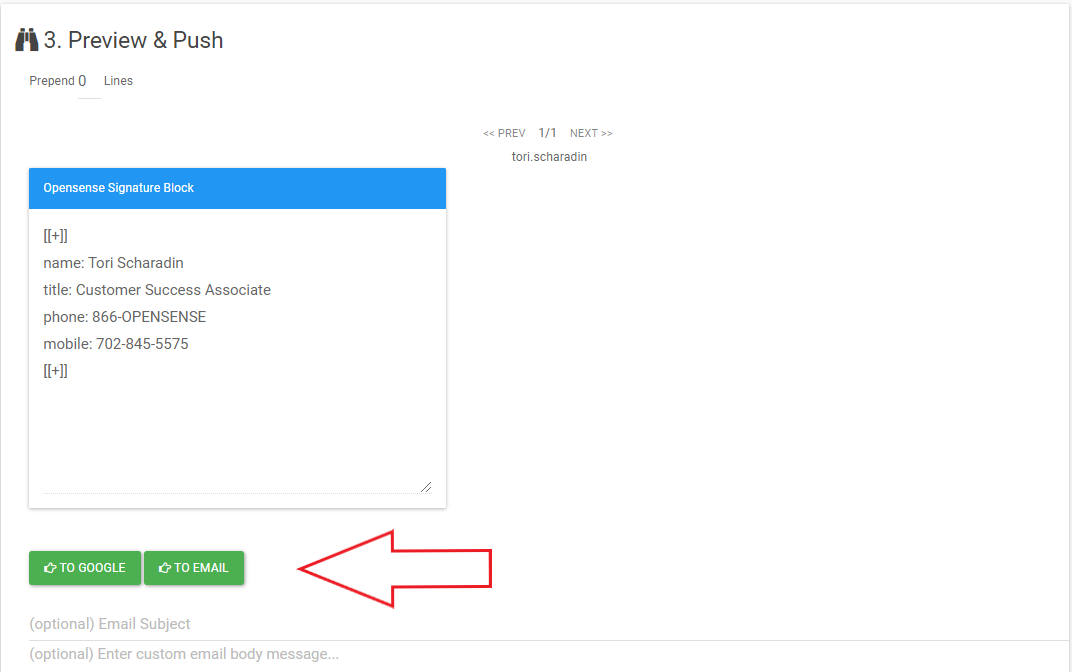
2. Push the signatures to one of these destinations:
- Email
- Sends each person an email with their custom plain text signature block. They copy and paste it into the signature settings of any email client.
- Google
- Pushes signatures automatically to each person's Gmail account. Users open a new Gmail window or refresh to see the change. Users don't need to do anything else.
- Outlook Web
- Pushes signatures automatically to each person's Outlook on the web (OWA) account. Users don't need to do anything.
- Salesforce
- Pushes signatures automatically to each person's Salesforce account. Users don't need to do anything.
- Outreach
- Pushes signatures automatically to each person's Outreach account. Users don't need to do anything.
:::note[Integration required]
Pushing directly to Google, Outlook Web, Salesforce, or Outreach needs an integration. Contact [help@opensense.com](mailto:help@opensense.com).
:::
## What's next
- [How to use the Pusher tool](https://help.opensense.com/docs/how-to-use-pusher): the Pusher in the New UI.
- [Exporting a Pusher CSV from Compliance (classic UI)](https://help.opensense.com/docs/exporting-a-pusher-csv-from-compliance): export your user data for a push.