

Setting up the Pardot connector in Opensense (classic UI)
Overview
Section titled “Overview”Set up the Pardot connector in Opensense, test that Opensense and Pardot (now Salesforce Marketing Cloud Account Engagement) can communicate, and then add the connector to your signature. Before you start, add the Opensense fields in Pardot.
Setting up the Opensense connector
Section titled “Setting up the Opensense connector”-
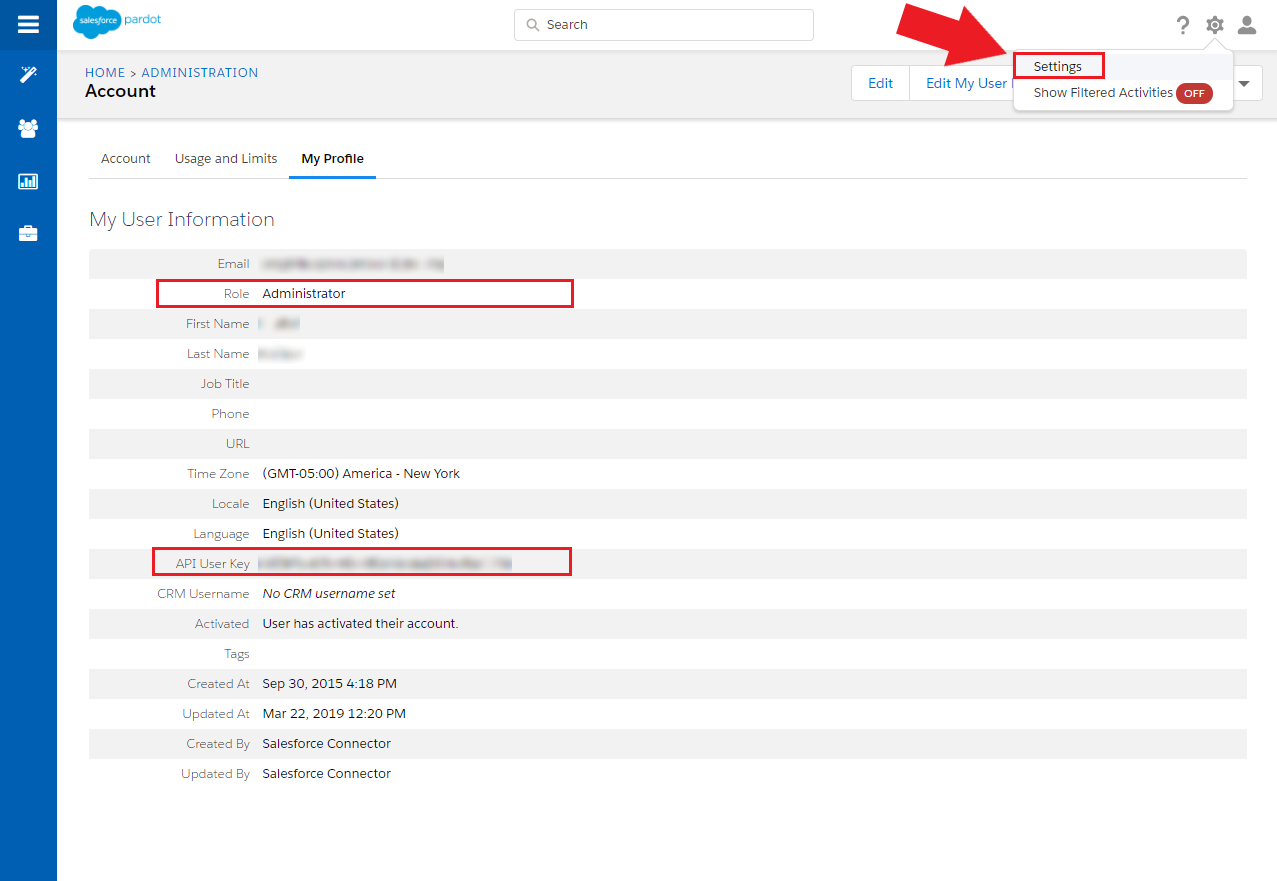
Get this information from the Pardot admin account (see the screenshot): the Username, Password, and API User Key.
-
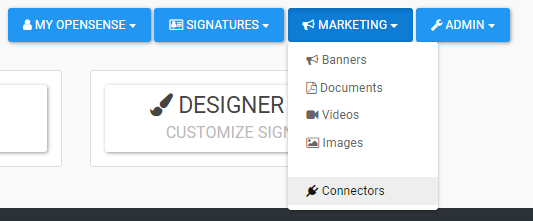
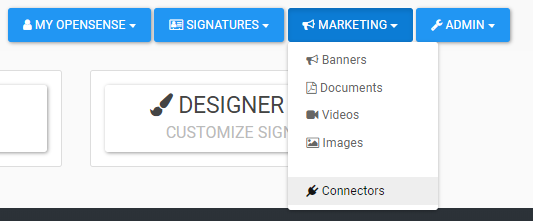
Sign in to the Opensense portal. In the Marketing menu, select Connectors.
-
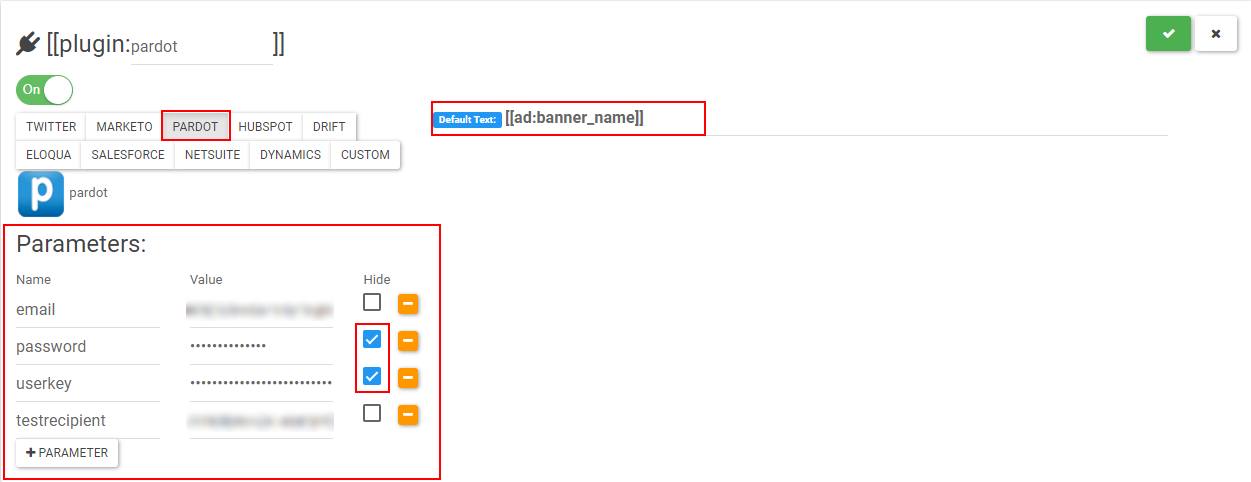
Under Parameters (see the screenshot), enter the admin’s email address, password, and API User Key.
-
Optional: use Default Text to set a placeholder banner for all non-targeted recipients.
-
When the configuration looks like the screenshot above, select the green check button
 .
Testing communication between Pardot and Opensense
Section titled “Testing communication between Pardot and Opensense”-
In an existing Pardot contact profile (you can use yours), select Edit.
-
Scroll down, and select + Custom Fields.
-
Type
banner_namein the sgenads and sgentags fields.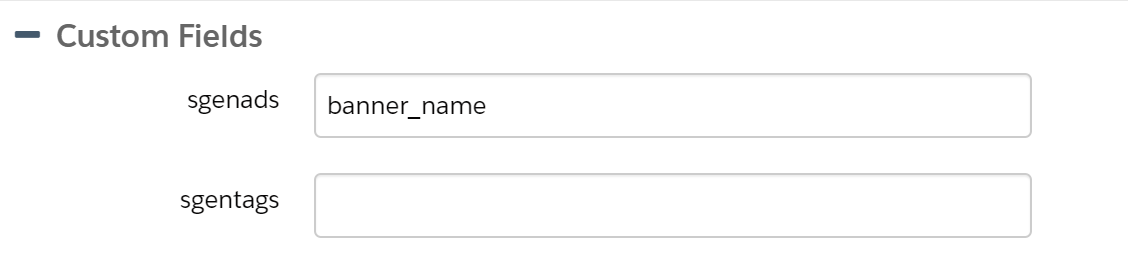
-
Give your Opensense representative (or the help desk) the email address of the Pardot contact who has
banner_namein one of their custom Opensense fields. We’ll confirm that the connection works properly.
Adding the connector to your signature
Section titled “Adding the connector to your signature”-
In the Marketing menu, select Connectors.
-
Copy the Pardot connector name, by selecting the copy button
 .
-
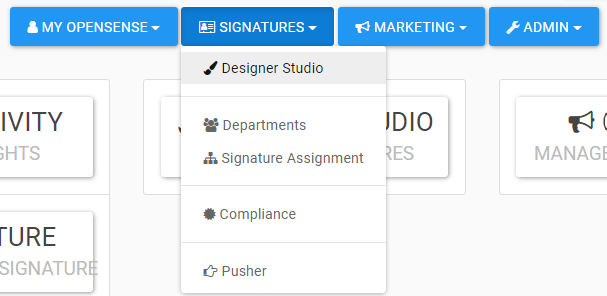
In the Signatures menu, select Designer Studio.
-
Select Edit on your signature.
-
Paste the connector name into the HTML template (in the screenshot,
[[plugin:pardot]]at the end of the template).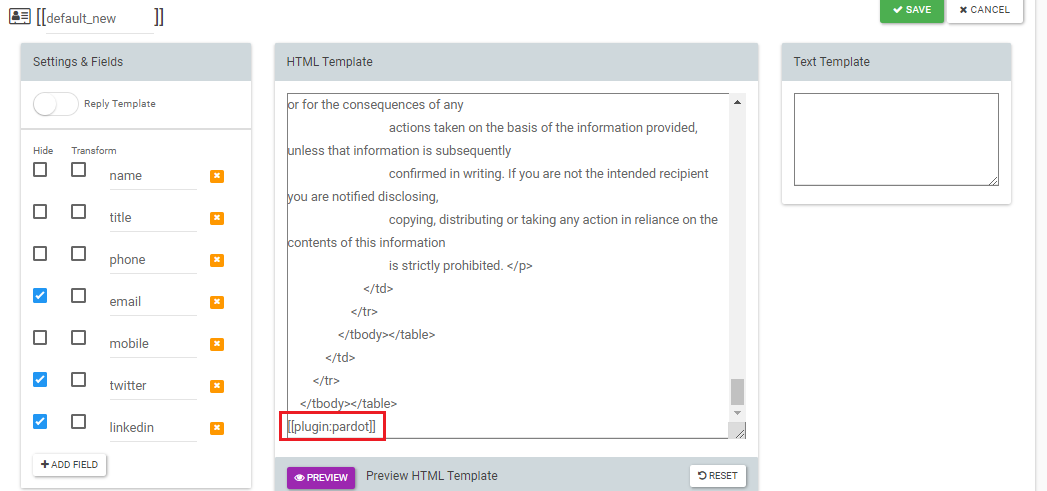
-
Select Save.