---
title: "Designer Studio for Liquid templates (classic UI)"
slug: "designer-studio-new-liquid-templates"
description: "Create, edit, clone, and preview Liquid signature templates in the classic Designer Studio, and add fields, reply templates, and plain-text signatures."
updated: 2024-01-16T21:15:39.000Z
canonical: "https://help.opensense.com/docs/designer-studio-new-liquid-templates"
---
> ## Documentation Index
> Fetch the complete documentation index at: https://help.opensense.com/llms.txt
> Use this file to discover all available pages before exploring further.
# Designer Studio for Liquid templates (classic UI)
:::note[Classic UI]
This article covers the classic Opensense UI. For the New UI, see [Introduction to Designer Studio](https://help.opensense.com/docs/introduction-to-designer-studio).
:::
## Overview
This article uses the current Opensense template syntax, Liquid (**as of 2022**). If you're used to the older format, see [Designer Studio for legacy templates (classic UI)](https://help.opensense.com/docs/designer-studio-pre-2022-legacy).
Designer Studio holds your signature templates. Signatures are designed in HTML, but don't worry if you're not familiar with HTML: we provide your initial signature templates during onboarding.
- To see which signature templates are **live**, open the **Signatures** menu, and select **LIVE Signature**.
- Before editing, we strongly recommend the **Cloning** feature. Use the **Preview** button on the cloned signature to view your changes in a sandbox-like environment.
- Changing an image or link in your signature template? See [Changing images and links in Liquid templates (classic UI)](https://help.opensense.com/docs/how-to-change-images-and-links-new-liquid-templates).
## Accessing Designer Studio
Open the **Signatures** menu, and select **Designer Studio**.
### Creating and editing a signature template
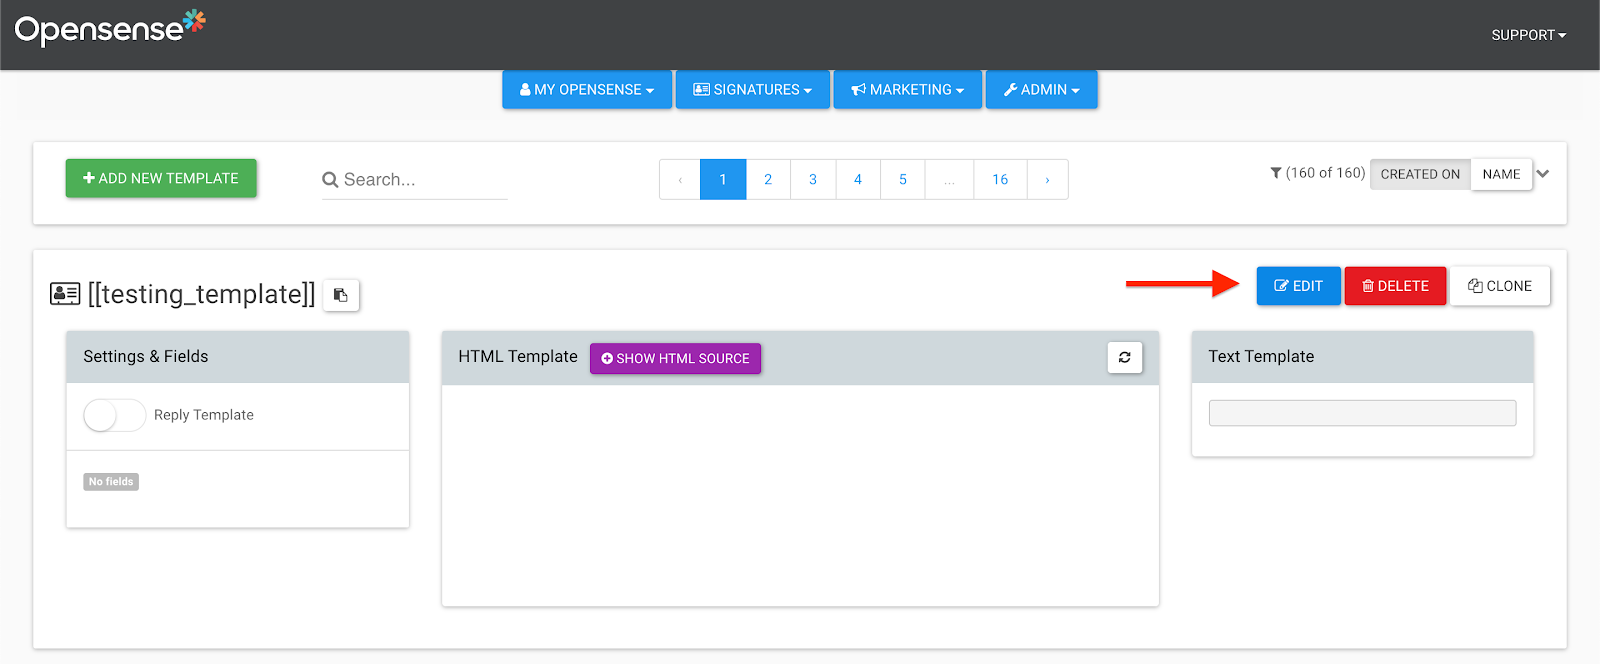
1. Select the green **+ Add New Template** button to create a signature template.
2. Name your template (see the [Opensense naming conventions](https://help.opensense.com/docs/opensense-admin-intro#naming-conventions-and-syntax-on-opensensecom)), and select **Save**.
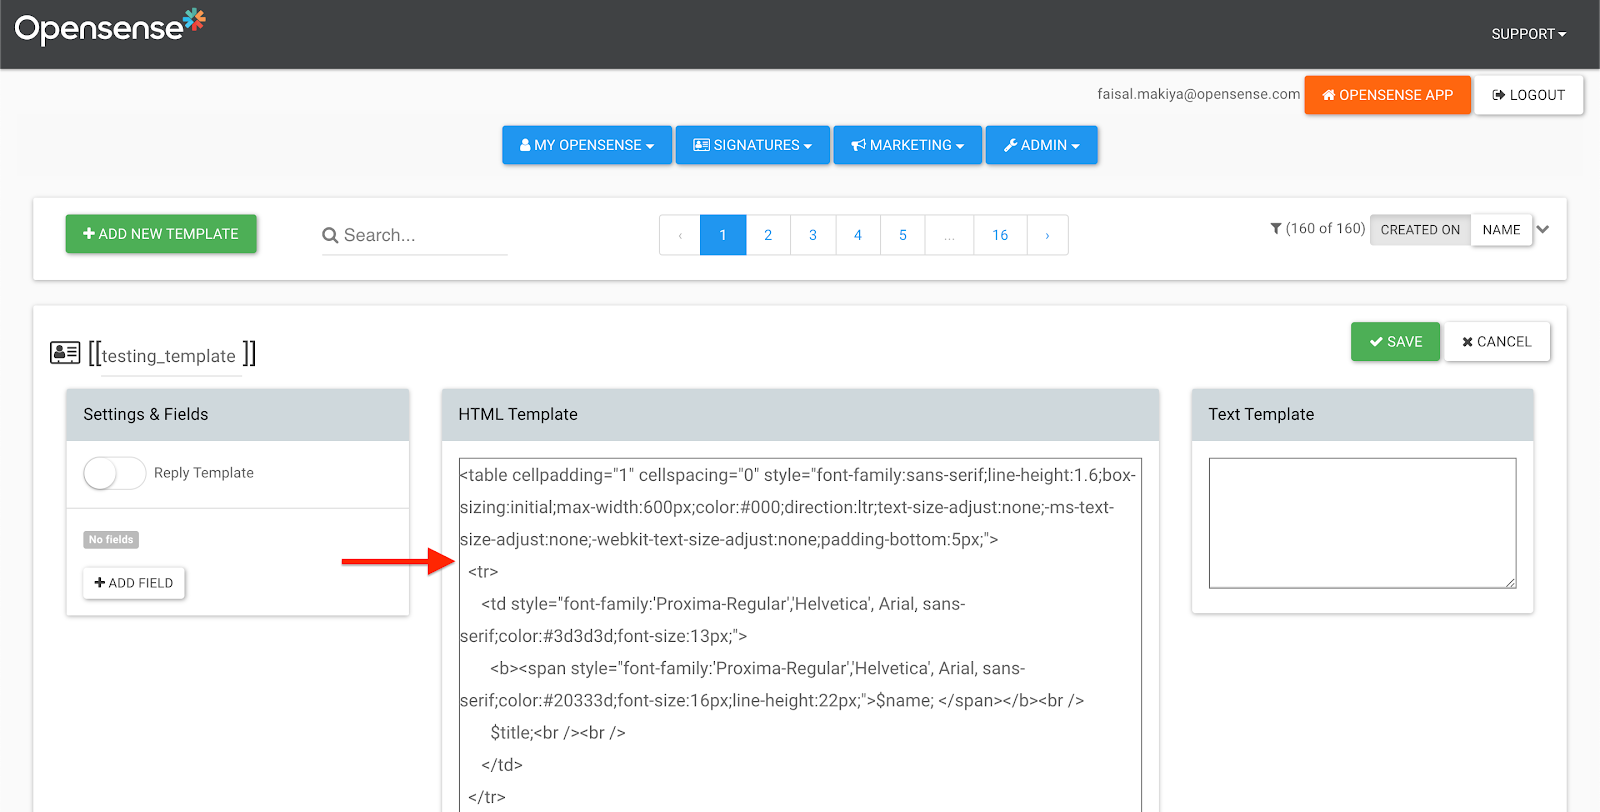
3. Select **Edit** to edit your signature template.
4. Add or edit your HTML in the **HTML Template** box.
### Adding fields
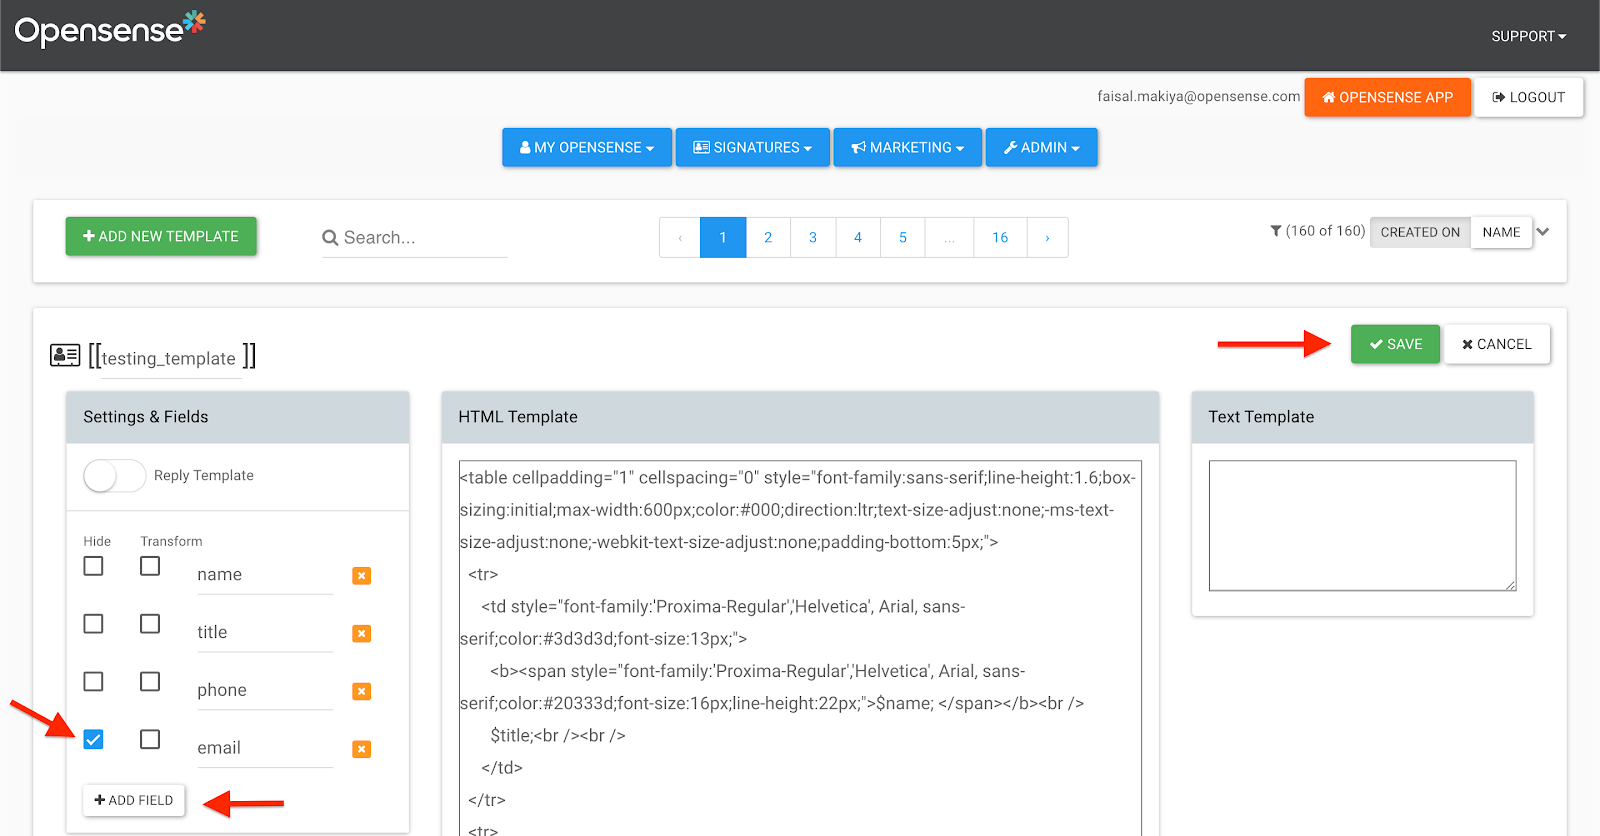
Add fields with the **+ Add Field** button. You can [hide these fields](https://help.opensense.com/docs/hidden-fields-new-liquid-templates) in your plain-text signature block by selecting the **Hide** box. When you're done, select **Save**.
Name your fields with the [Opensense naming conventions](https://help.opensense.com/docs/opensense-admin-intro#naming-conventions-and-syntax-on-opensensecom). You also need to add the new fields as code in the HTML template. If a field is optional, [add conditional logic](https://help.opensense.com/docs/conditional-fields-new-liquid-templates) to the HTML code.
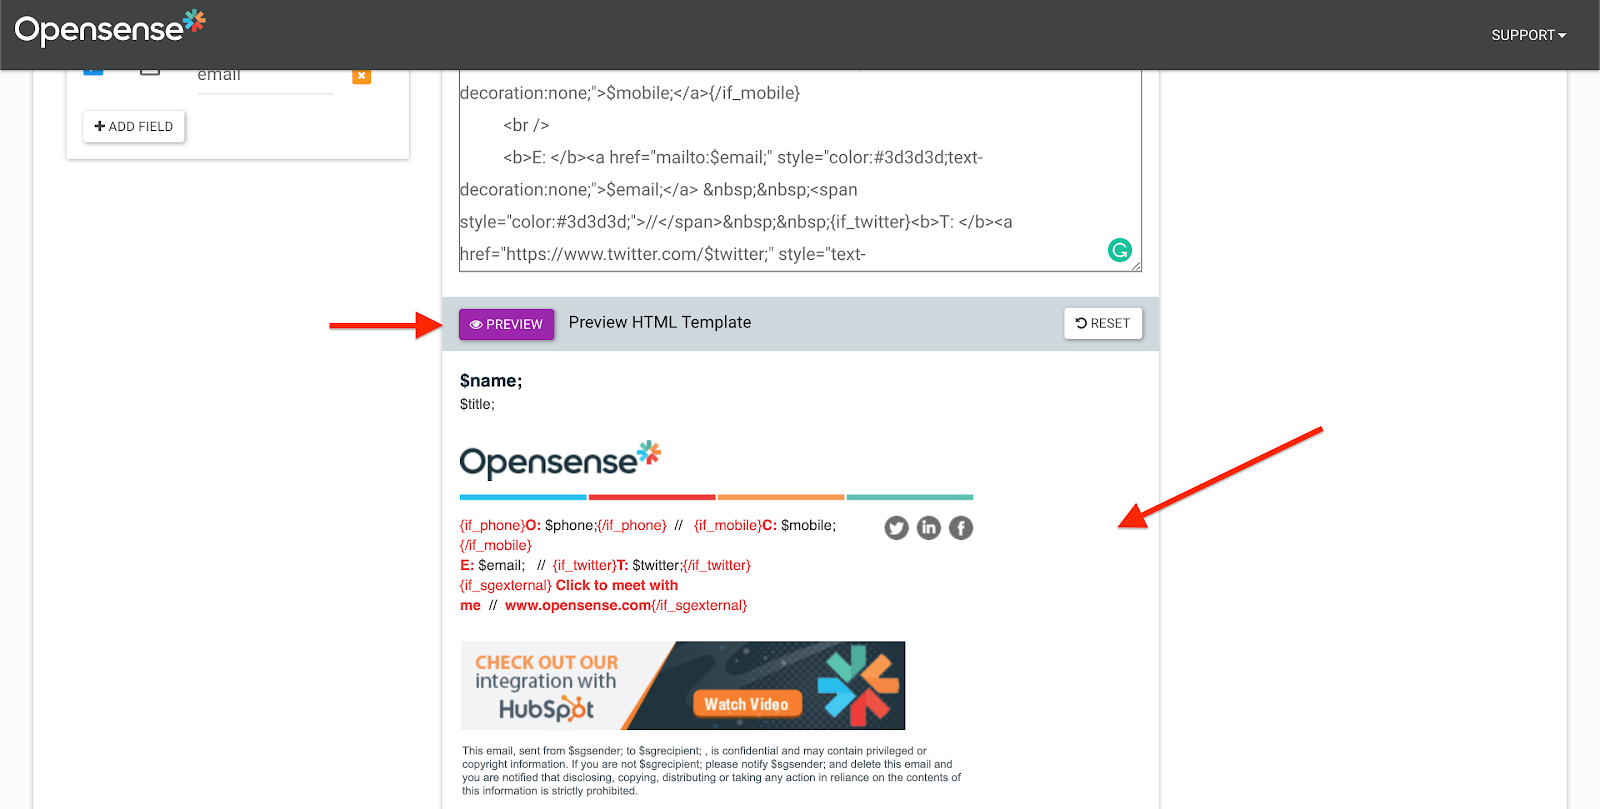
To preview any edits before saving, select the purple **Preview** button.
## Cloning a signature template
1. Select the **Clone** button.
2. Name the clone (see the [Opensense naming conventions](https://help.opensense.com/docs/opensense-admin-intro#naming-conventions-and-syntax-on-opensensecom)), and select **Save**.
## Creating or editing a reply template
1. Select **Edit** on the signature you want to add a reply template to.
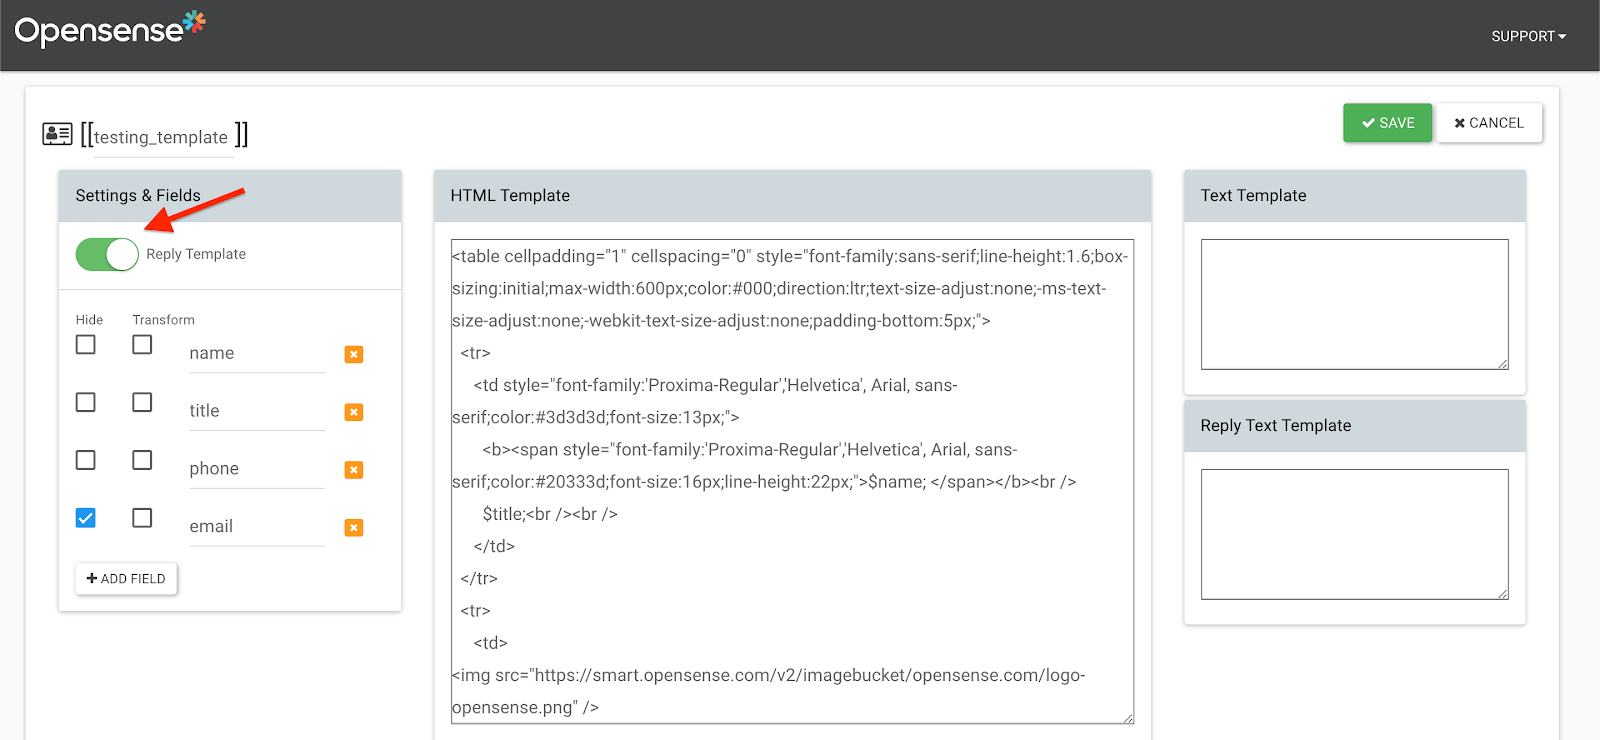
2. Turn on the **Reply Template** toggle.
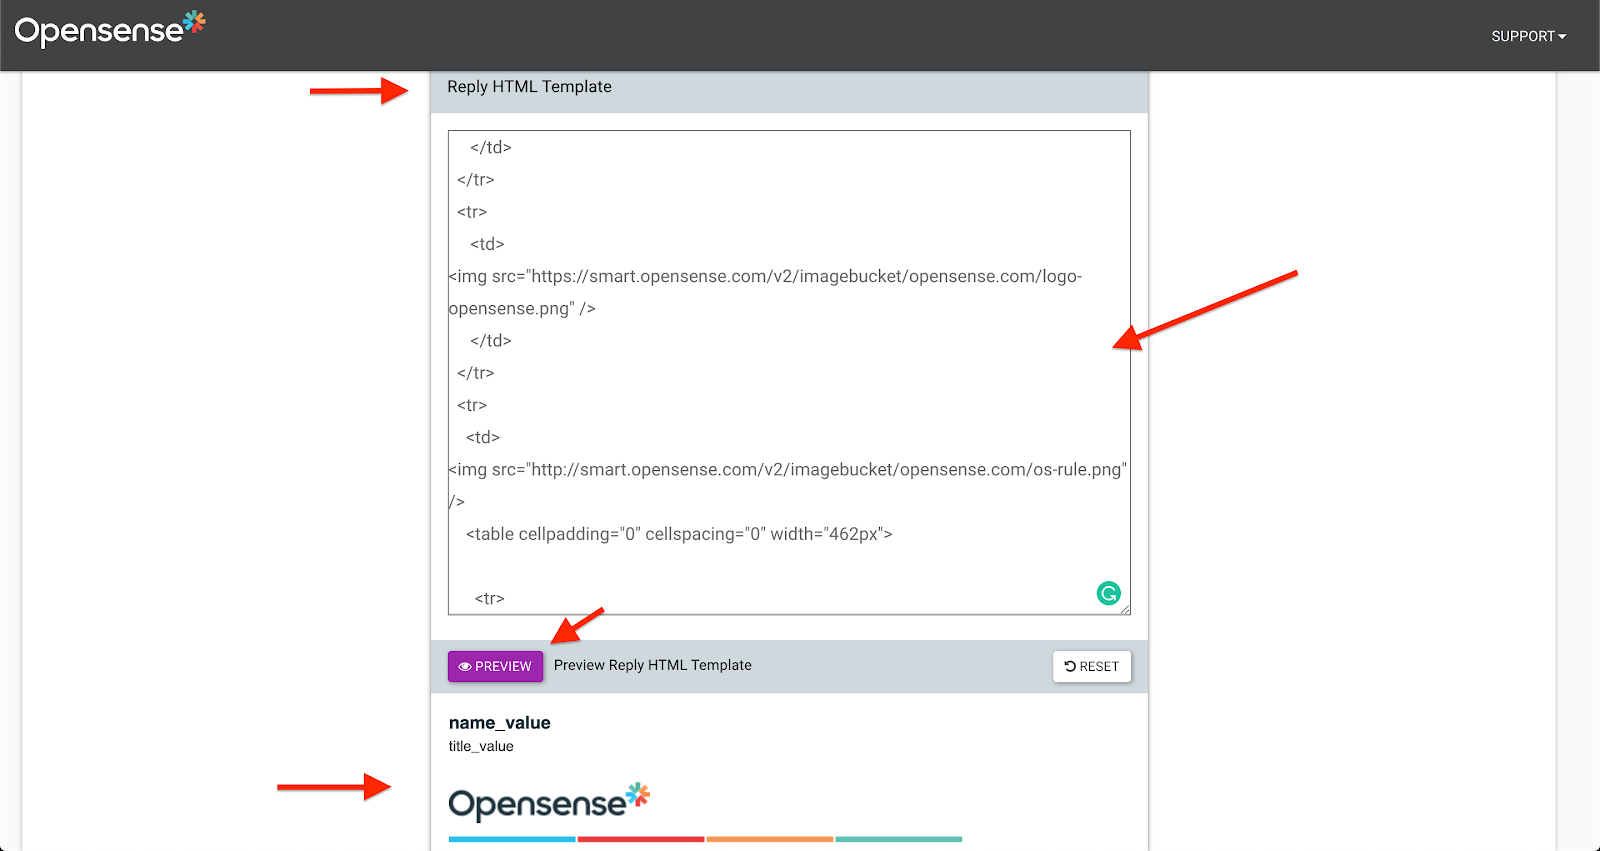
3. Scroll down to the **Reply HTML Template** box, and add your HTML code to create your reply template. To view your edits before saving, select the purple **Preview** button.
4. When you're done, select **Save**.
## Adding a plain-text signature
You can add a plain-text signature in addition to your HTML signature template.
1. In Designer Studio, go to your signature template, and select the blue **Edit** button.
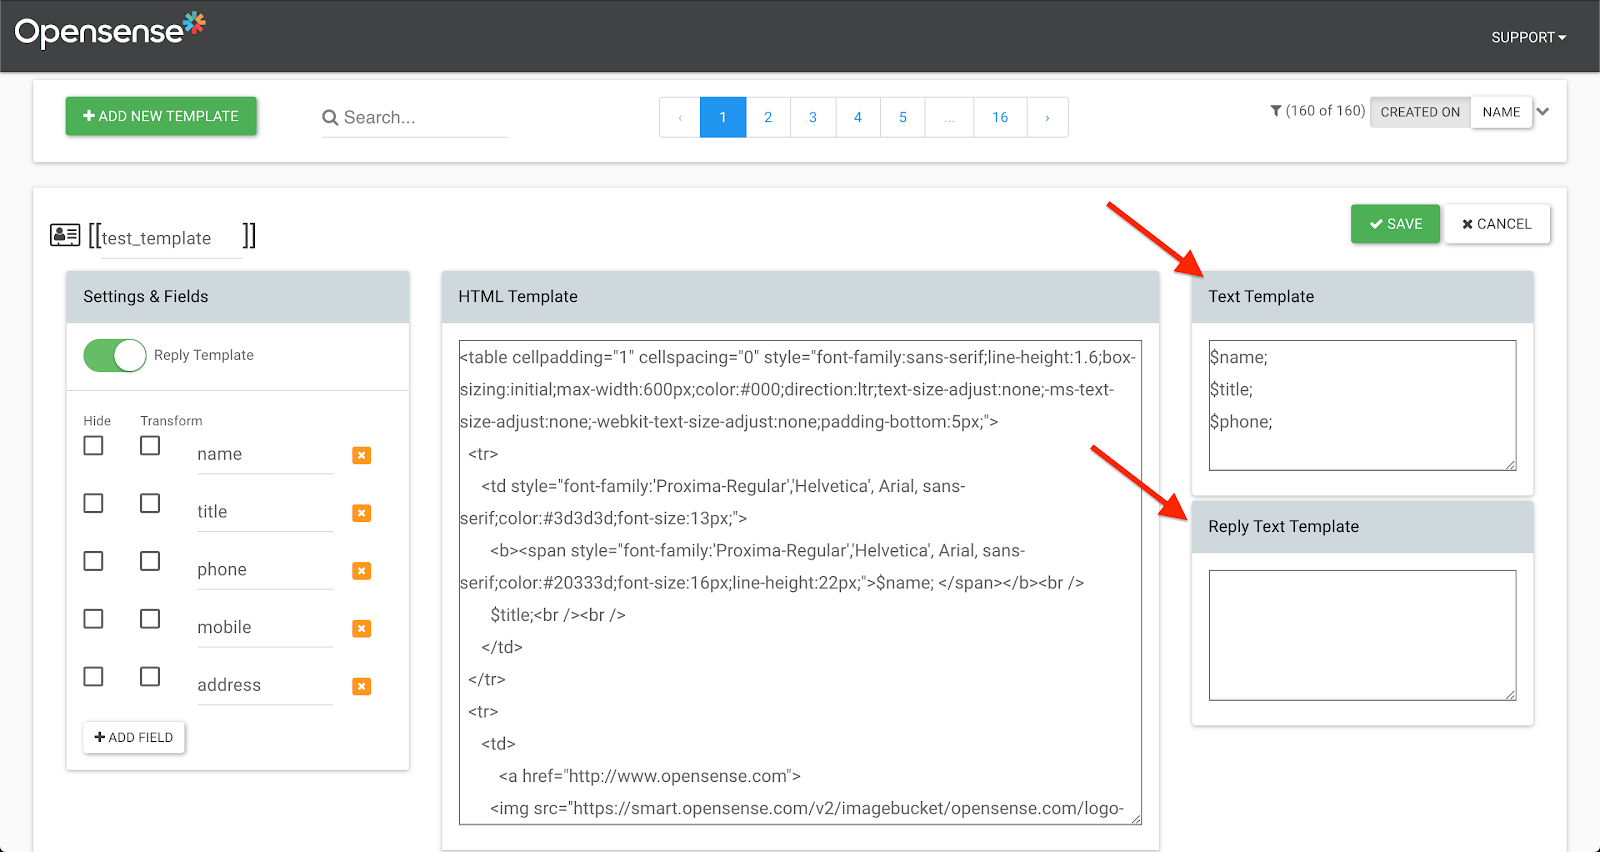
2. In the **Text Template** and **Reply Text Template** boxes, type the fields you want in your plain-text signature template (see the [Opensense naming conventions](https://help.opensense.com/docs/opensense-admin-intro#naming-conventions-and-syntax-on-opensensecom)).
3. When you're done, select **Save**.
## Functions you can use in Designer Studio
- Conditional fields
- Wrapping all optional fields in conditional statements makes sure there are no gaps in the signature if field data is missing.
- Hidden fields
- Hidden fields don't appear in the signature block or in MySig. Hidden field data is synced or uploaded into Opensense.
## What's next
- [Changing images and links in Liquid templates (classic UI)](https://help.opensense.com/docs/how-to-change-images-and-links-new-liquid-templates)
- [HTML and field types (Liquid templates)](https://help.opensense.com/docs/html-field-types)
For further help, contact Opensense Support at [help@opensense.com](mailto:help@opensense.com).