

Connecting Outreach to Opensense
Overview
Section titled “Overview”The Outreach integration auto-provisions Opensense signature blocks in Outreach. With the click of a button, Opensense pushes signatures to the individual Outreach accounts of all users on your domain.
Setting up the integration
Section titled “Setting up the integration”The Outreach administrator completes these steps.
Step 1: Connect Outreach
Section titled “Step 1: Connect Outreach”- In the Opensense portal, go to Manage > Domain Settings > Integrations > Outreach.
- Select Connect, and grant OAuth access in Outreach. See Outreach integration permissions for what you grant.
- After you grant access, Outreach redirects you to an Opensense-branded landing page. Close the page, or select Continue to go to the Opensense portal.
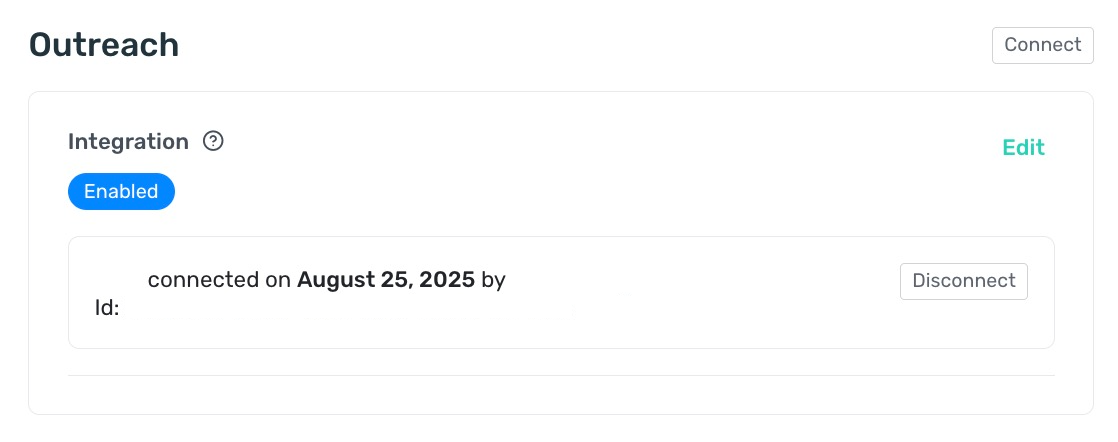
When connected, the integration turns on automatically, with an info box that shows who completed the integration, the date of the integration, and the Outreach ID.
Step 2: Turn on auto-sync
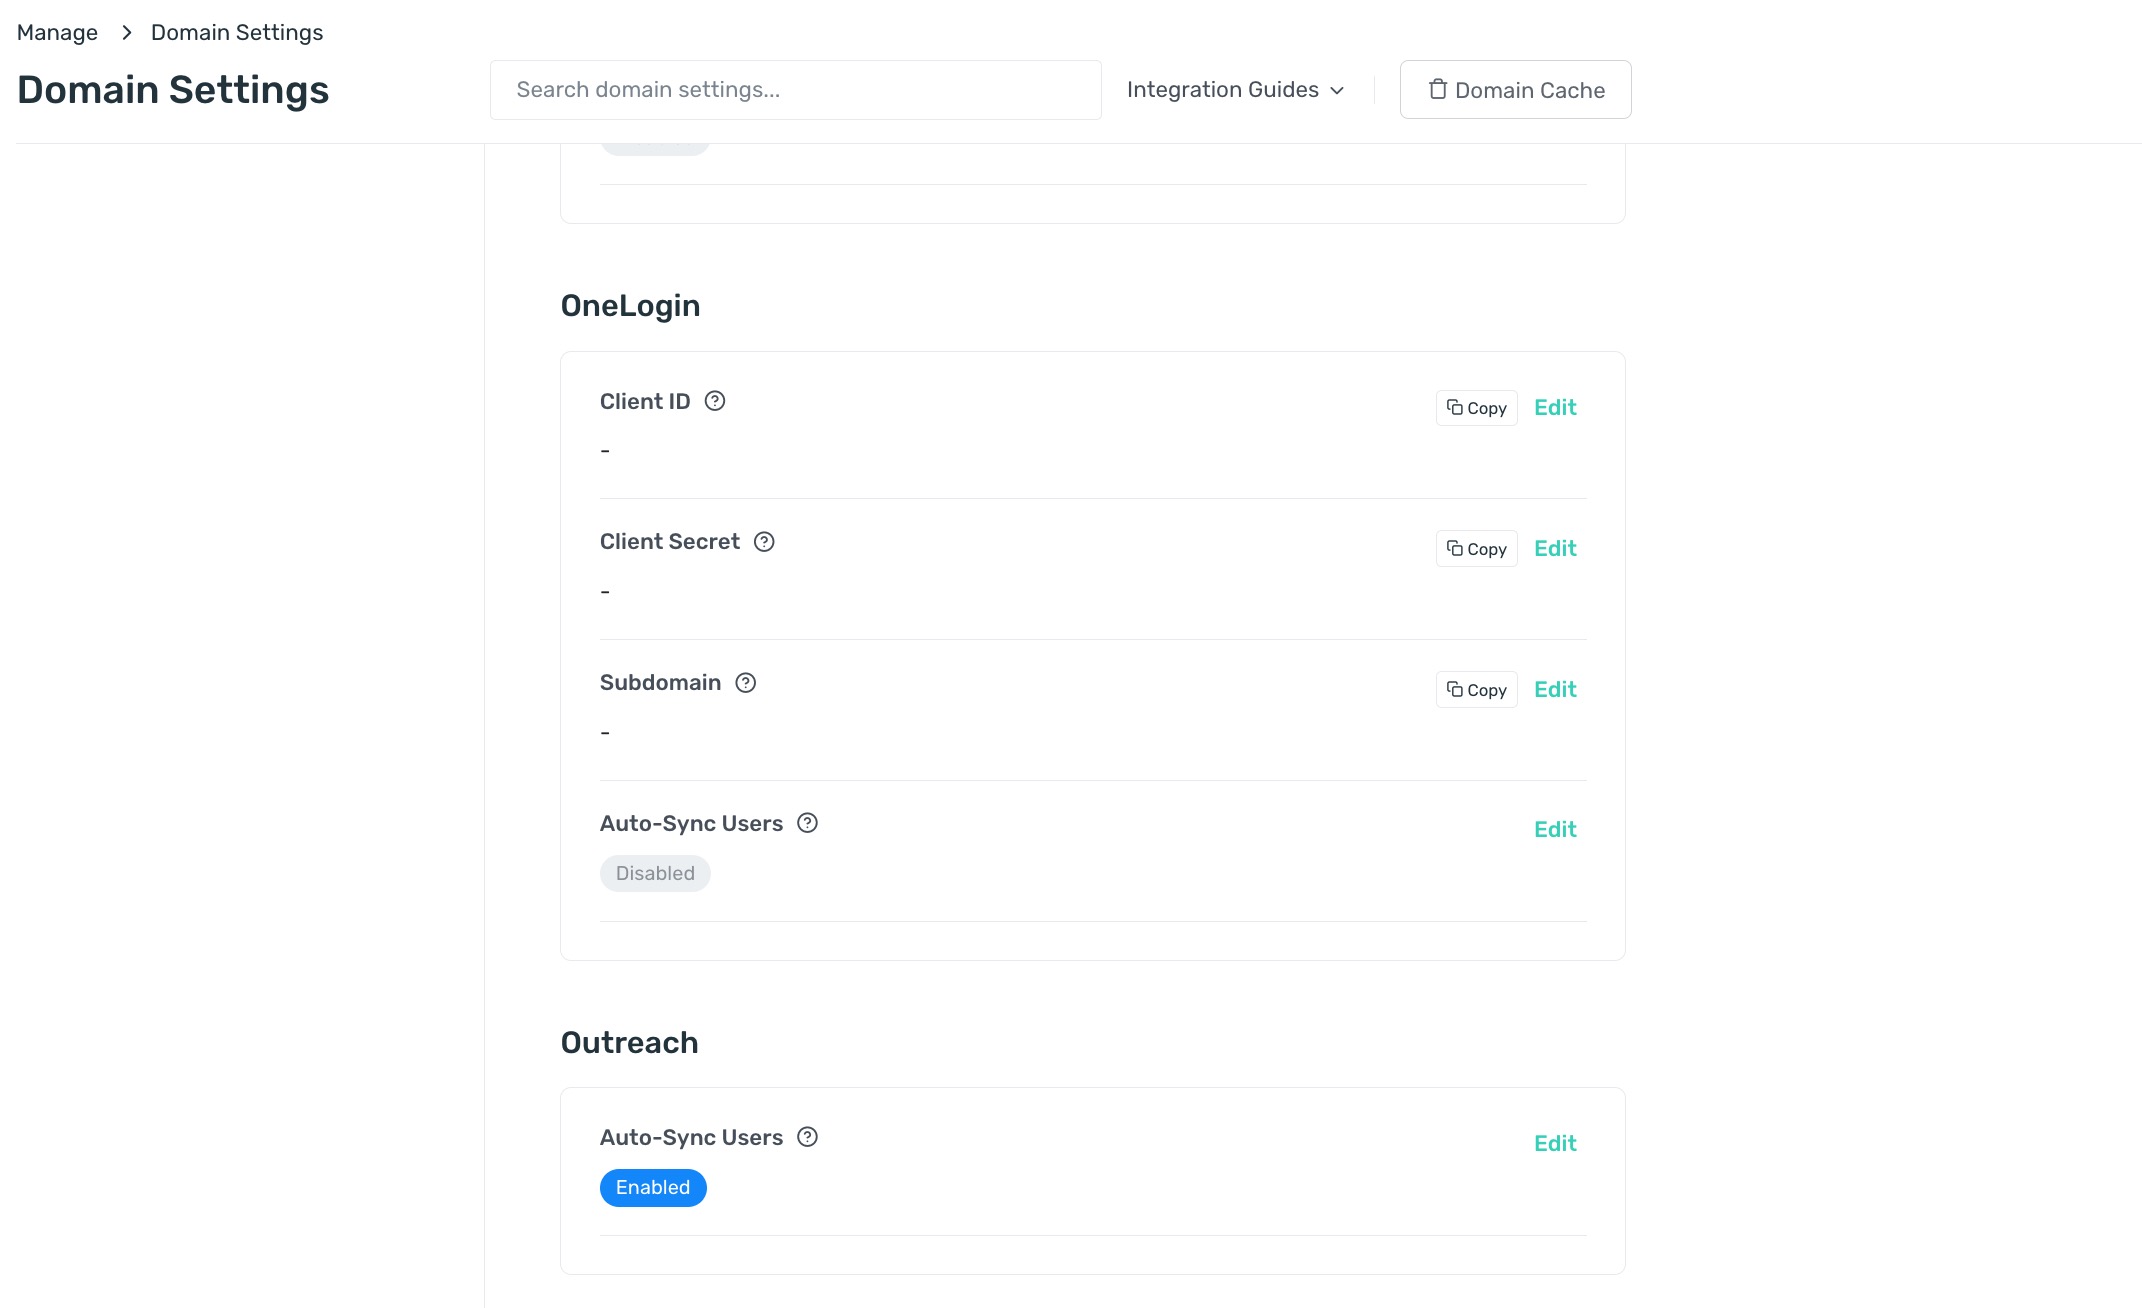
Section titled “Step 2: Turn on auto-sync”Go to Manage > Domain Settings > Directory/Sync > Configurations > Outreach, and turn on Auto-Sync Users.
Step 3: Sync your Outreach users
Section titled “Step 3: Sync your Outreach users”-
Go to Manage > Users.
-
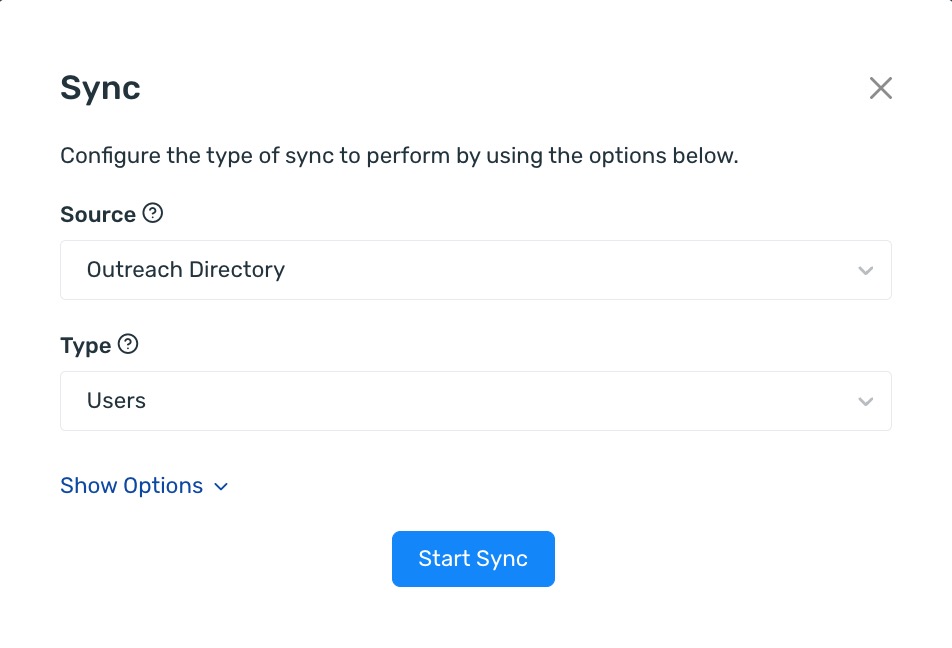
Select Actions (in the upper-right corner), then Run Sync.

-
Change Source to Outreach.
-
Select Start Sync.
Step 4: Push the Opensense Plain Text Preview to Outreach
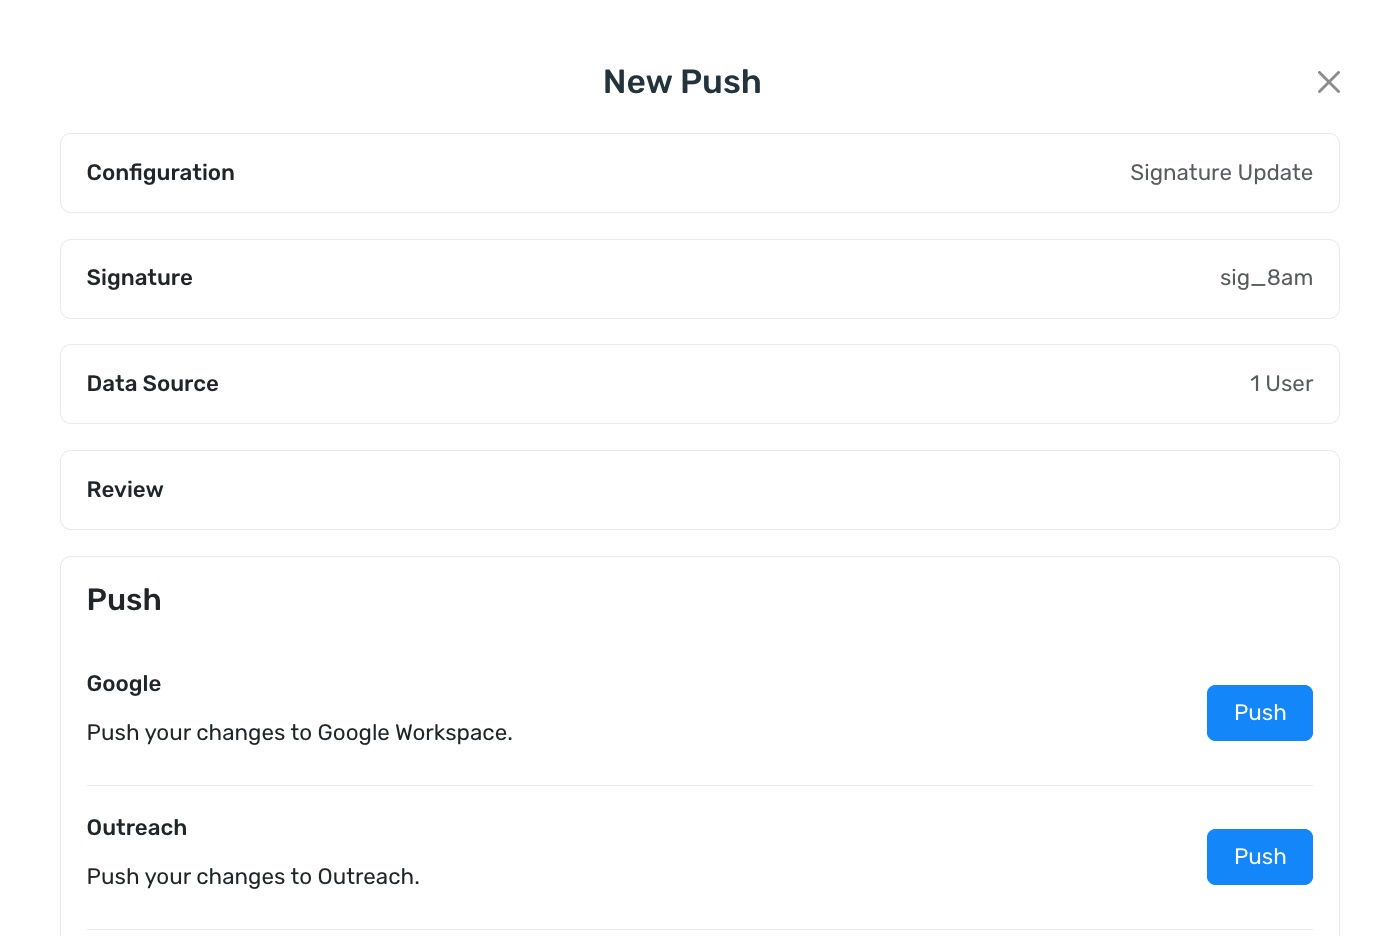
Section titled “Step 4: Push the Opensense Plain Text Preview to Outreach”Use the Pusher tool: see How to use the Pusher tool for the full steps.
-
Go to Signatures > Pusher. There’s an Outreach option with a Push button.
-
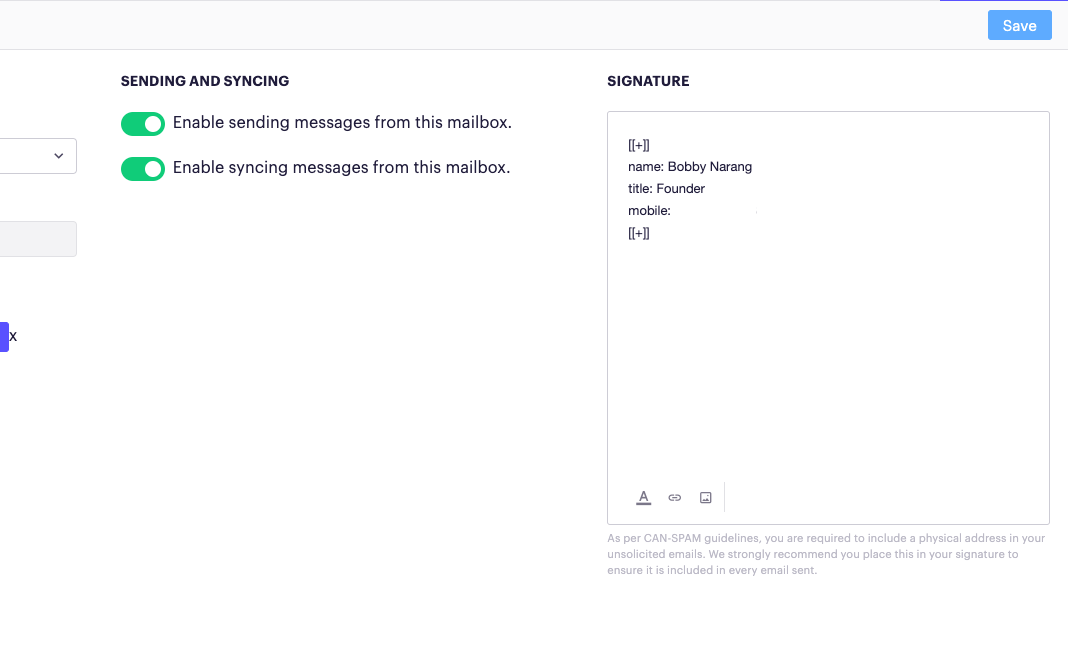
To check, in Outreach, go to your Admin Settings > Mailboxes.
-
Select Edit on a user’s mailbox, and check that the signature block is there.
What’s next
Section titled “What’s next”For further help, contact Opensense Support at help@opensense.com.