

Targeting banner campaigns
Overview
Section titled “Overview”Targeting decides which recipients see each banner. Plan your segments first, then choose a targeting method. You can target in a campaign, on the Targeting page, with group targets, or with data from your CRM.
Planning your segments
Section titled “Planning your segments”Segment your targeting in two ways: by who sends the email, or by who receives it.
Internal targeting · by sender
- Customer Success shares onboarding or support resources.
- Sales highlights offers or product demos.
- Marketing promotes webinars, ebooks, or events.
Recipient targeting · by recipient
- Event attendees get follow-up content.
- High-value accounts get tailored messages for account-based marketing (ABM).
Choosing a targeting method
Section titled “Choosing a targeting method”| Method | Use it for | Set it up |
|---|---|---|
| By employee | Internal banners for your own employees | In a campaign |
| By domain | ABM, such as a top account, or a podcast guest with their episode’s banner | Targeting page or a campaign |
| By recipient | ABM, such as specific members of a buying committee | Targeting page or a campaign |
| By department | Content based on the sender, not the recipient, such as Sales, CS, or Marketing | Group targets |
| By persona | A job title, department, language, and more, when you sell to several personas | CRM data |
| By lifecycle stage | Any custom stage or criteria, such as Nurture, Working, Customer, or an NPS score of 0–30 | CRM data |
| By list | A CRM list, such as event leads, sponsors, or ABM accounts | CRM data |
| By industry | Messaging for each industry you sell to | CRM data |
Targeting in a campaign
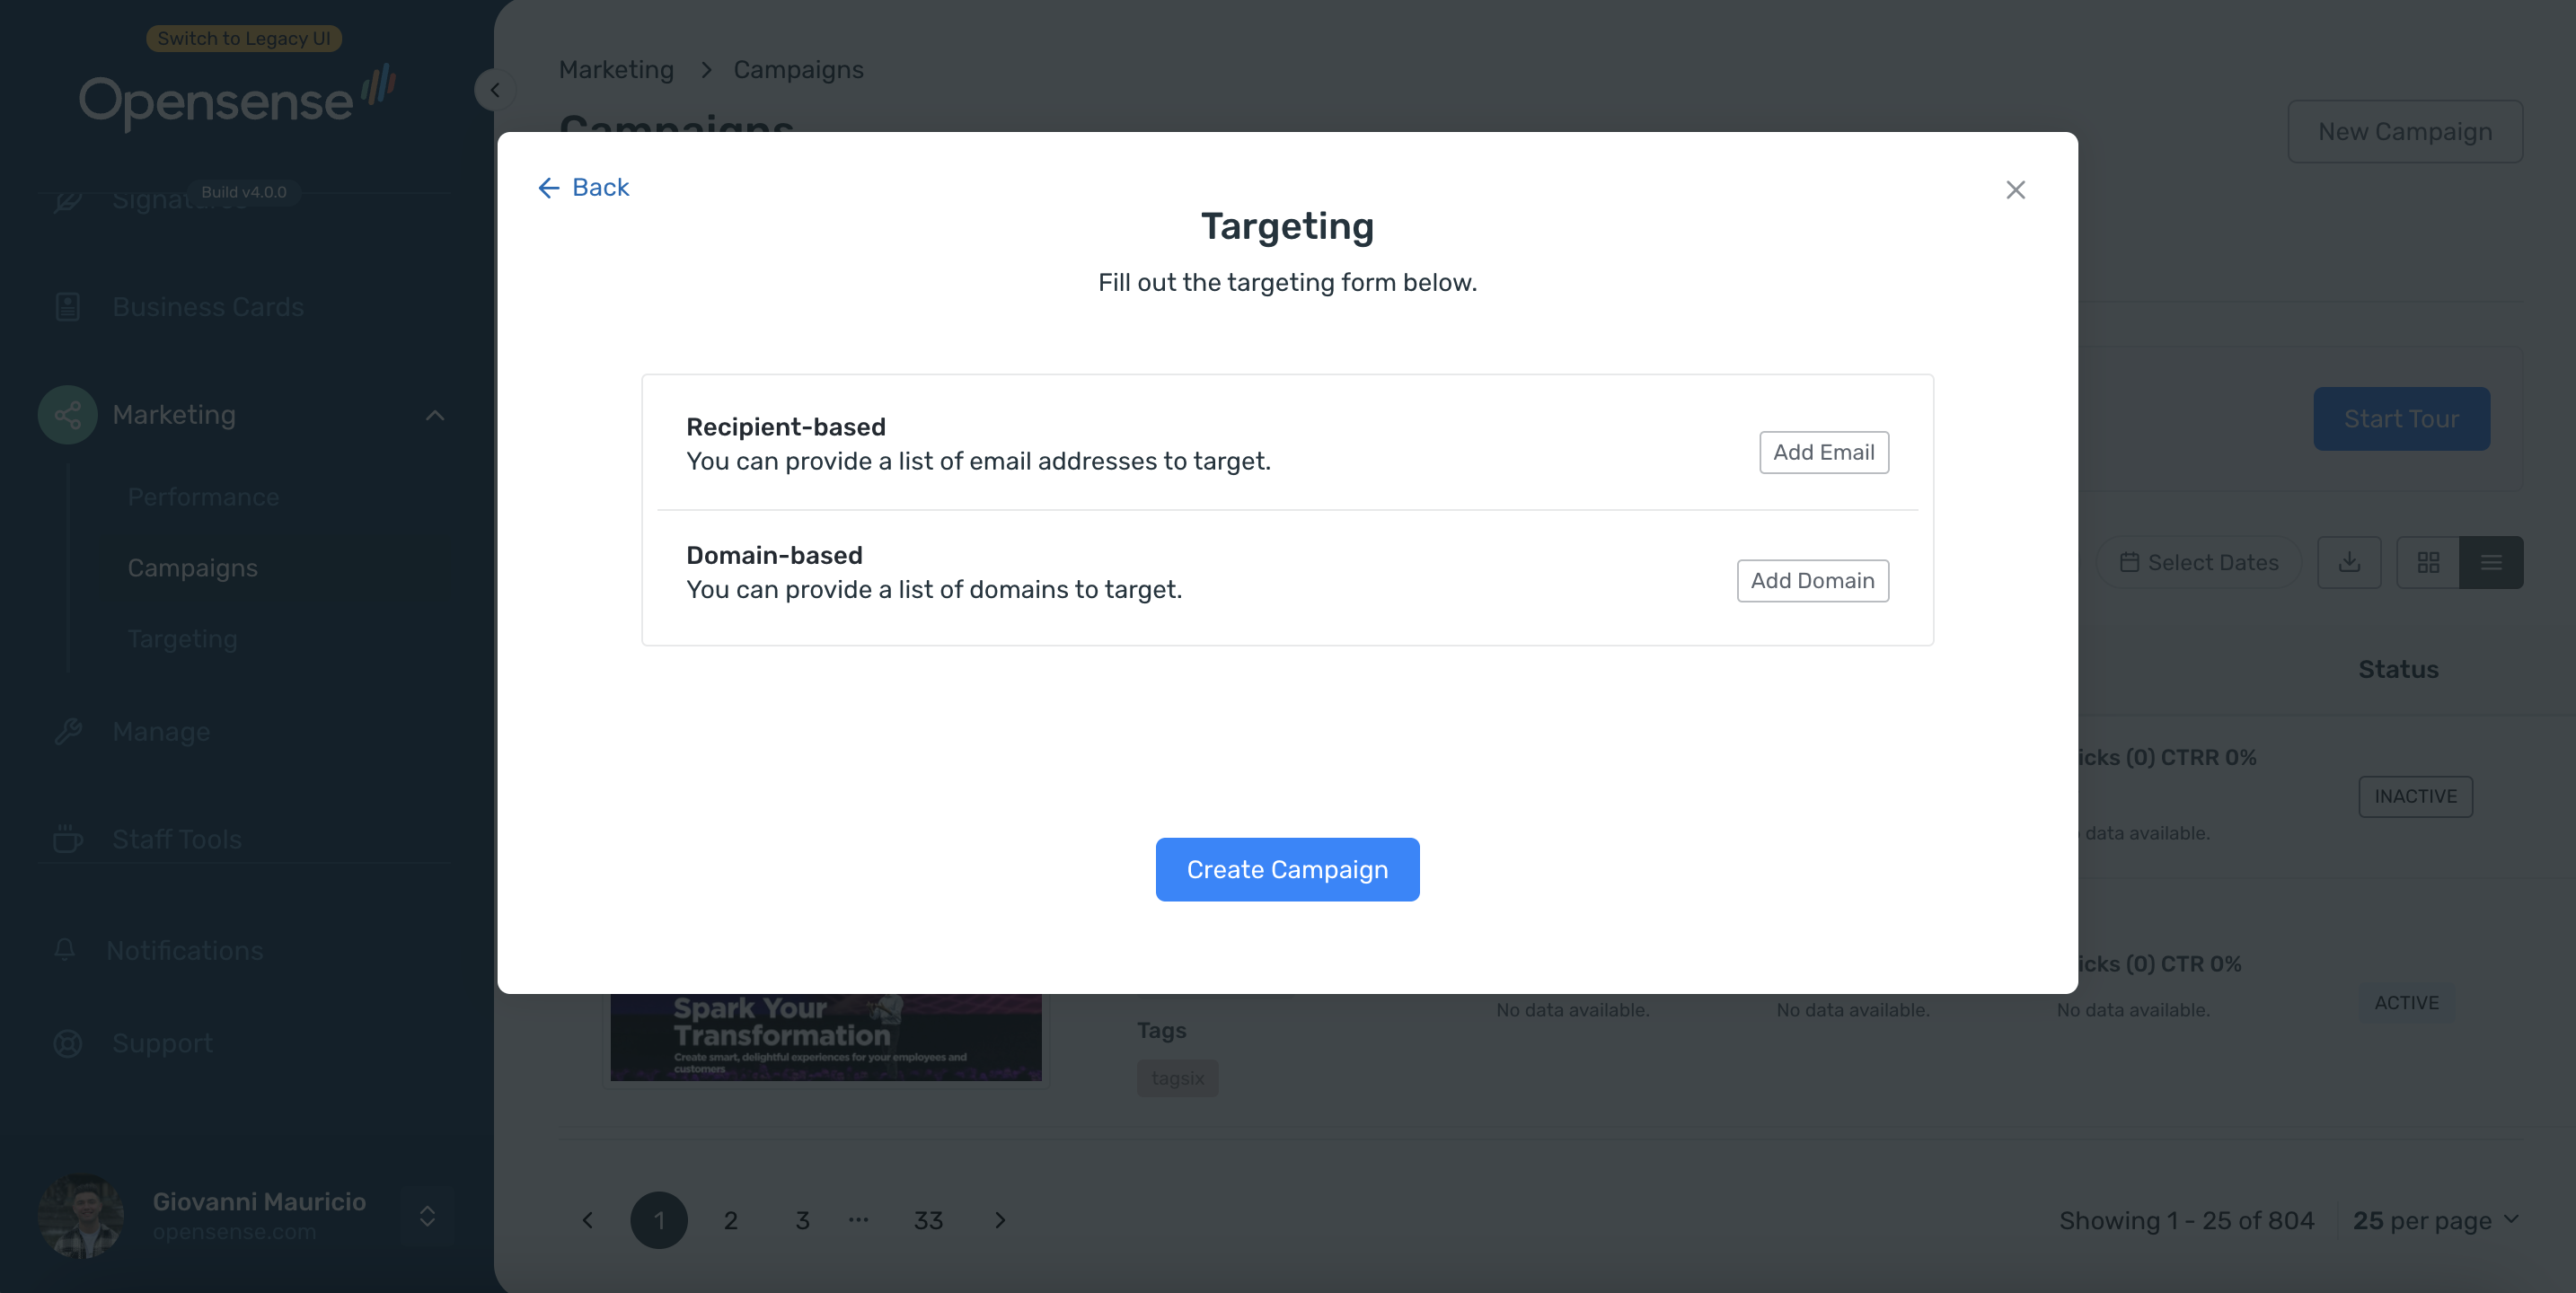
Section titled “Targeting in a campaign”Each campaign has a Targeting step, where you list the email addresses (Recipient-based) and domains (Domain-based) that see its banner. In a new campaign, it is the last step of the New Campaign window. In an existing campaign, it is at the bottom of the edit page.
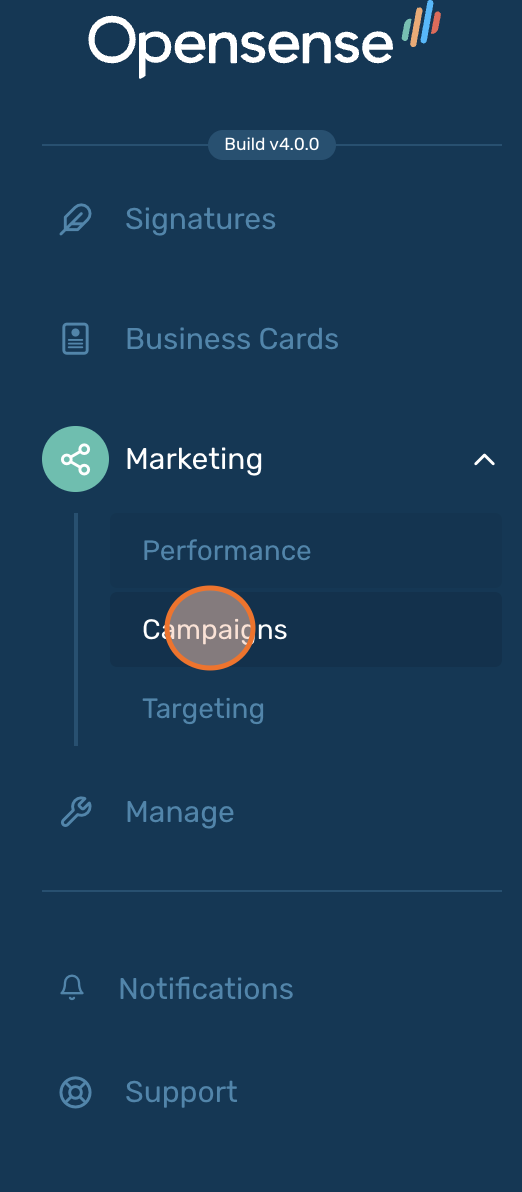
- In the navigation pane, select Marketing > Campaigns.
- Create a campaign, or edit an existing one.
- In Targeting, click Add Email to add email addresses, or Add Domain to add domains.
To reach your own employees, add their email addresses or your company’s domain. Internal banners work well for:
- New updates, such as product launches, campaigns, or a new blog post
- Upcoming events, such as webinars, conferences, or holiday parties
- Satisfaction surveys
- Company culture, such as promotions, new babies, or birthdays
- HR announcements
Targeting on the Targeting page
Section titled “Targeting on the Targeting page”The Domains and Recipients tabs on the Targeting page hold the domains and recipients that you target. Each entry links to campaigns, tags, or both.
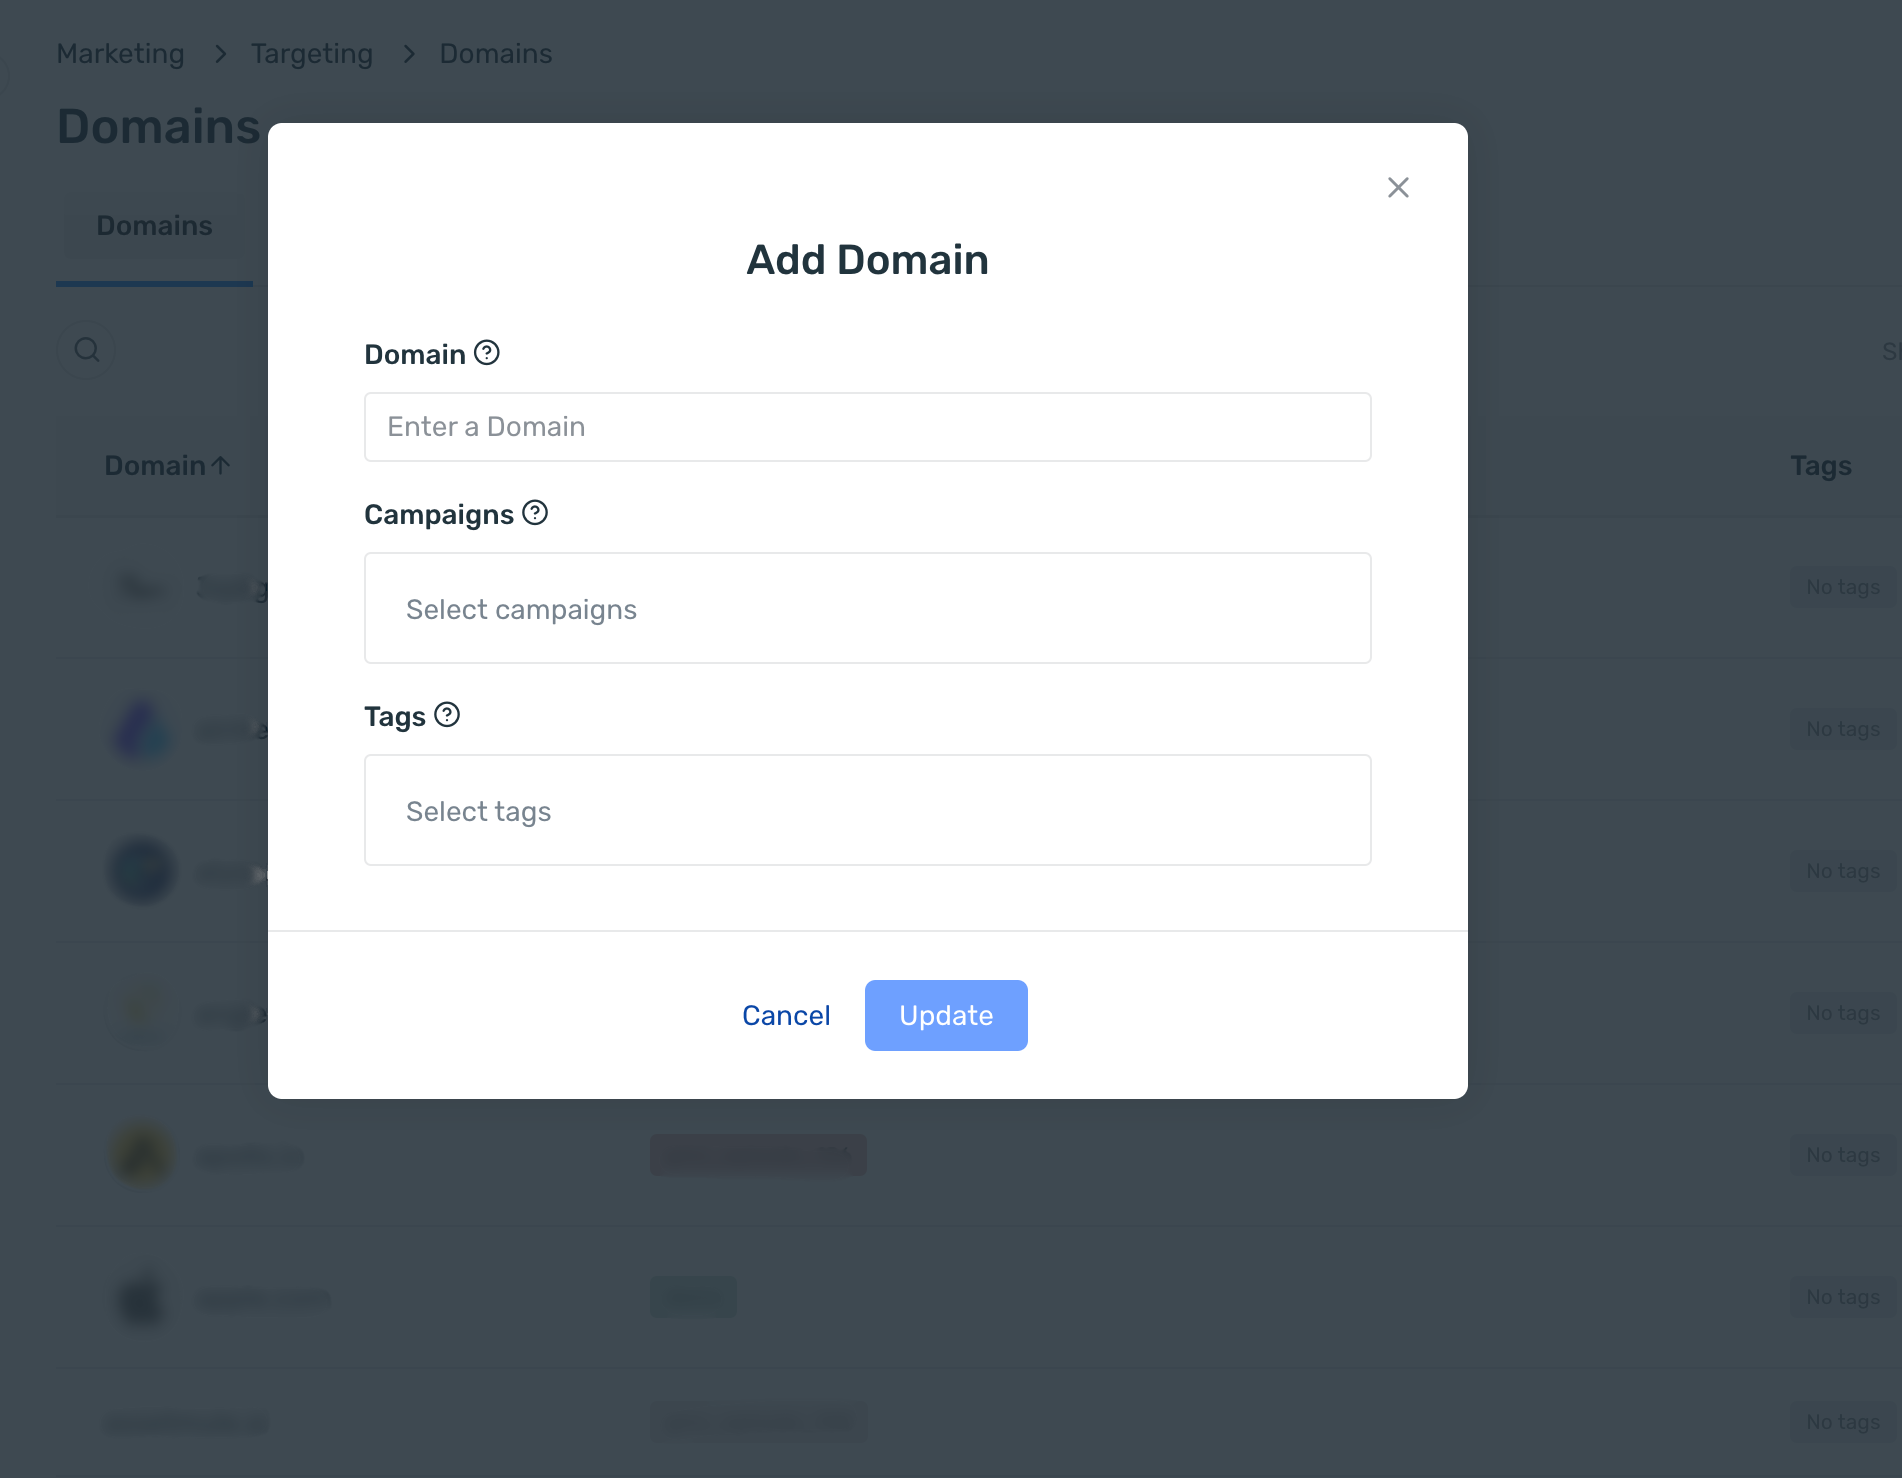
Adding a domain
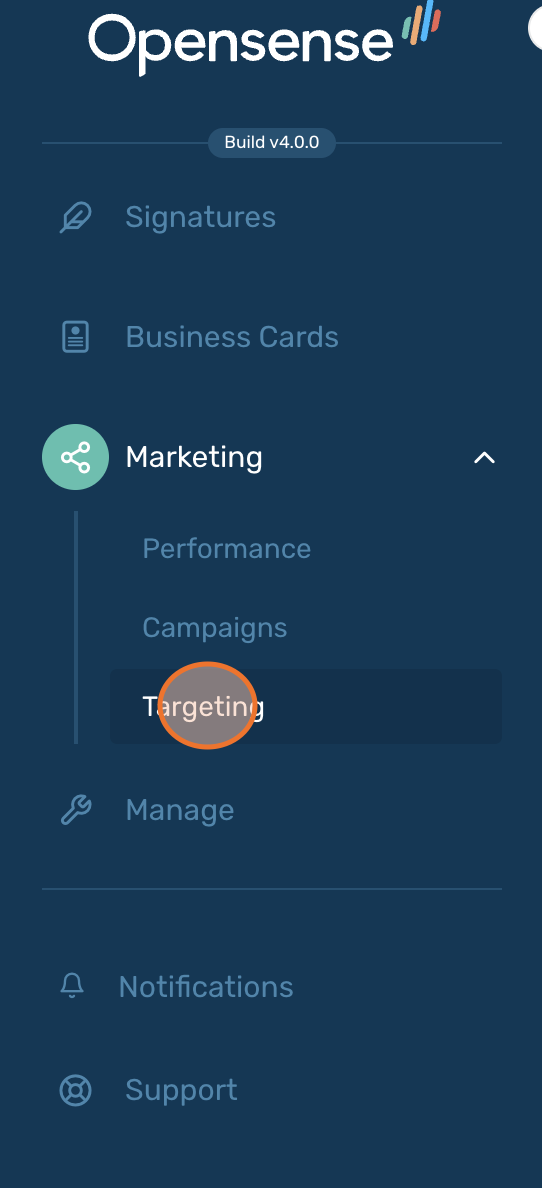
Section titled “Adding a domain”- In the navigation pane, select Marketing > Targeting.
- Select the Domains tab, then click Add Domain.
- In Domain, enter a valid domain. The short and the full form both work, for example
opensense.comorwww.opensense.com. - Select Campaigns, Tags, or both. Each entry needs at least one campaign or one tag. If you add a tag, you can add the same tag to a campaign’s banner instead of selecting the campaign here.
- Click Update.
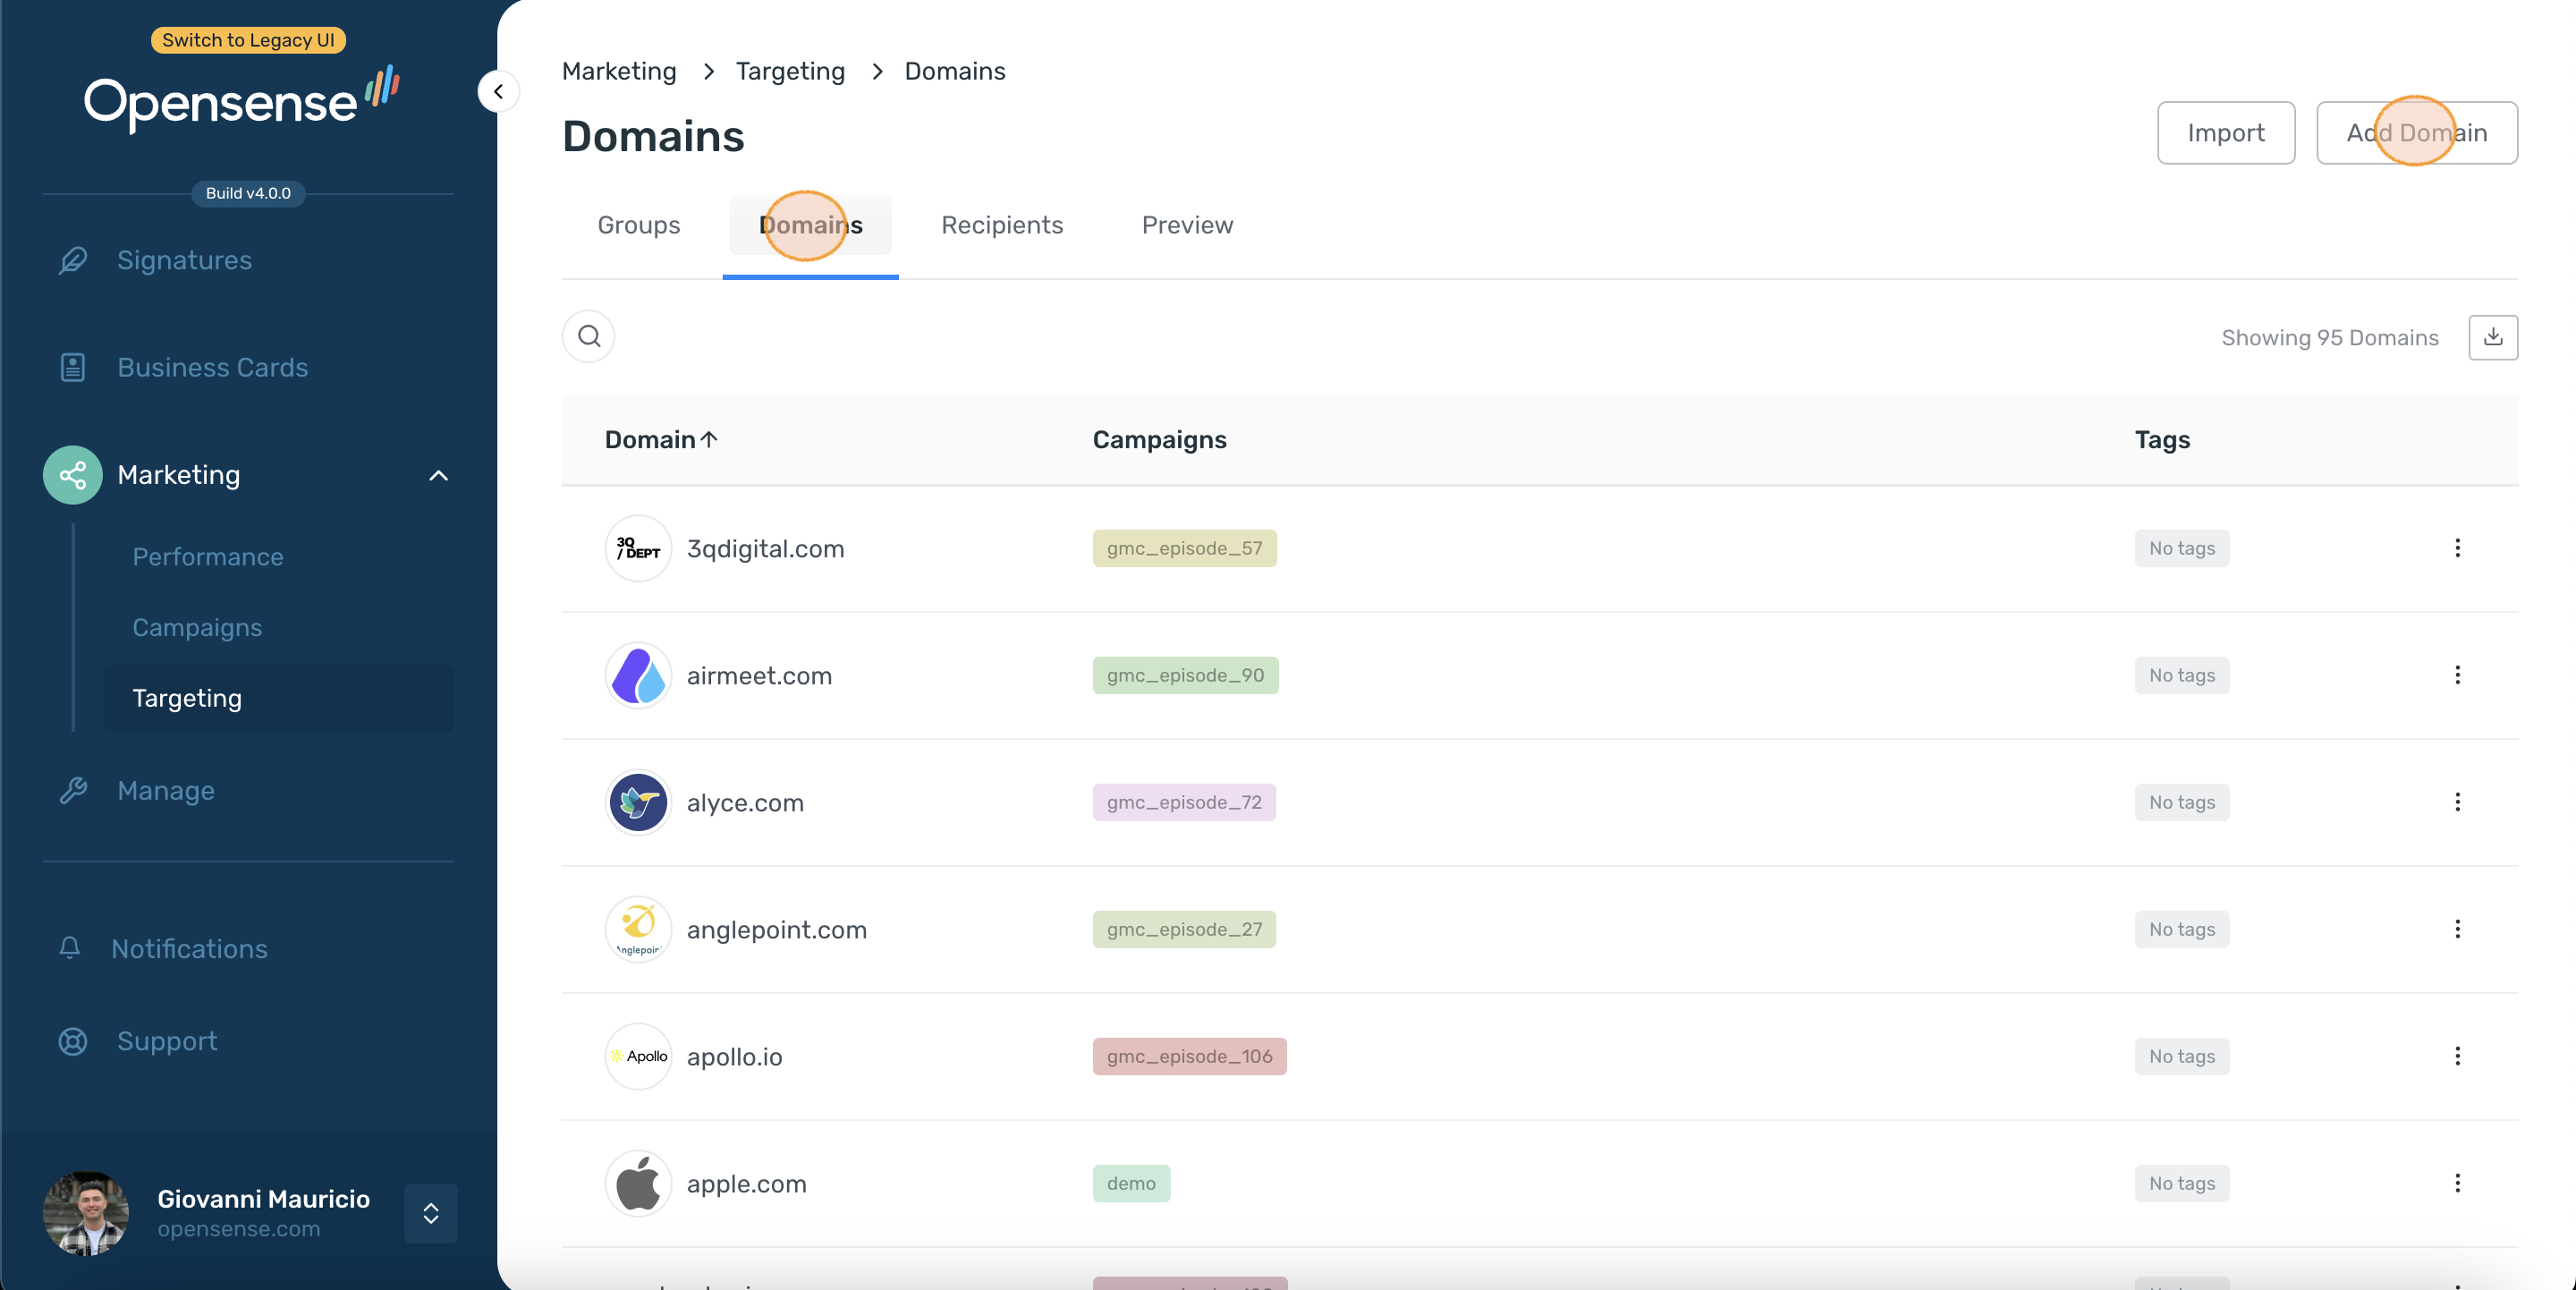
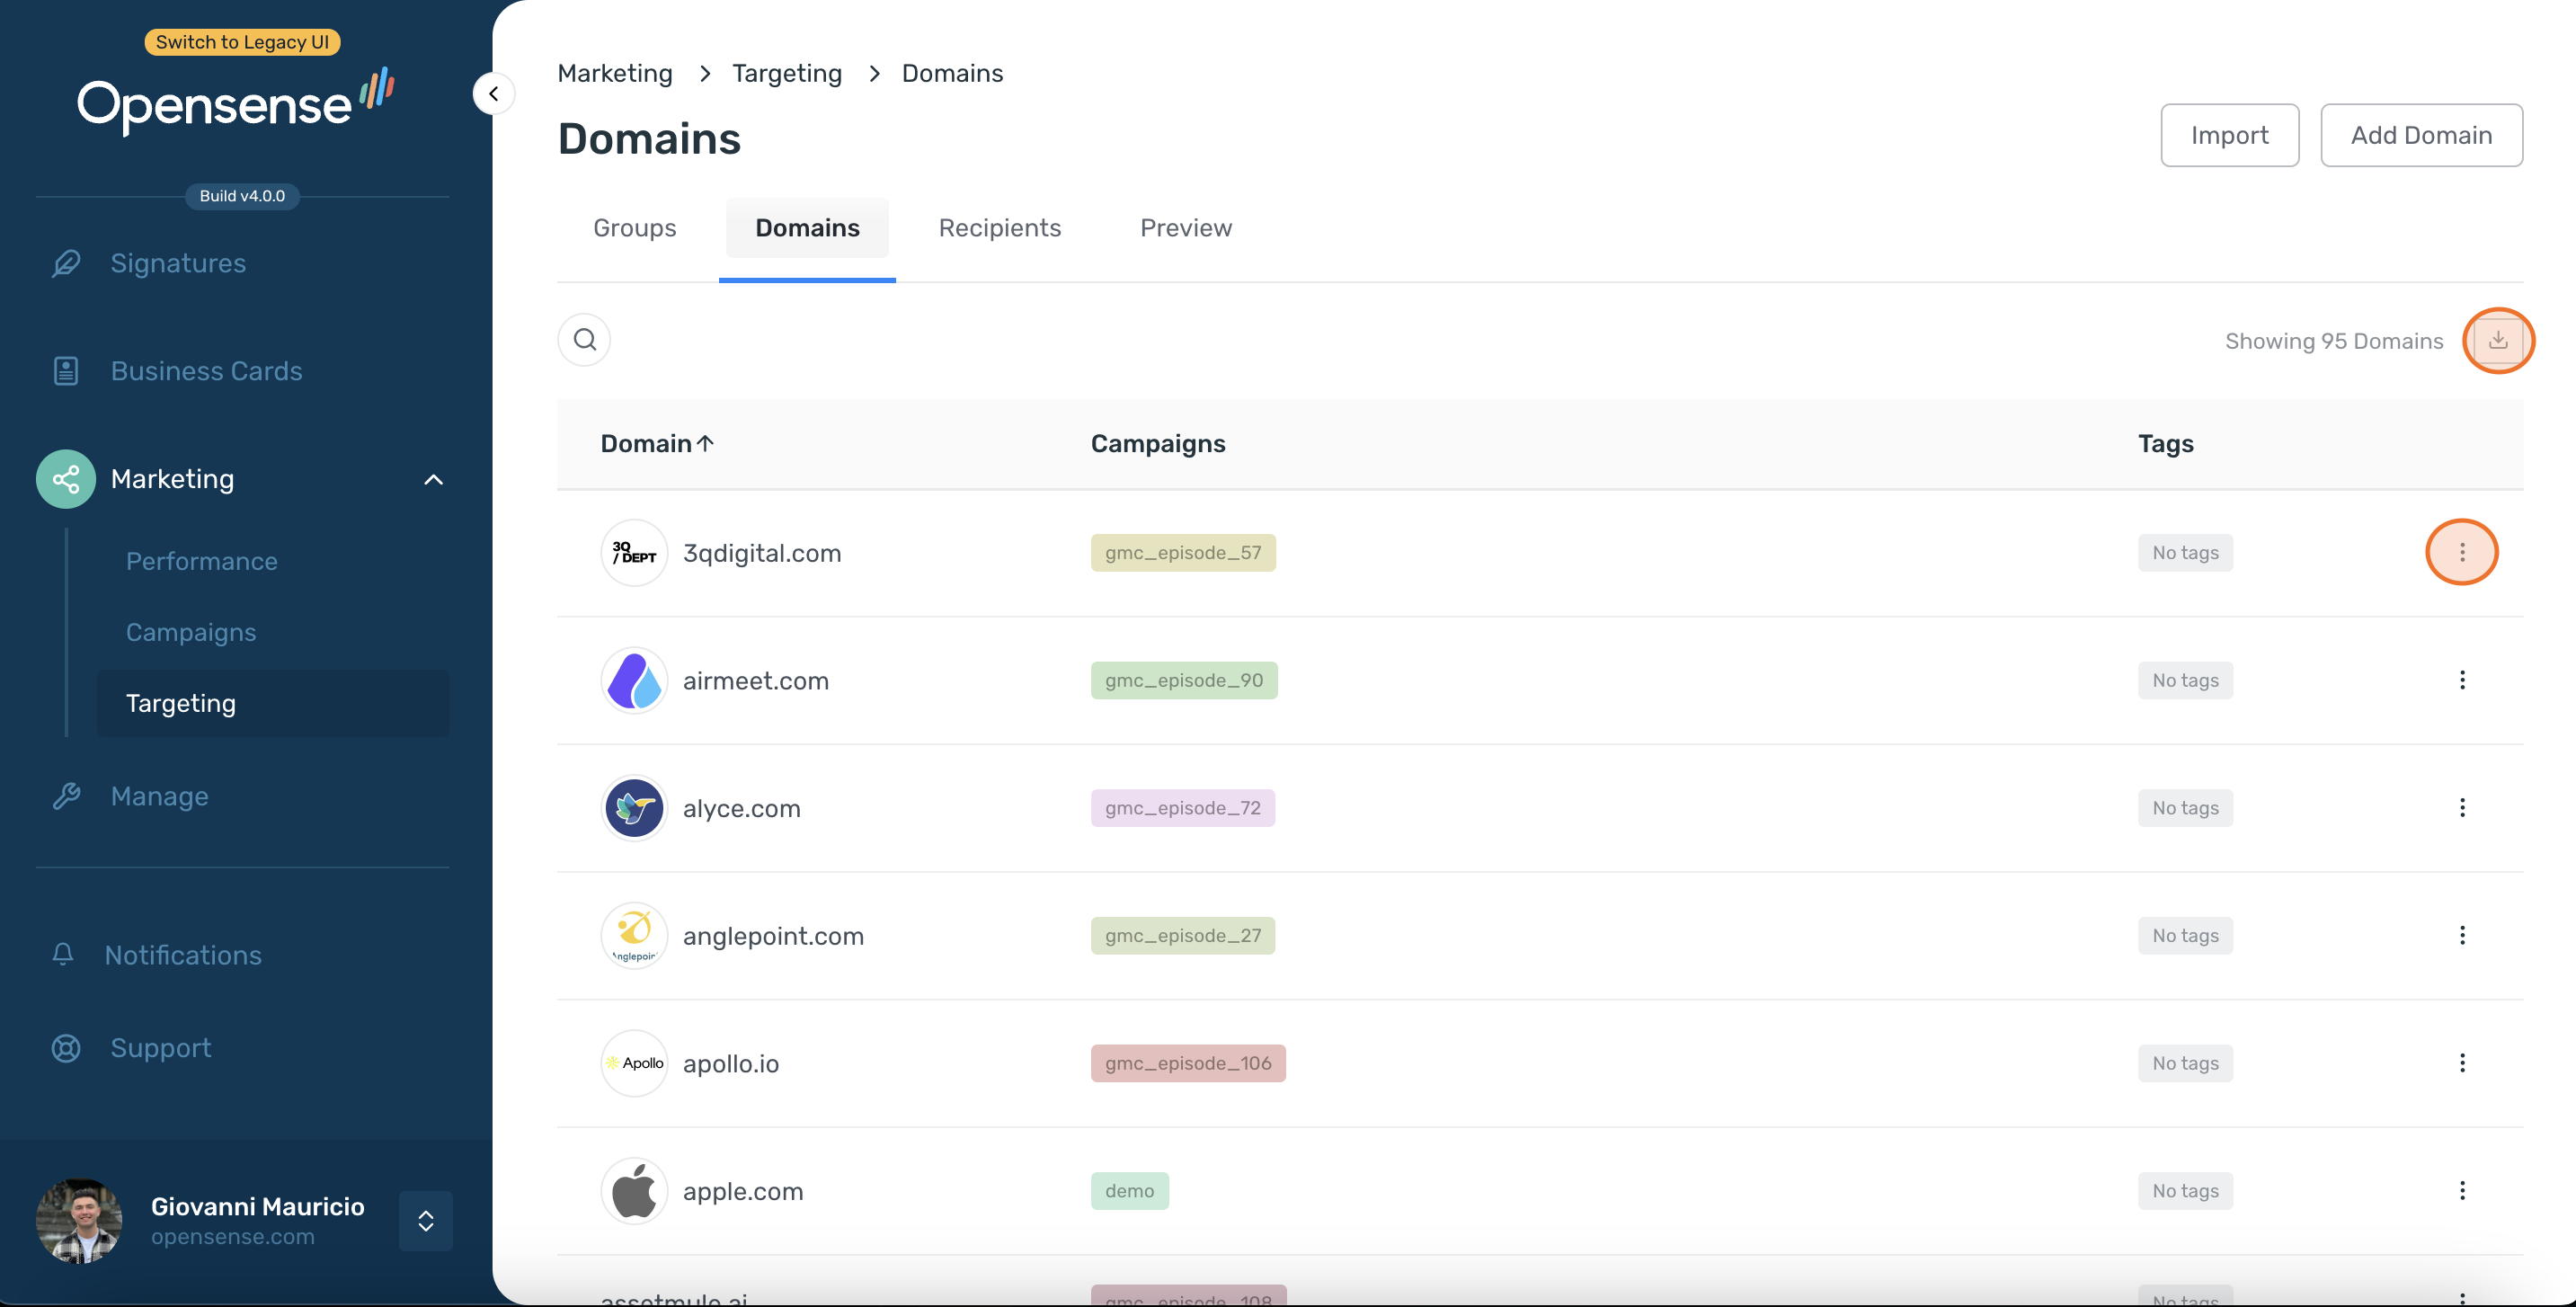
To edit or delete a domain, click the actions menu (⋮) on its row. To export all domains, click the download button above the list.
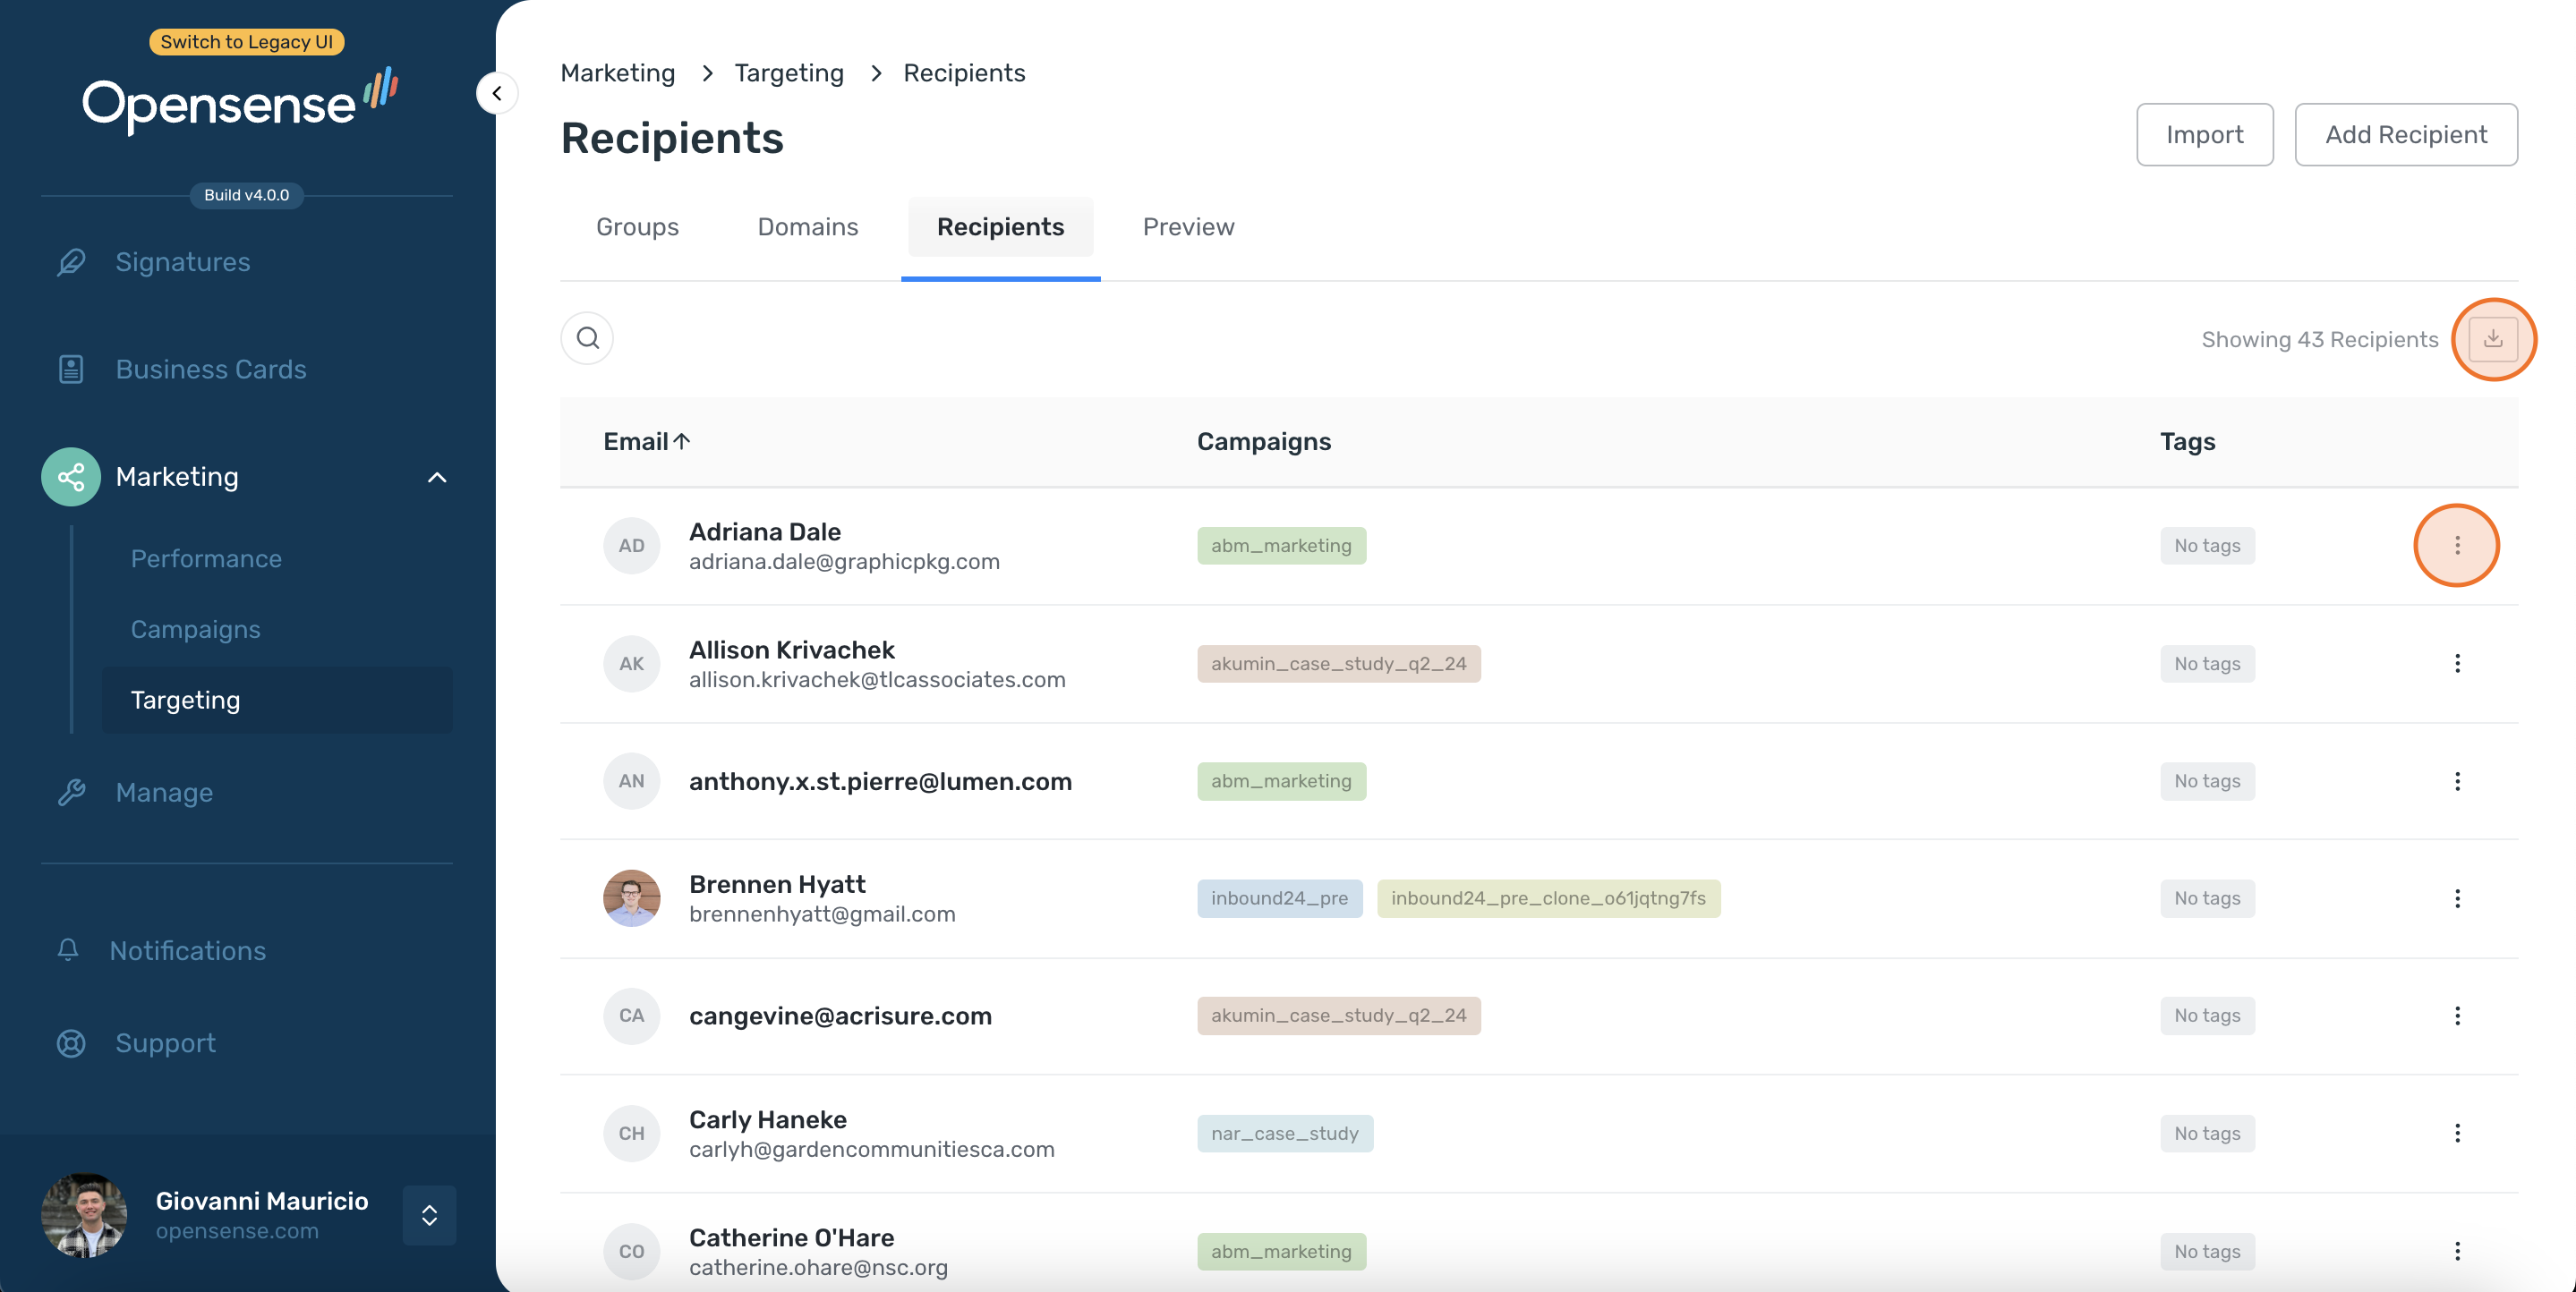
Adding a recipient
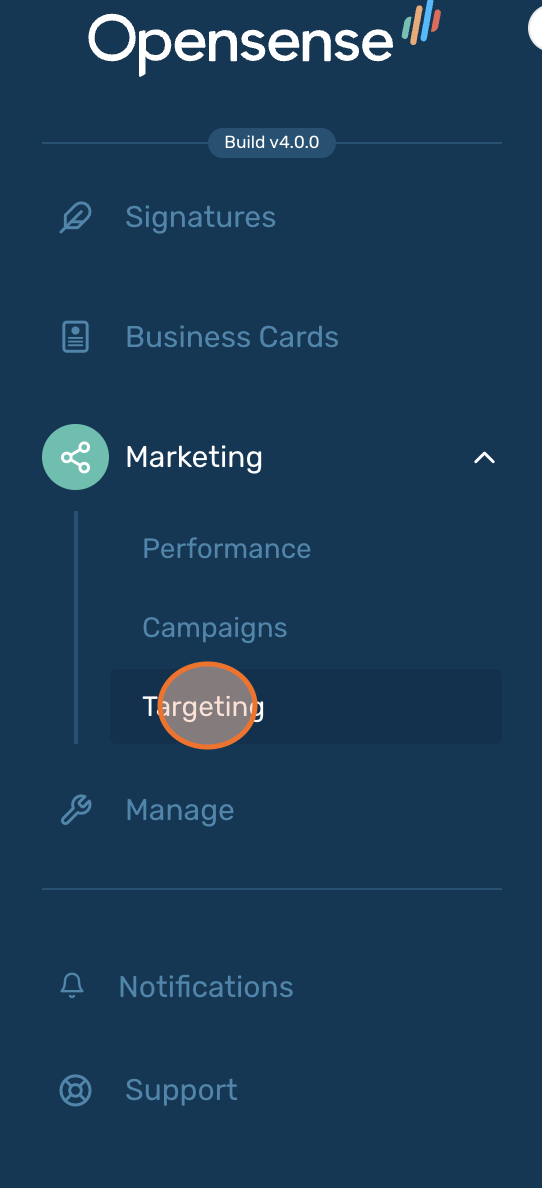
Section titled “Adding a recipient”- In the navigation pane, select Marketing > Targeting.
- Select the Recipients tab, then click Add Recipient.
- In Recipient, enter a valid email address.
- Select Campaigns, Tags, or both. Each entry needs at least one campaign or one tag. If you add a tag, you can add the same tag to a campaign’s banner instead of selecting the campaign here.
- Click Update.
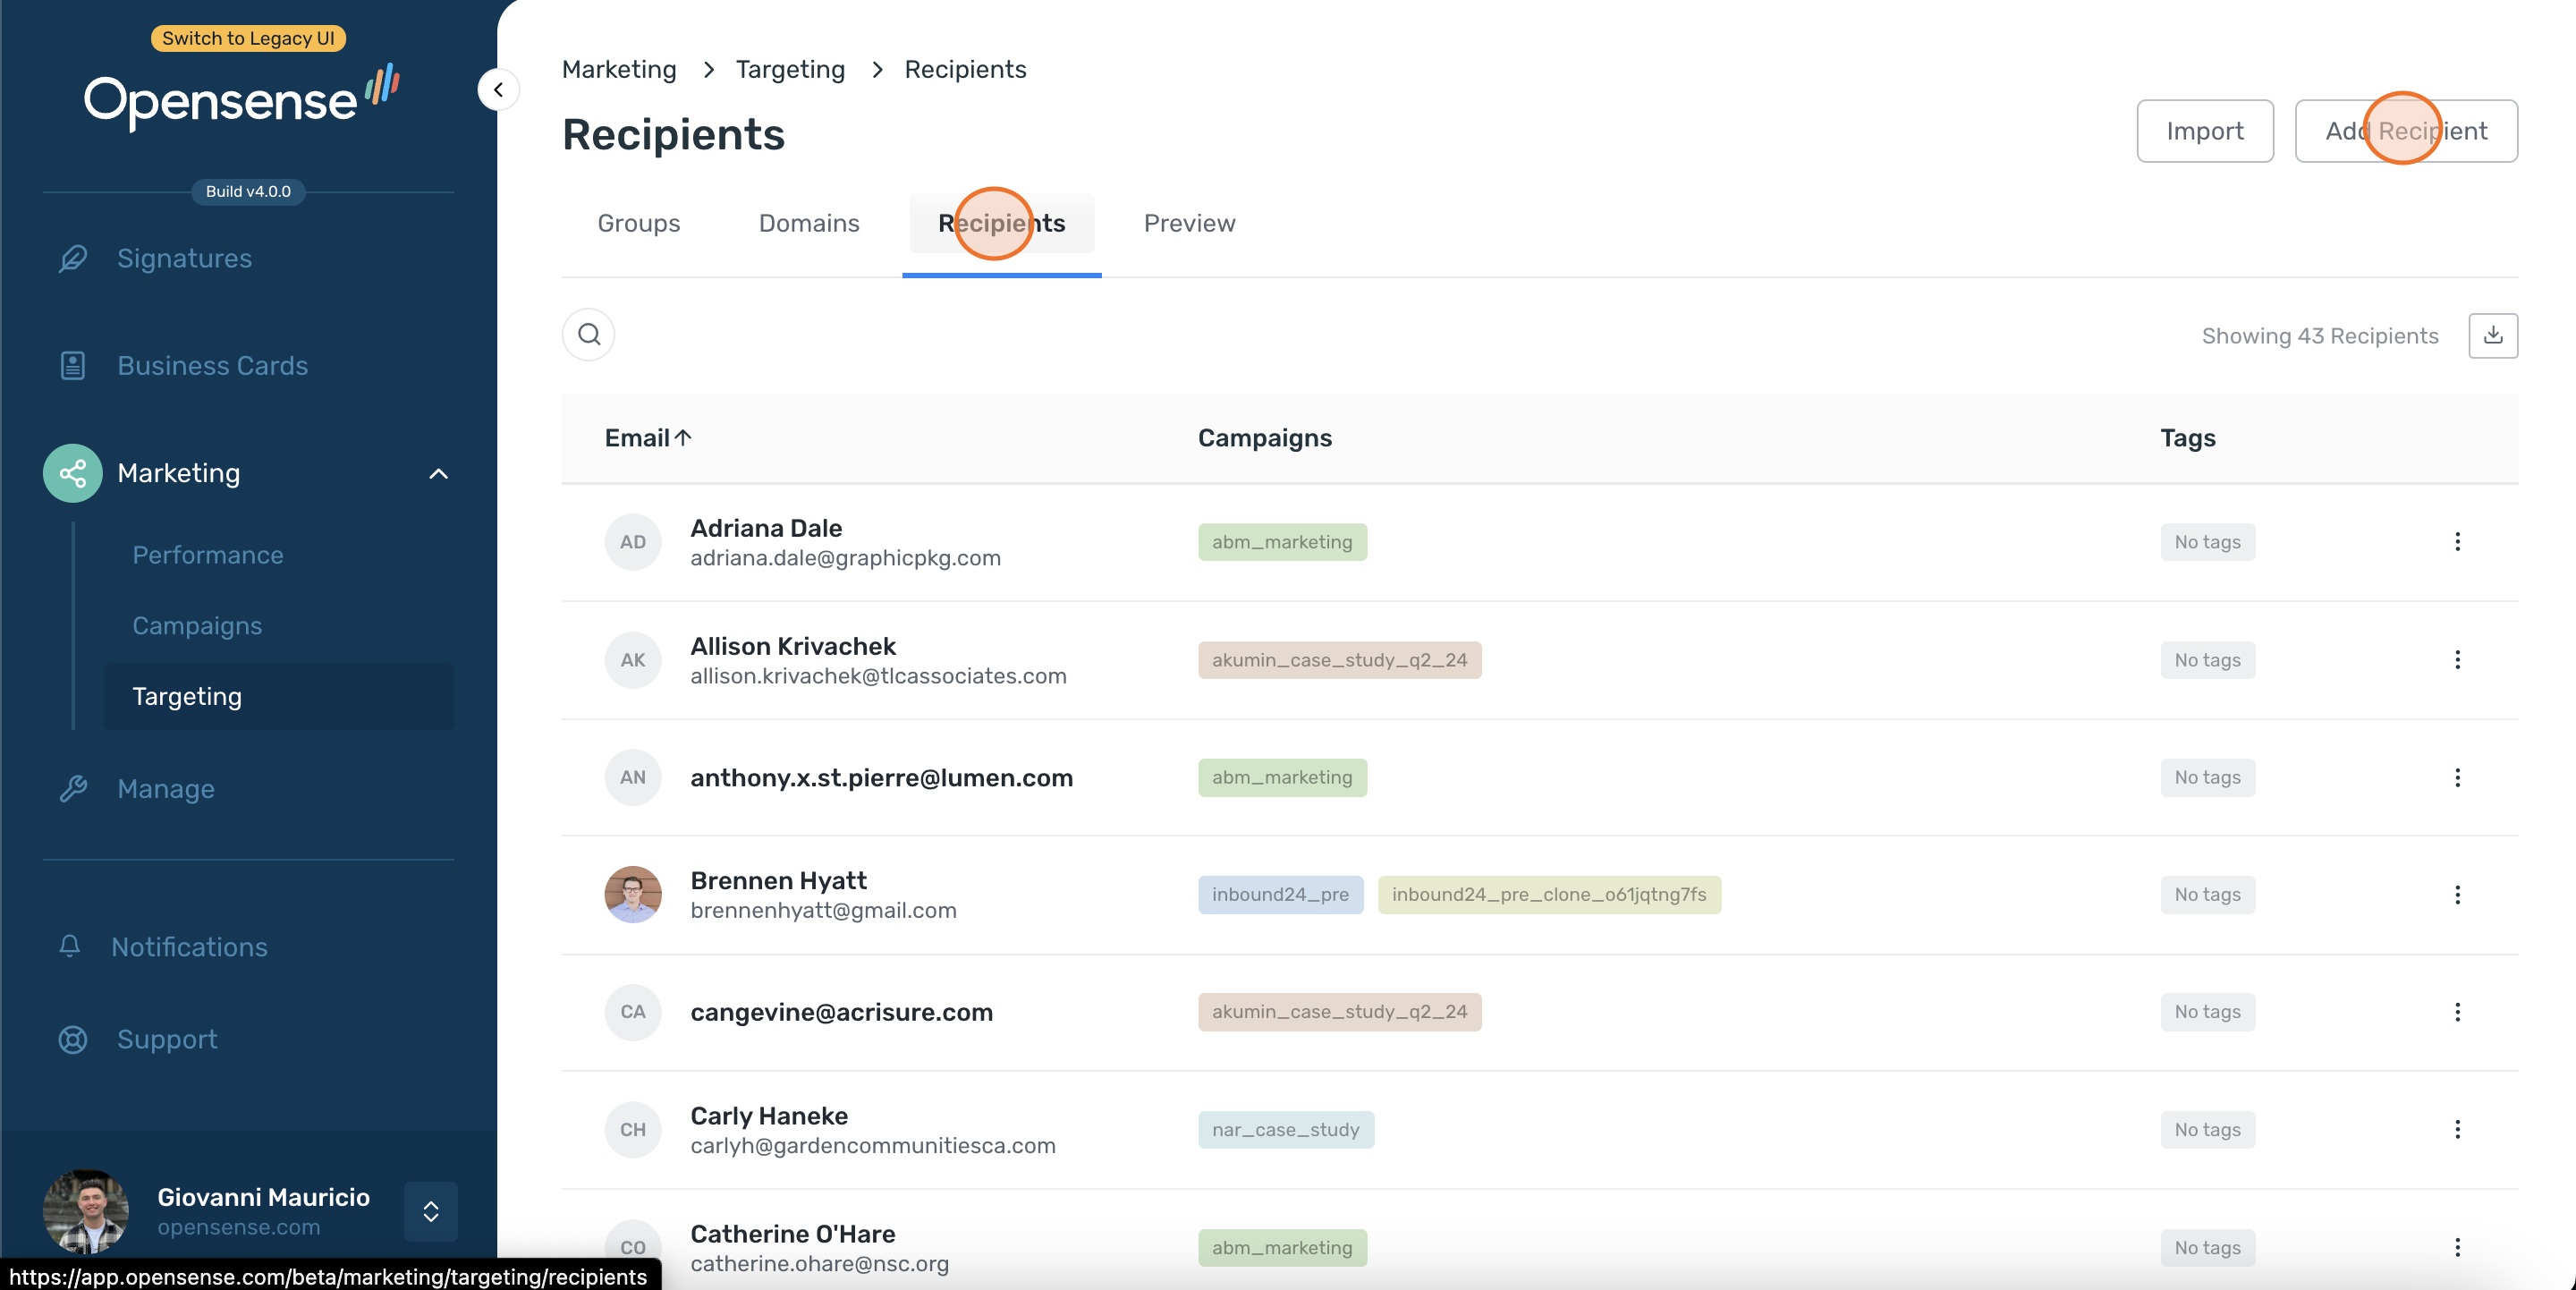
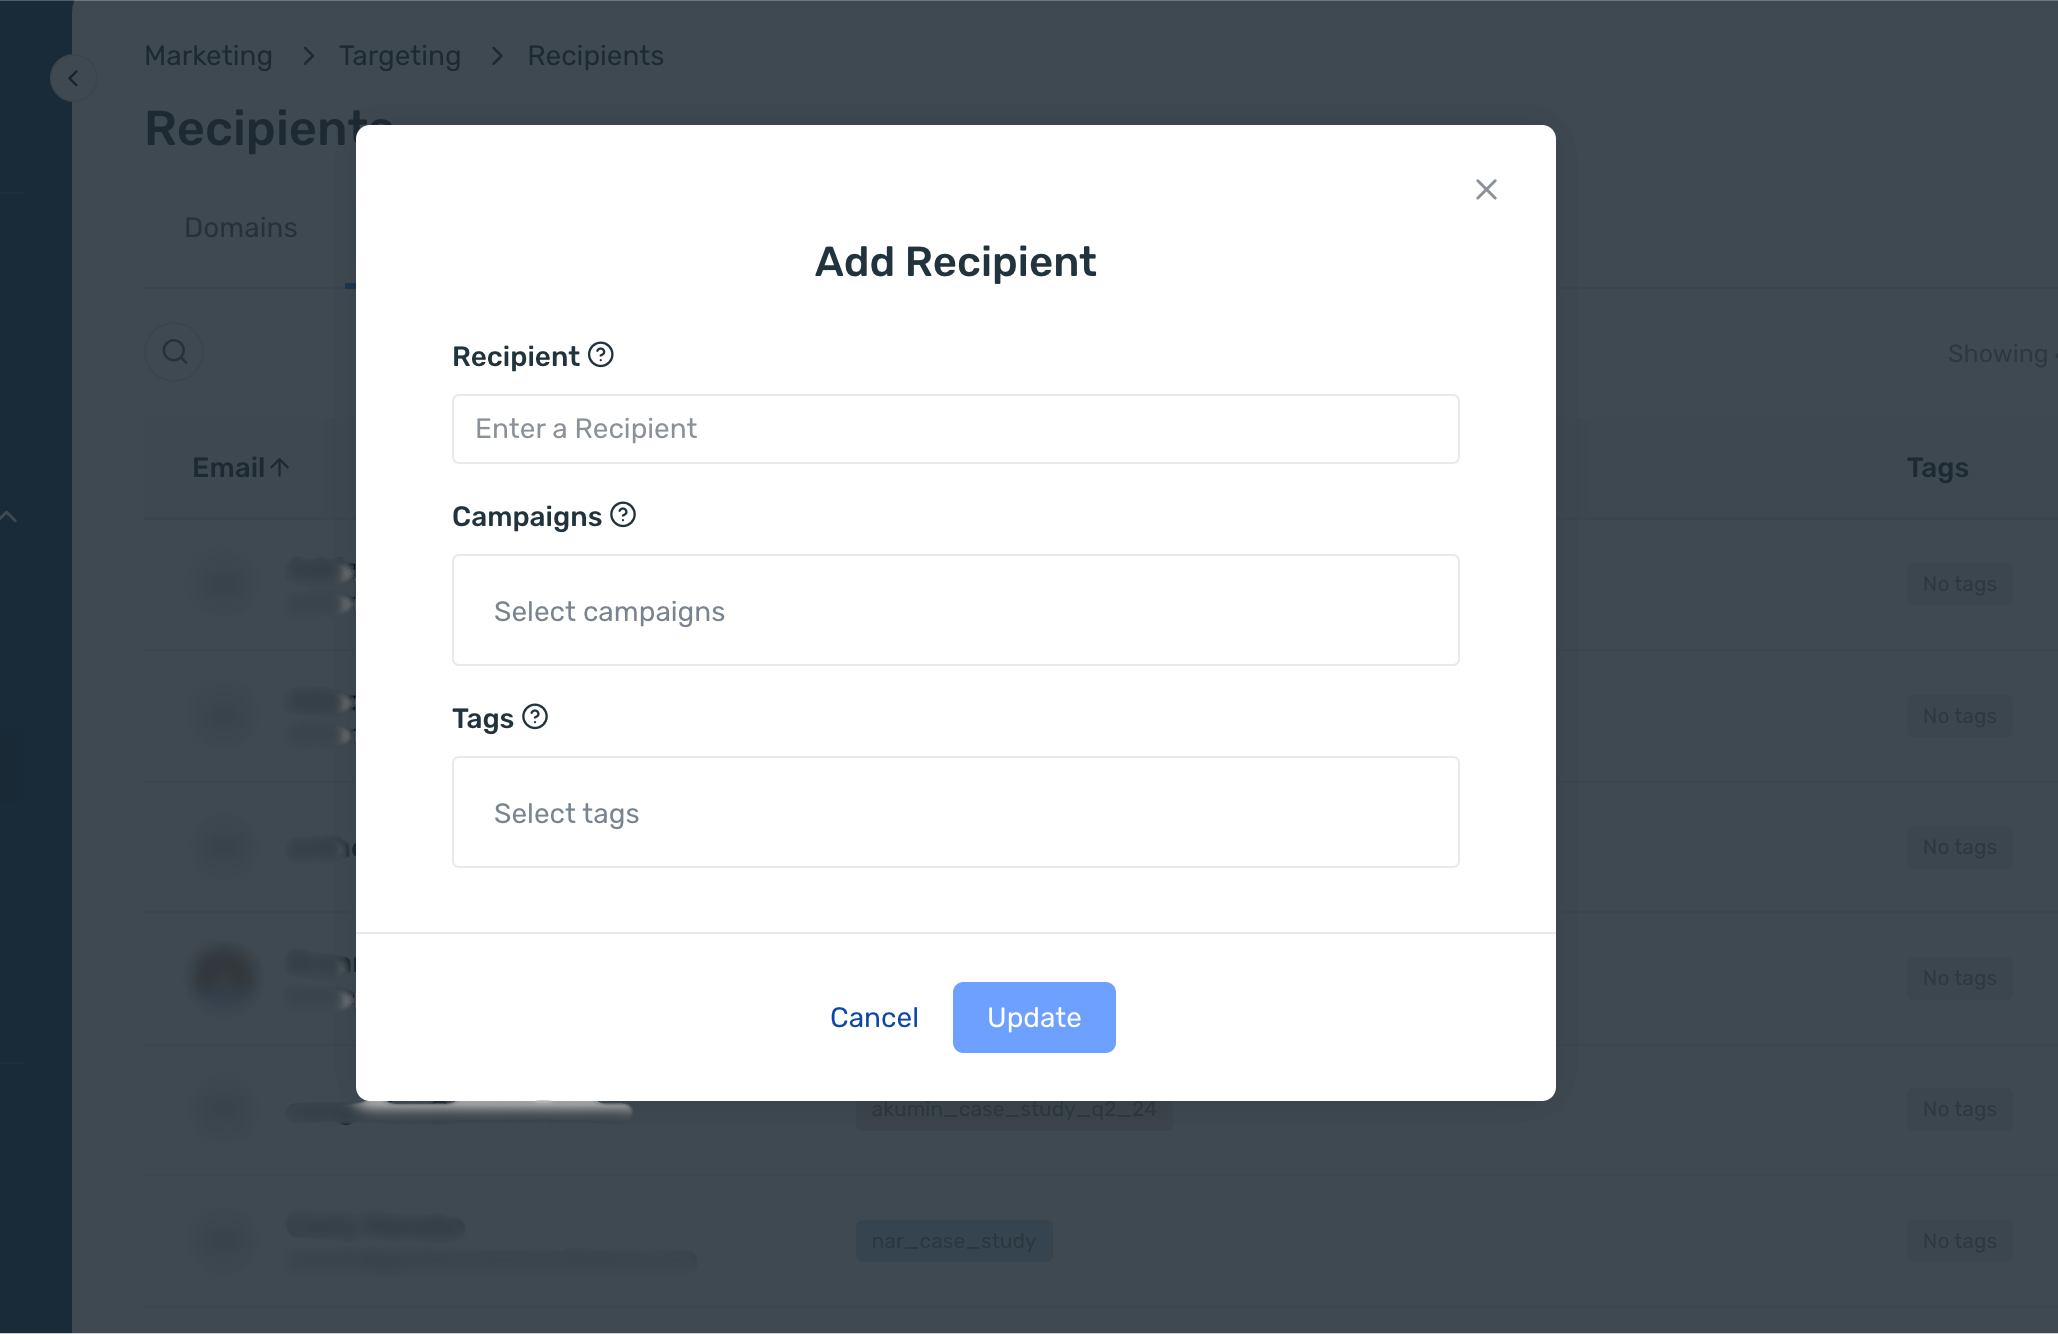
To edit or delete a recipient, click the actions menu (⋮) on its row. To export all recipients, click the download button above the list. To see a recipient’s details, such as title, company, and industry, hover over their name.
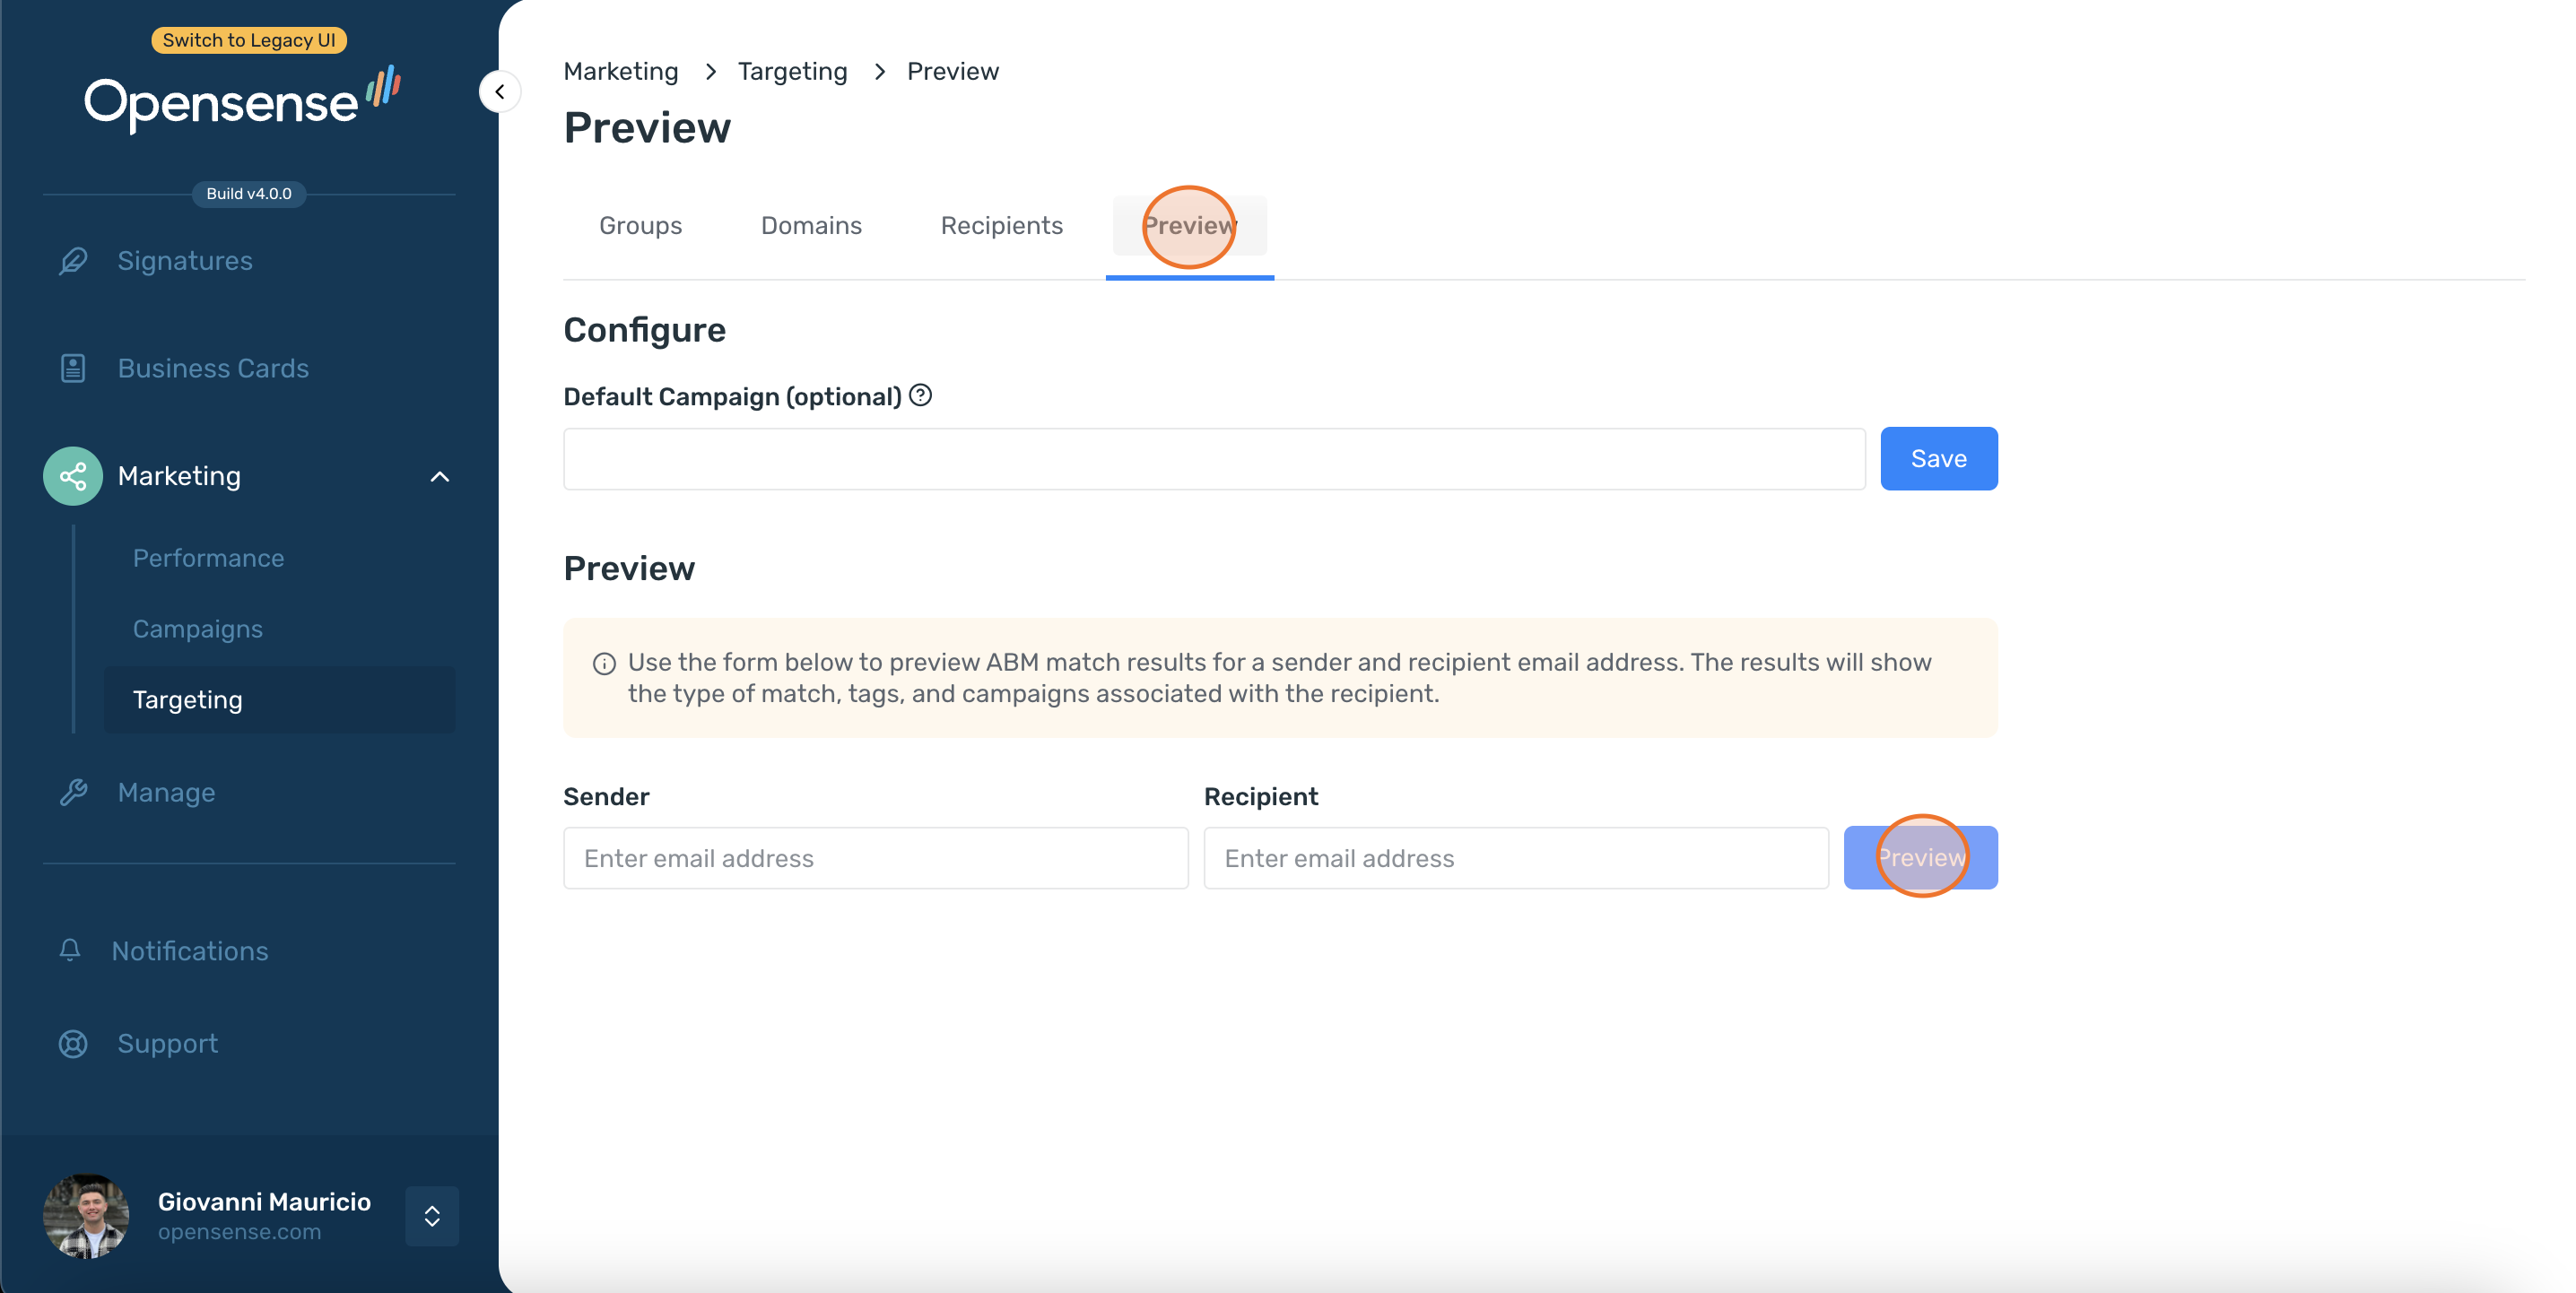
Previewing your targeting
Section titled “Previewing your targeting”- On the Targeting page, select the Preview tab.
- Enter the Sender and Recipient email addresses, then click Preview.
The preview shows the banner that the recipient gets, with the type of match and the tags and campaigns that apply.
Targeting by department
Section titled “Targeting by department”Department targeting divides the senders in your organization into groups, such as Marketing, Customer Success, or Sales. Use it to show campaigns that fit each department’s recipients, for example customer banners from Customer Success and awareness content from Sales. To set it up, see Setting up group targets for campaigns.
Targeting by persona, lifecycle stage, list, or industry
Section titled “Targeting by persona, lifecycle stage, list, or industry”This method suits marketing teams that want to control targeting without help from system administrators or IT. Use Liquid templates to add targeting parameters directly in the email signature, with any data from your CRM or marketing automation platform. See Targeting with CRM or marketing automation platforms.
What’s next
Section titled “What’s next”- Setting up group targets for campaigns: target banners by sender group.
- Targeting with CRM or marketing automation platforms: connect your CRM through Zapier.
- Creating a banner campaign: set up a campaign and its targeting.