

Designer Studio for legacy templates (classic UI)
Overview
Section titled “Overview”This article is for pre-2022 templates, built with our legacy HTML syntax: use it if your tags are in $tag; format. If you use Liquid templates, see Designer Studio for Liquid templates (classic UI).
Designer Studio holds your signature templates. Signature templates are designed in HTML. Don’t worry if you’re not familiar with HTML: we provide your initial signature templates during onboarding.
- To see which signatures are live, check Signature Assignment (Signatures menu > Signature Assignment). Take care when you edit a live signature.
- We recommend cloning before editing, and using the Preview button before you select Save.
- Need to change an image or link in your signature template? See Changing images and links in legacy templates (classic UI).
Accessing Designer Studio
Section titled “Accessing Designer Studio”-
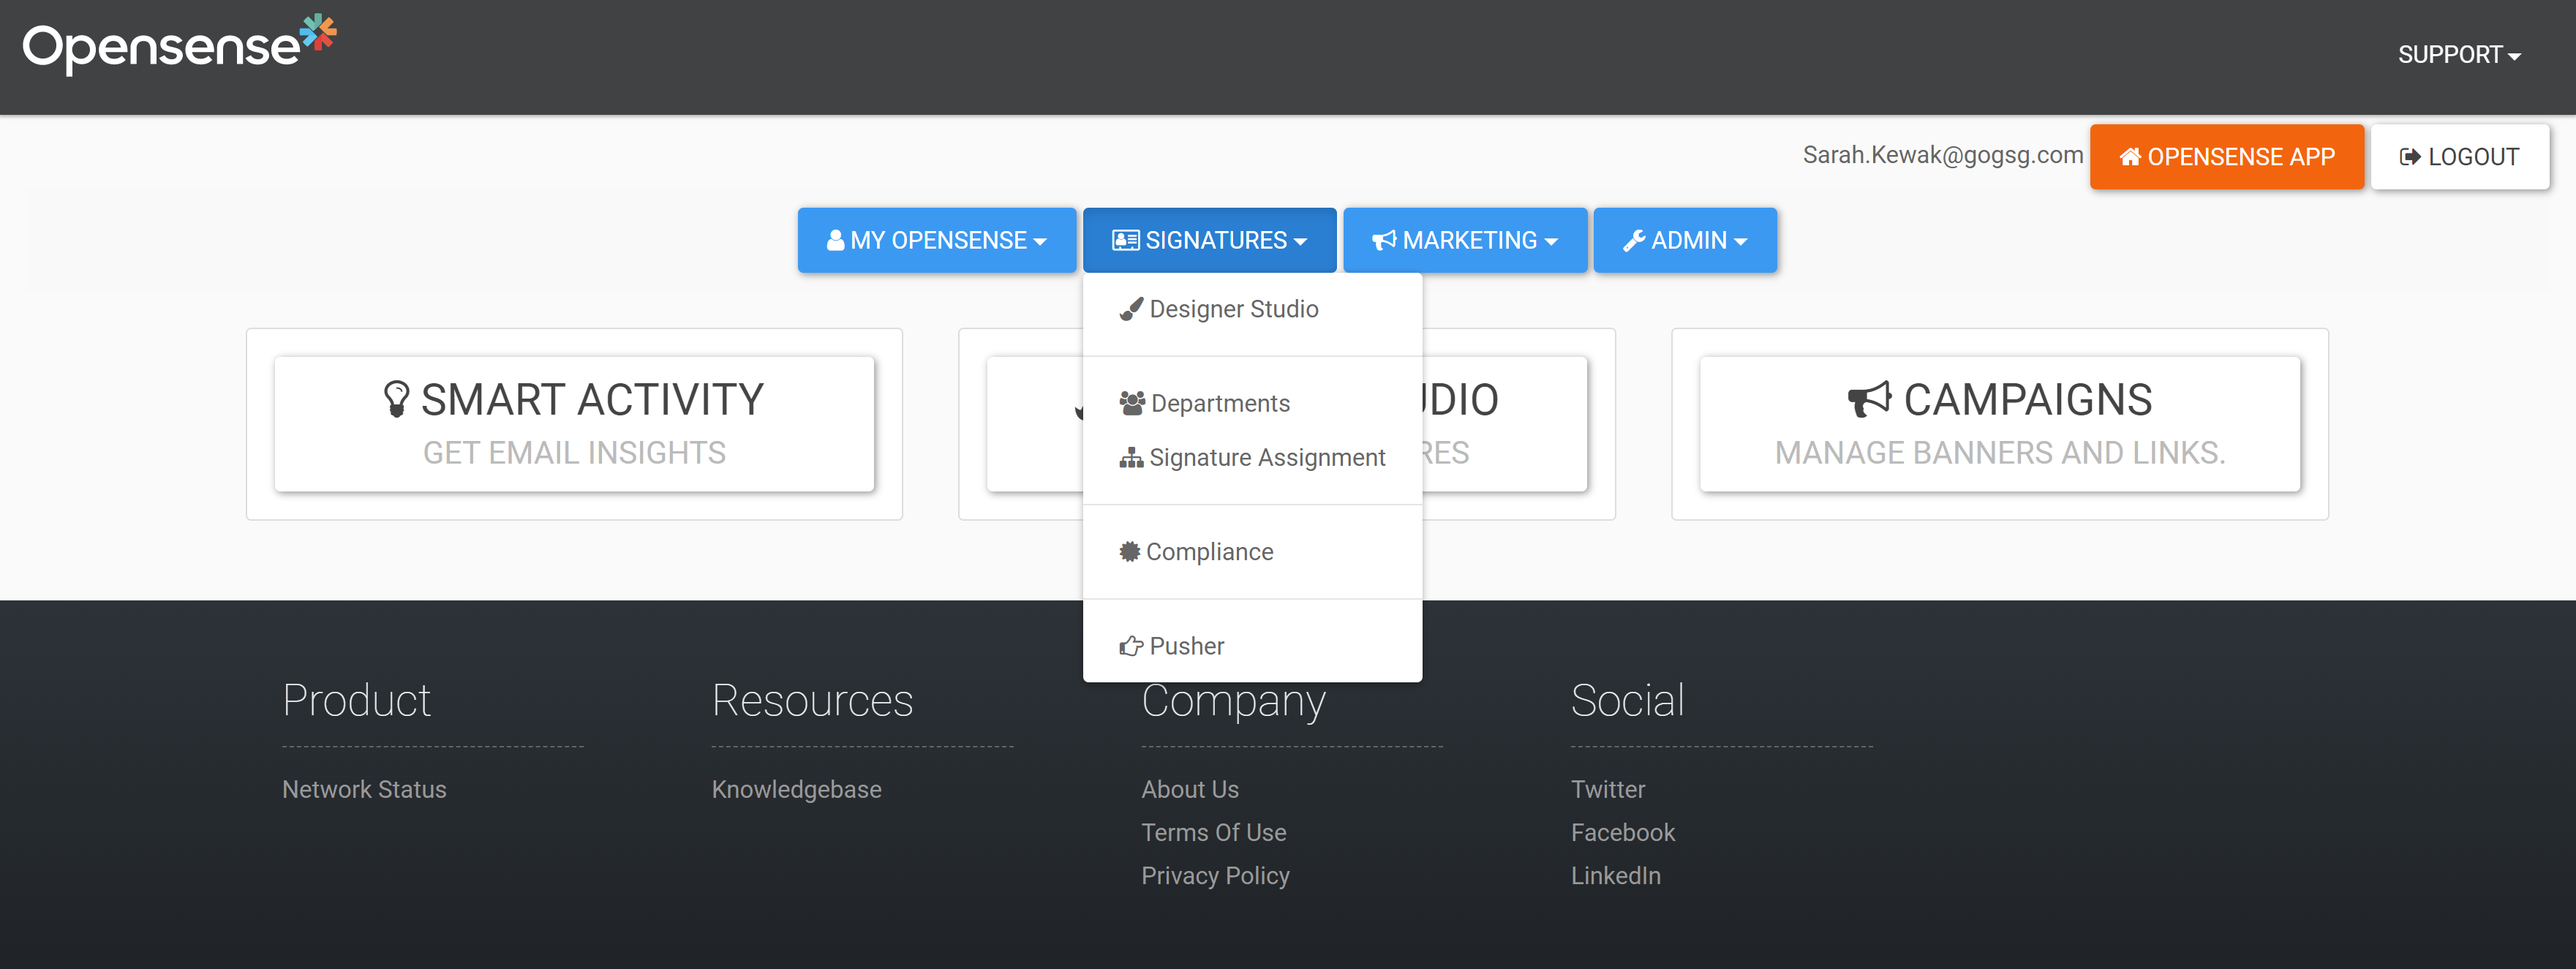
Open the Signatures menu, and select Designer Studio.
Creating and editing a signature template
Section titled “Creating and editing a signature template”- Select the green + Add New Template button to create a signature template.
- Name your template (see the Opensense naming conventions), and select Save.
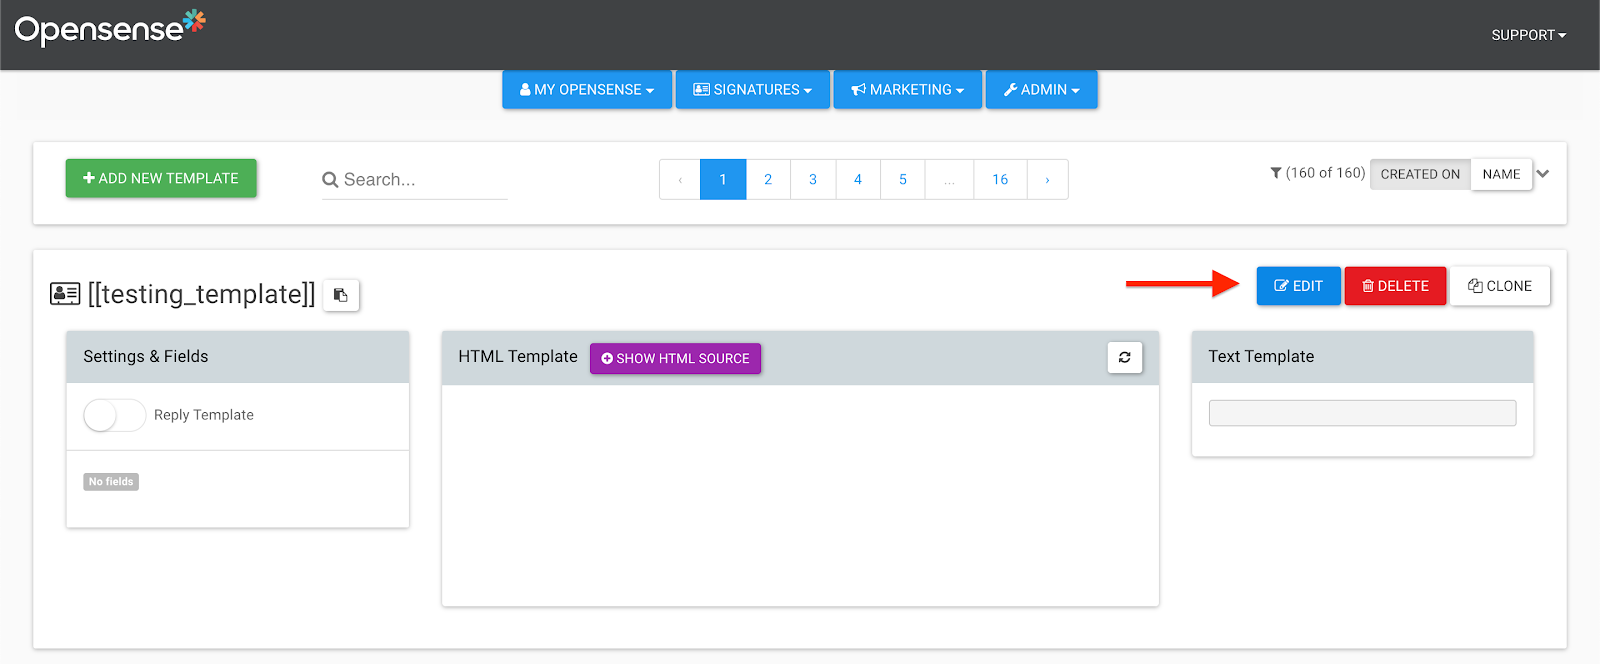
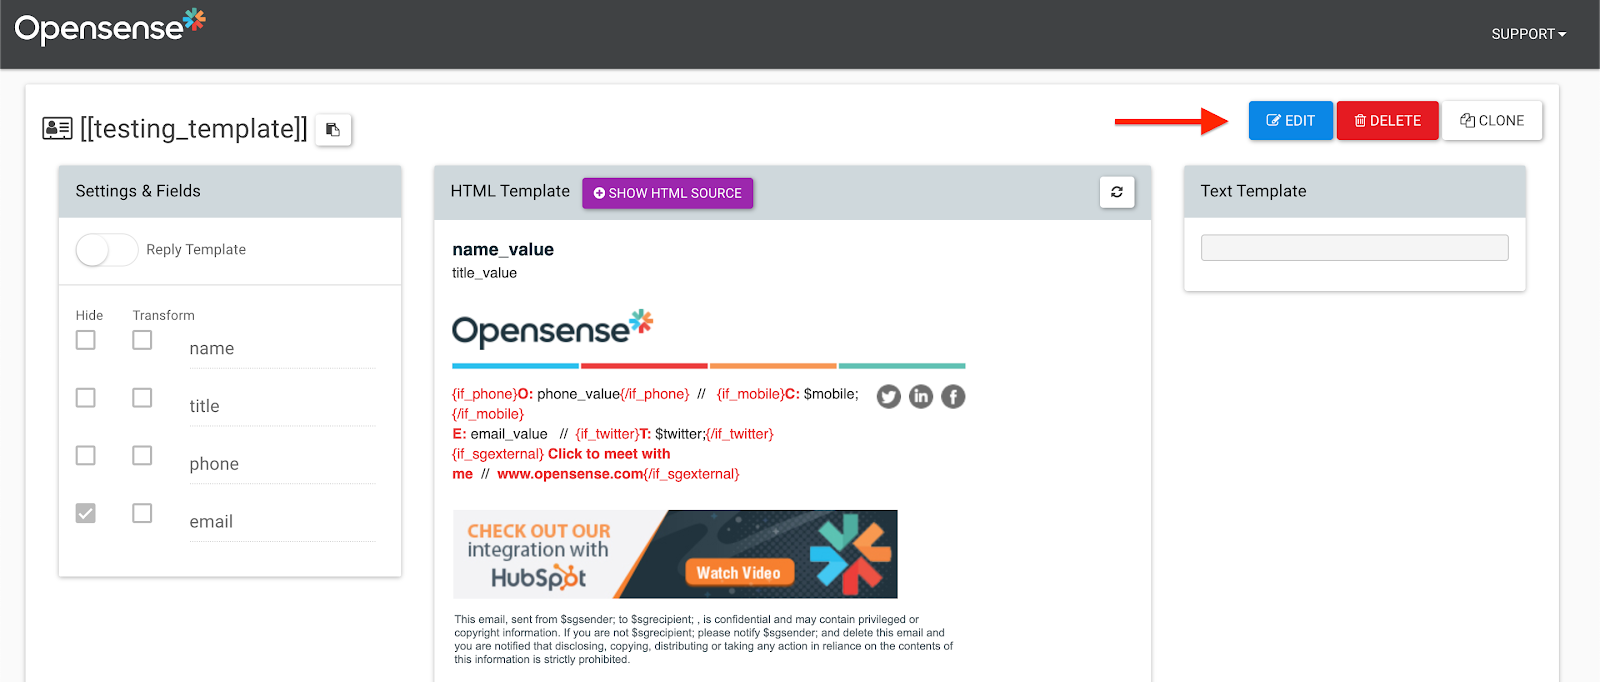
- To edit your signature template, select Edit.
- Add or edit your HTML in the HTML Template box.
Adding fields
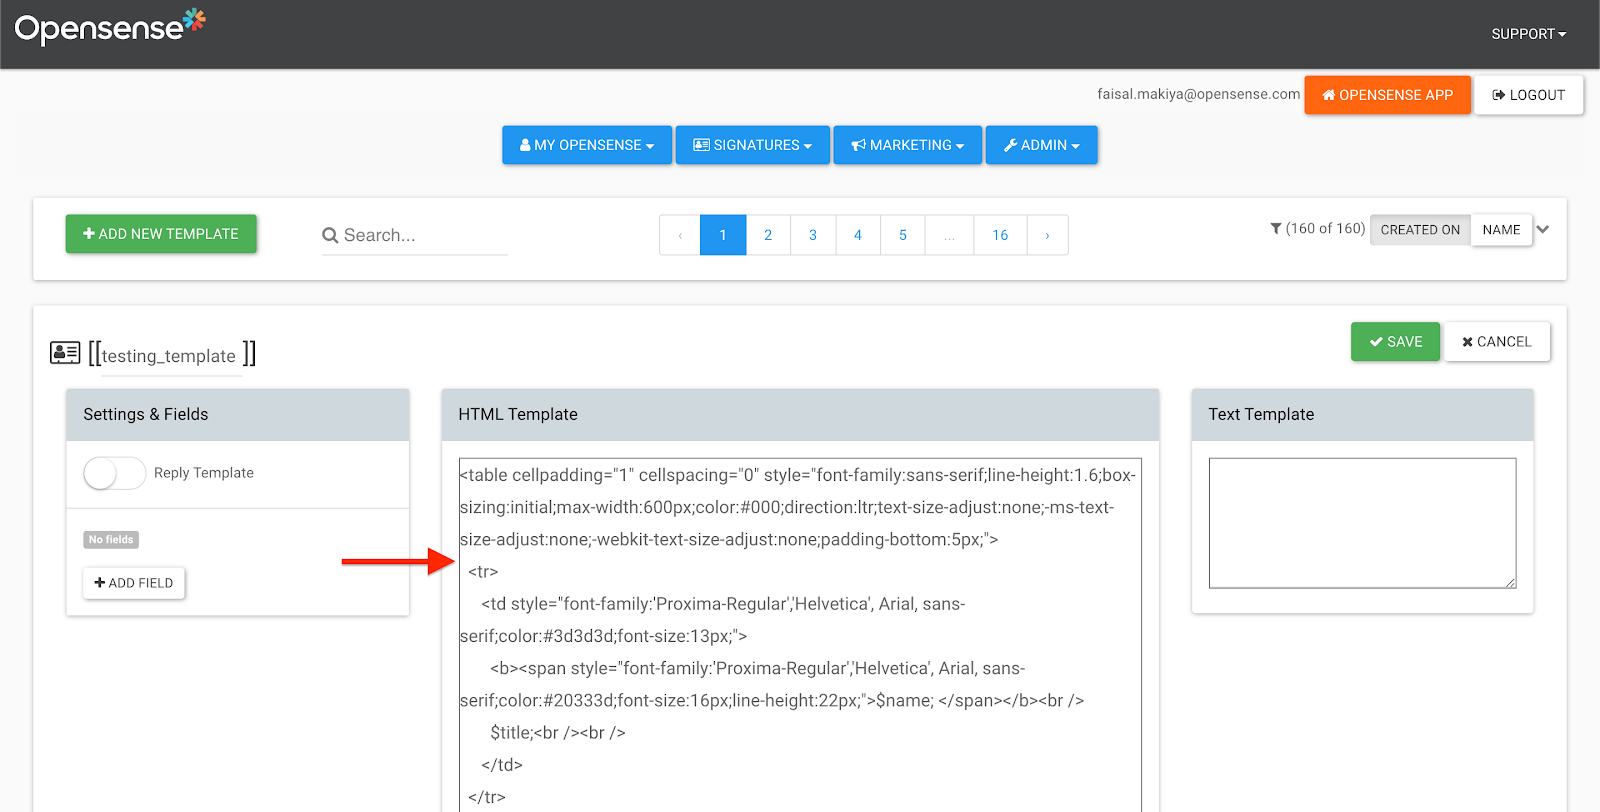
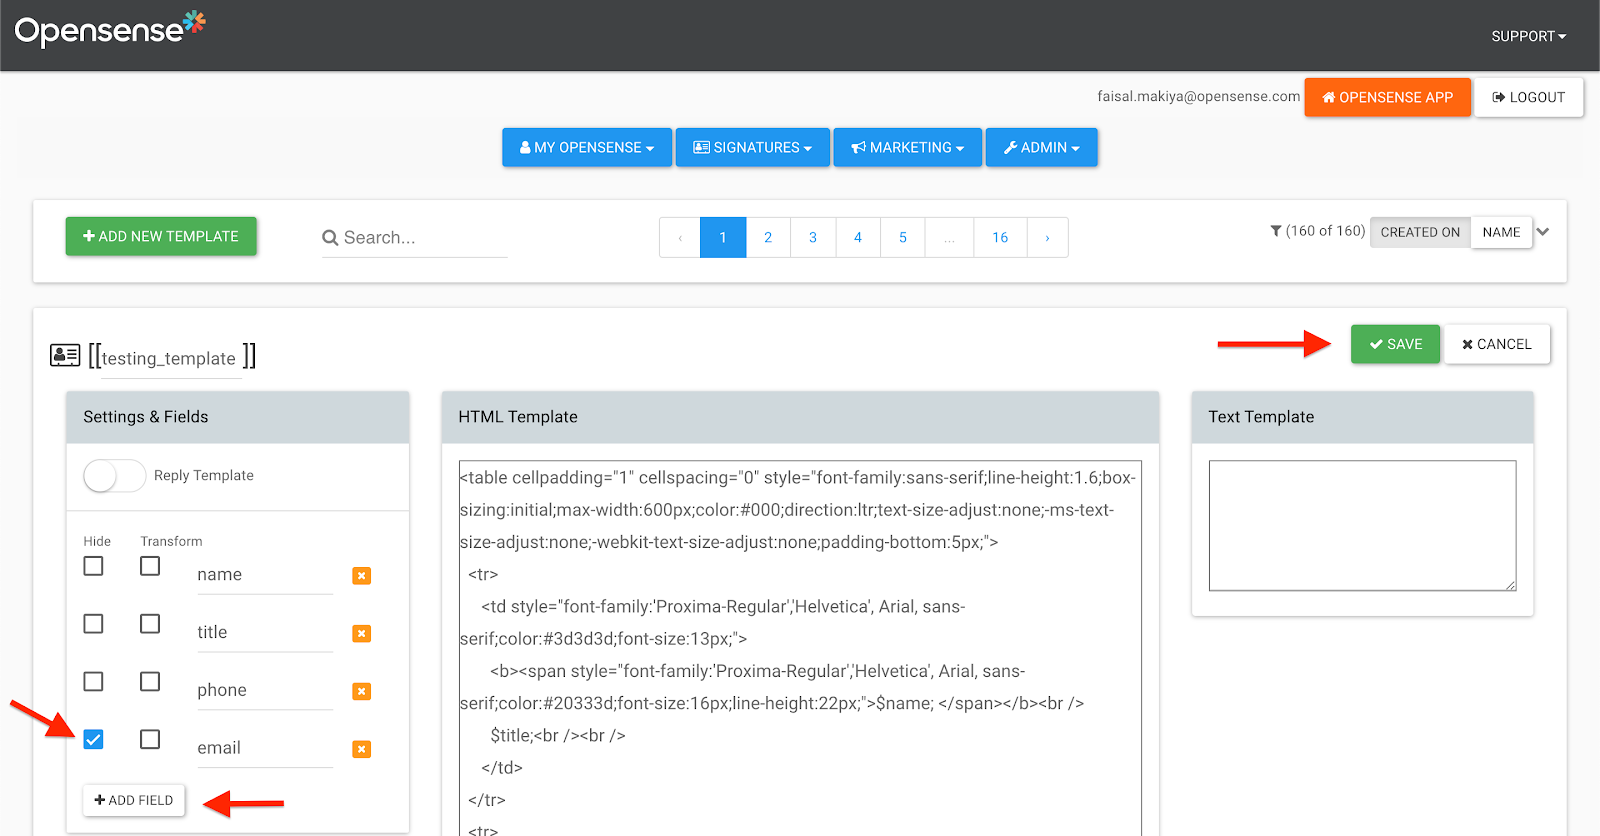
Section titled “Adding fields”Select + Add Field, and type your field names. You can hide these fields in your plain-text signature block by selecting the Hide box. When you’re done, select Save.
Name your fields with the Opensense naming conventions. You also need to add the new fields as code in the HTML template, as $fieldname; (for example, $email;). If a field is optional, add conditional logic to the HTML code.
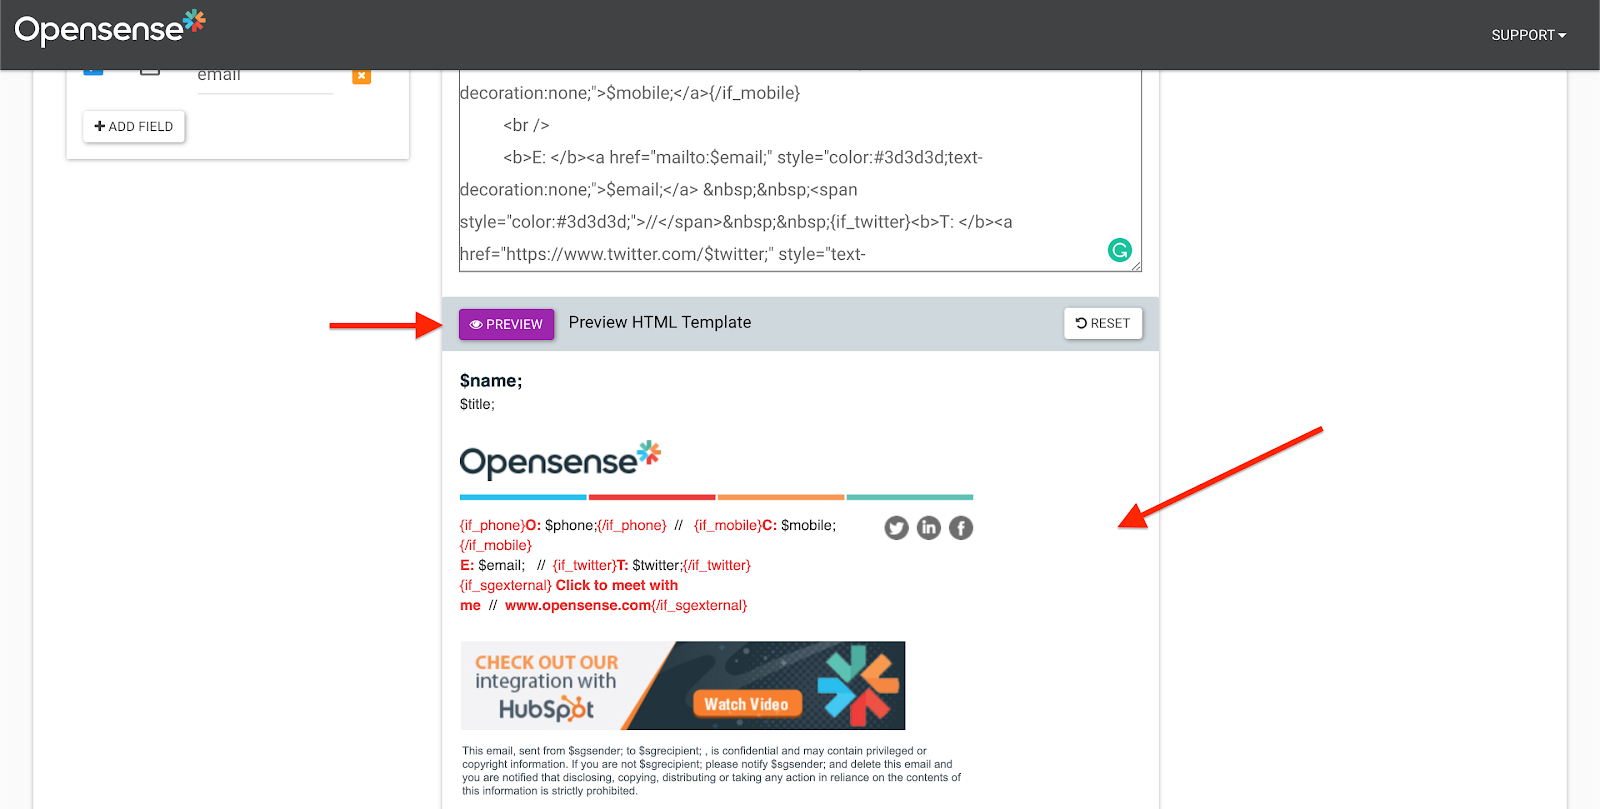
To preview any edits before saving, select the purple Preview button.
Cloning a signature template
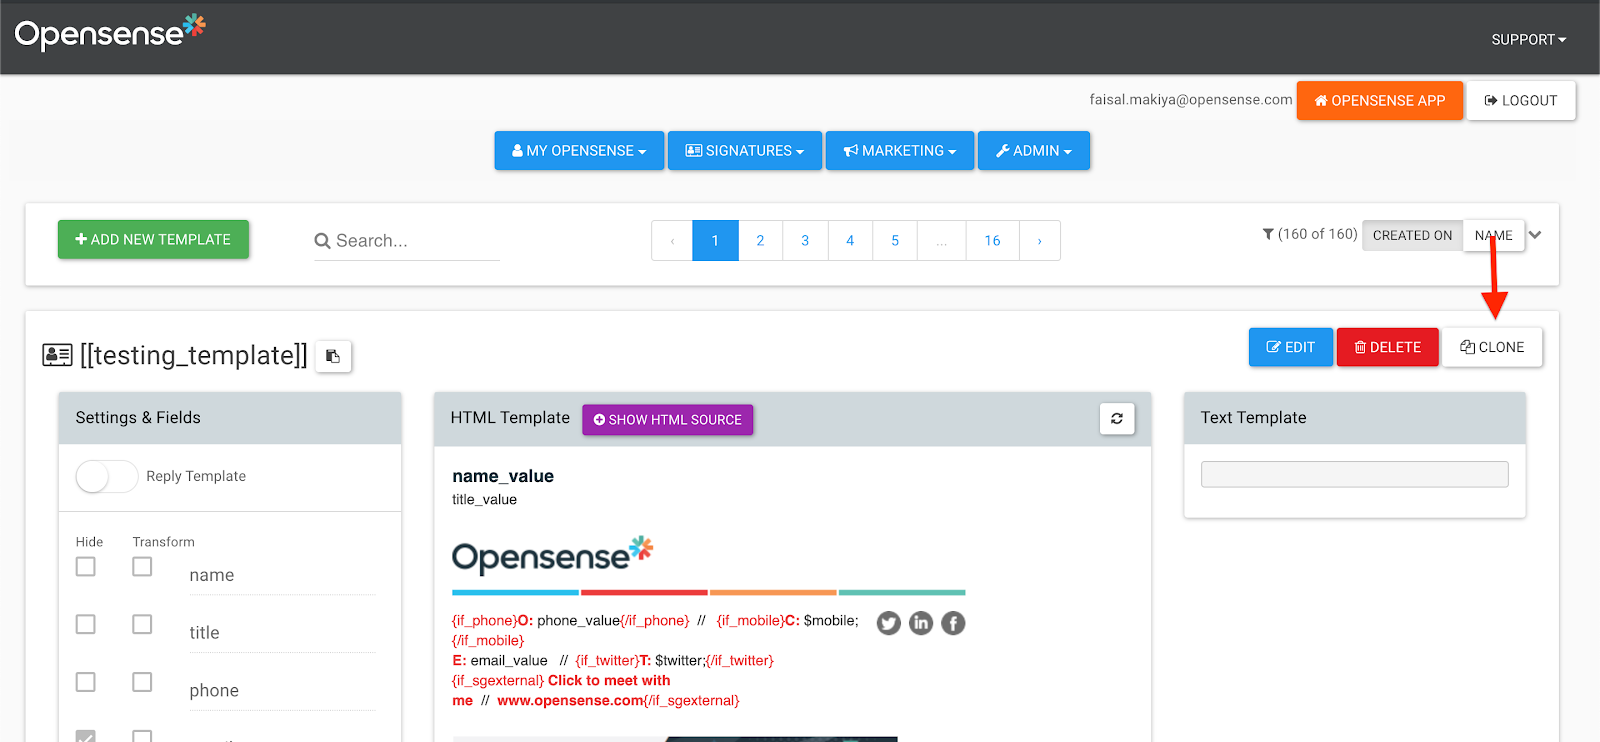
Section titled “Cloning a signature template”- Select the Clone button.
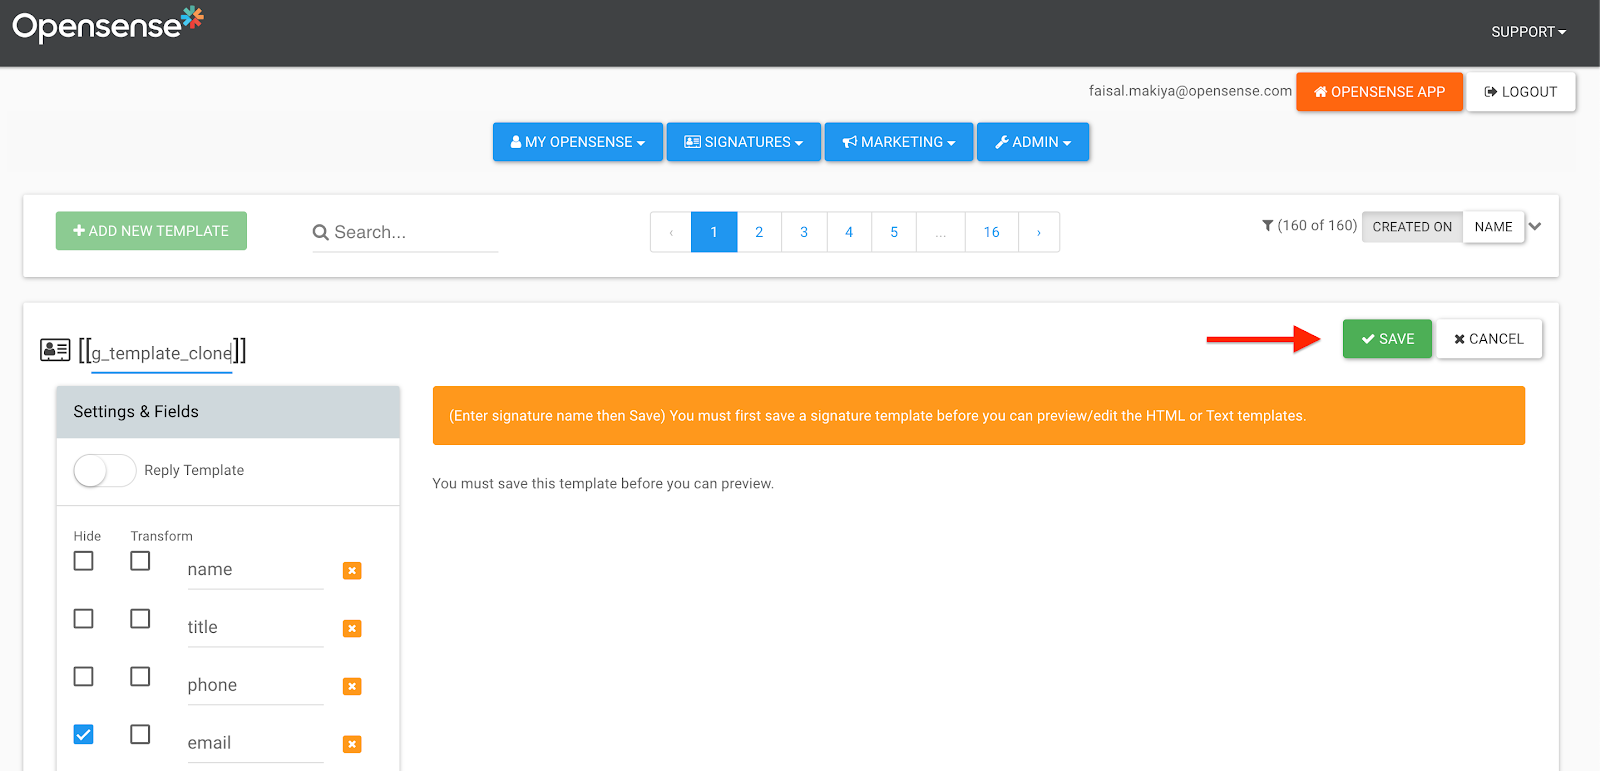
- Name the clone (see the Opensense naming conventions), and select Save.
Creating or editing a reply template
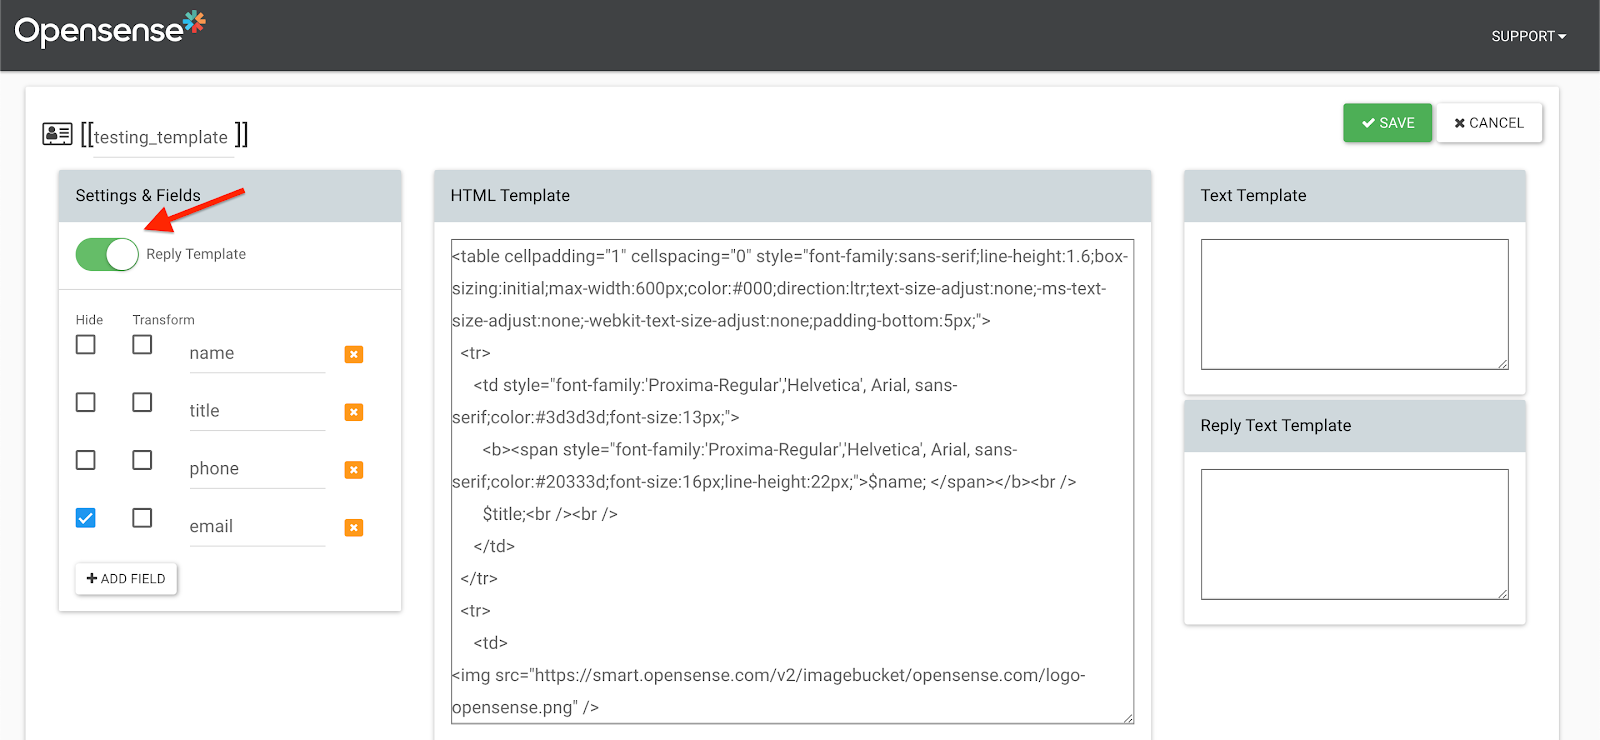
Section titled “Creating or editing a reply template”- Select Edit on the signature you want to add a reply template to.
- Turn on the Reply Template toggle.
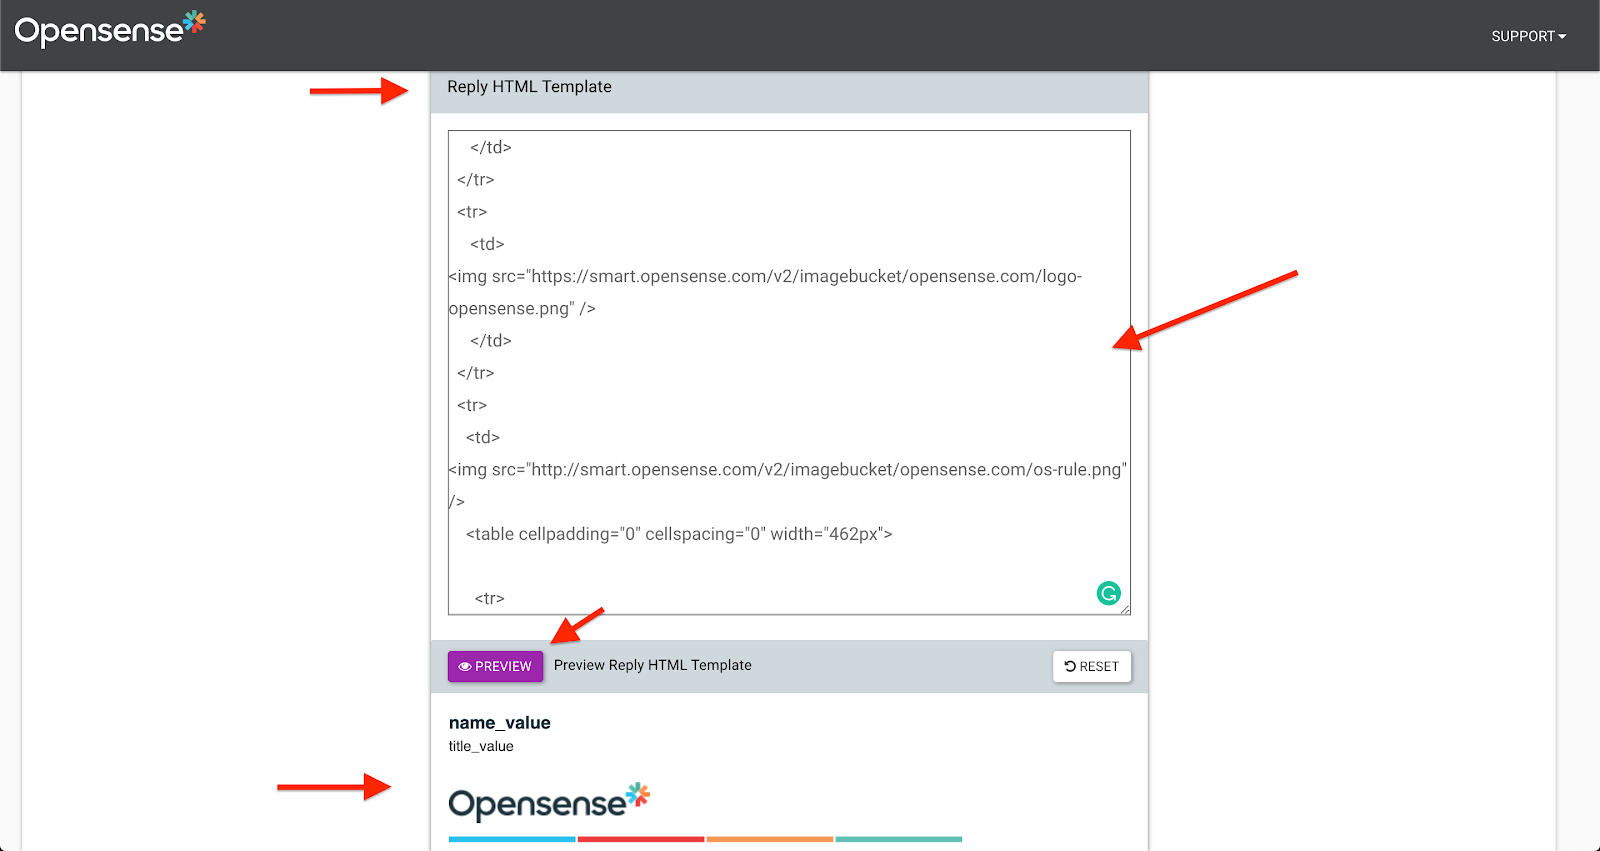
- Scroll down to the Reply HTML Template box, and add your HTML to create your reply template. To preview it, select the purple Preview button.
- When you’re done, select Save.
Adding a plain-text signature
Section titled “Adding a plain-text signature”You can add a plain-text signature template to your signature, in addition to your HTML signature template.
-
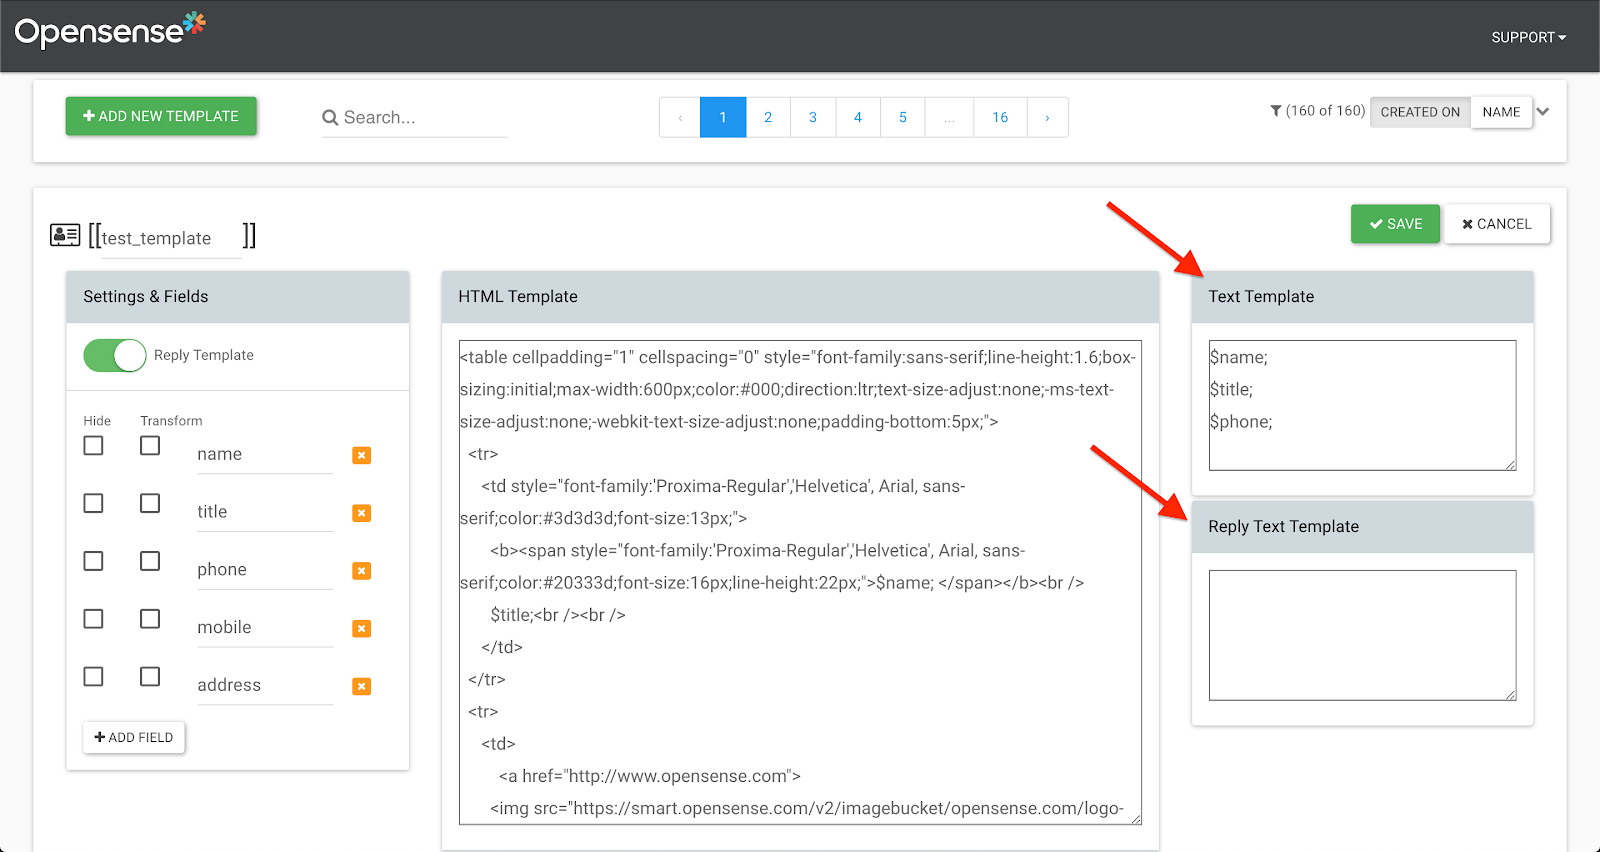
In Designer Studio, go to your signature template, and select the blue Edit button.
-
In the Text Template and Reply Text Template boxes, type the fields you want in your plain-text signature template (see the Opensense naming conventions).
-
When you’re done, select Save.
Functions you can use in Designer Studio
Section titled “Functions you can use in Designer Studio”- Conditional fields
- Wrapping all optional fields in conditional statements makes sure there are no gaps in the signature if field data is missing.
- Hidden fields
- Hidden fields don't appear in the signature block or in MySig. Hidden field data is synced or uploaded into Opensense.
- External and internal wraps
- Let the signature appear differently to recipients inside and outside your domain.
- Sender and recipient email
- Fill in the sender's and recipient's email addresses automatically.
What’s next
Section titled “What’s next”For further help, contact Opensense Support at help@opensense.com.